Download
1 / 22
220 likes | 345 Vues
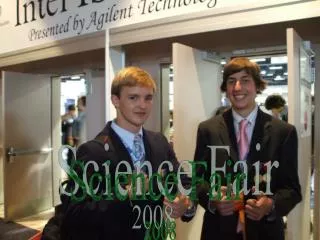
The 2010 Science Fair aims to inspire students to explore scientific concepts beyond the classroom, helping them understand the world we live in. This packet includes students' rights and responsibilities, a detailed timeline of project checkpoints, types of projects (Experiments, Demonstrations, Collections, and Apparatus), and guidelines for the written report and project display. Important dates and resources for completing projects are provided to ensure success. Join us for a fantastic showcase of student work on May 18th at 6:30 PM in the school gym!

E N D
Why do a Science Fair? • To encourage students to discover how science works outside the classroom-how scientists investigate and learn about the world in which we live in.
It is the student’s responsibility to: • To do their best original work. • To hand in all checkpoints on time. • To ask questions if they do not understand part of the process. • To complete their Science Fair project on time.
It is the student’s right to: • Select a topic they are interested in. • Receive guidance from their parents and teachers. • Be proud of their overall effort on the project.
2010 Science Fair Checkpoints • 12 weekly checkpoints teach students how to break up a large research based project into smaller manageable parts. • Each checkpoint must be signed and turned in to show that you have viewed your child’s progress. Please do not sign any checkpoints if you have not seen the work.
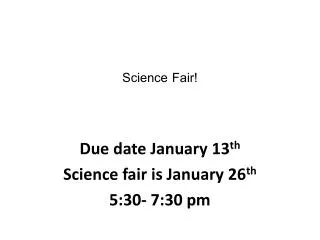
Science Fair Timeline • 2/23-topic selection and research question, 3/2 begin research, collecting materials • 3/9-complete initial research and begin bibliography • 3/16-gather additional research and begin hands on project • 3/23-bring in note cards and begin research portion of the written report.
3/30- write first draft of the research section of the report. • 4/6- start assembling the display unit and continue to write the next draft of the rest of the written report. • 4/13-continue working on the display unit. • 4/27- write the second draft of the written report.
5/4-write the text for the display and finish visual aids. • 5/11-finish the final draft of the written report and complete any part of the hands on project. • 5/18-proofread your display. Set up your project.
Types of Projects • There are 4 main types of projects that students can choose from: • Experiment • Demonstration • Collection • Apparatus
Experiments • This type of project is most often presented at science fairs. Experiments allow students to formulate a question, design an experiment, record and report out their results of their experiment and draw conclusions based on their results.
Demonstrations • In this type of project students demonstrate a particular scientific principal or fact. The demonstration should be self-contained. Students may show how something works, a scientific phenomenon, or how something is created naturally or in a lab.
Collections • Collections are an assembly of items (rocks, seashells, types of lighting) which show the variety and diversity within a chosen area of science. Collections need to include as many samples as possible to represent the magnitude of the topic.
Apparatus • In this type of project students display some kind of scientific instrument and describe their use or function in detail. The project should show the importance of the apparatus for both scientists and the general public. Descriptions of how each apparatus is used within or outside of the scientific community would be appropriate as well.
The Written Report • The written report should be a clear summary of the students project. • It consists of 11 sub-sections: a title page, table of contents, statement of purpose, hypothesis (experiment design only), research, materials, procedure, observations and results, conclusions, bibliography, and acknowledgements.
All written reports must be typed or NEATLY hand written. • All written work should be in the student’s own words. • First draft will be due on week 6. • The second draft will be due on week 9. • Final draft will be due on week 11.
Written Report Guidelines • Students will begin their written report by writing note cards based on information gathered. • Students will then take their note cards and create an outline of their report. • Next, students will use the outline to create a rough draft of their report. • Finally, students will create a final draft from their rough draft to hand in.
The Project Backdrop • It should be eye catching and creative. The backdrop acts as an advertisement for the student’s project. • The following information needs to be included on the backdrop: purpose, procedure, problem, hypothesis (experiment only), project title, results, conclusion, and any visual aids.
The Main Event • Students will need to transported to school the day of Science Fair to bring in all parts of their project. • Our 2010 Science Fair Evening will be held on Tuesday May 18th at 6:30 in the school gym.
New This Year! • All Science Fair paperwork will be available on the school’s website! • Just click on grade levels, then grade 5. • If students loose papers, you can print them right off-line! • www.bristol.k12.ct.us/page.cfm?p=923
Our email addresses • Mr. Marston • danmarston@ci.bristol.ct.us • Mrs. Pratt • staceypratt@ci.bristol.ct.us