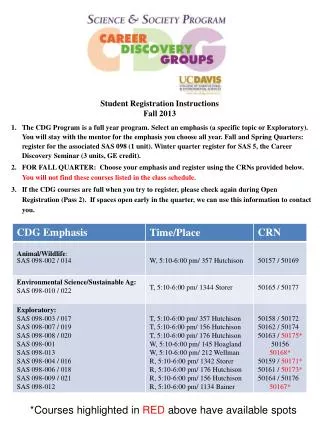
Faculty Instructions for Student Registration Using Campus Connect
230 likes | 256 Vues
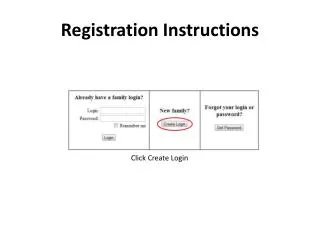
Faculty Instructions for Student Registration Using Campus Connect. To access Campus Connect go to the SAU homepage and click on Faculty Login under Campus Connect. Log into Campus Connect by entering your POISE Username and Password.

Faculty Instructions for Student Registration Using Campus Connect
E N D
Presentation Transcript
Faculty Instructions for Student Registration UsingCampus Connect
To access Campus Connect go to the SAU homepage and click on Faculty Login under Campus Connect.
Log into Campus Connect by entering your POISE Username and Password.
After logging in, you will be presented with a welcome screen. On this screen you are instructed to use the menus for navigation. Use the Available Options menu to begin the registration process.
By placing your cursor over the Available Options menu, you will see a drop down menu with three options “Student Advising,” “Faculty Menu,” and “Password Maintenance.” To register a student, click “Student Advising.”
To continue registering a student, enter the student’s ID#, social security #, or last name and click the Go button. If you choose to use the student’s last name, you will be given a list of names to choose from. Select the appropriate name.
The student may have a hold on his/her account. Depending on the type of hold, you may be able to proceed with registering the student. Some holds are informational for the advisor and the student for proper course placement. If the hold prohibits you from continuing, contact the office that has placed the hold.
AdmissionsHold-Must be removed by the Admissions Office LibraryHold-Must be removed by the Library. AOPHold-Contact Bob Terry or Elizabeth Davis via phone. VP of Student AffairsHold-Must be removed by the Office of Student Affairs. RegistrarHold-Must be removed by the Office of the Registrar. Academic SuspensionHold-Must be removed by the Office of the Registrar. A memo from the VPAA is required. Graduate OfficeHold-Must be removed by the Graduate Office. Dean’sHold-Must be removed by the Office of Student Life. CAAPHold-Student will not be allowed to register unless granted permission by VPAA. A memo from the VPAA is required to be sent to the Office of the Registrar. Business OfficeHold-Bruce Center International StudentHold-Student should go to the International Student Office in Nelson Hall. Teacher EducationHold-See Dr. Ruby Burgess, School of Education
Next, cursor over the Registration menu to display the drop down menu. Click the Add/Drop Courses option.
This screen allows you to specify the termcode and select the department for the course you want to add to the student’s schedule. After selecting the department, click the List Courses button.
This screen allows you to choose the course in the department selected. To see all courses available in a department scroll down the page. Add the course to the student’s schedule by clicking the Add button.
After clicking the Add button the next screen will display the student’s schedule. To add another course click on Select a different termcode or department.
To select a different department, scroll through the list of department codes and select the desired department. To add a course in the newly selected department, click the List Courses button.
This screen allows you to add another course to the student’s schedule in the newly selected department. To see all courses available in the department scroll down the page. Add the course to the student’s schedule by clicking the Add button.
After clicking the Add button the next screen will display the student’s updated schedule. To continue registering a student, click the Select a different termcode or department button.
Repeat the steps for selection of a department and a course within a department until the student’s schedule is complete. To view the student’s completed schedule, click View Schedule.
To print the schedule, click on the printer icon as shown above.
To view the Student’sStatement of Account/Schedule, click on Student Information and then Review/Pay Account.
Please remind the student that he/she must submit a signed Statement of Account/Schedule and payment to the Business Office by the payment deadline. If the student has sufficient financial aid and does not need to make a payment to hold his/her schedule, the student must e-mail studentaccounts@saumag.edu to request the schedule to be saved. Students can also make payment online via E-Cashier.
To register another student, cursor over the Available Options menu and click on Student Advising.
To end your Campus Connect session, click on the Logout button as shown.
After clicking the Logout button you will return to the Campus Connect login screen where you can click on Home to return to the SAU Home Page.