Download
1 / 34
340 likes | 446 Vues
Learn how to navigate your Blackboard homepage, access course materials, add syllabus, organize information, set availability dates, attach files, post announcements, send emails, create forums, and use the Digital Drop Box feature. Follow step-by-step instructions for an efficient course setup process at Gonzaga University.

E N D
Blackboard Directions Required Proficiencies
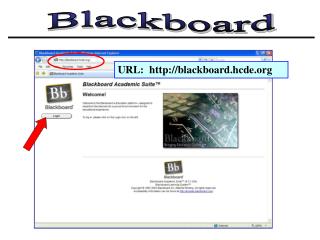
Search ‘blackboard’ in the upper right hand corner
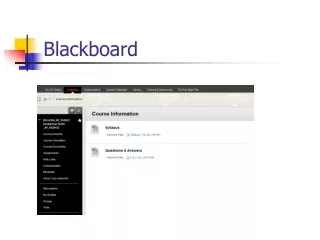
This is your Blackboard homepage. Listed on the right are all your classes. Choose one class to begin your work.
This is the homepage for each individual course. Students access information on the left using one of the blue tabs. Instructors create the course and add information by using the control panel. Click on the Control Panel tab
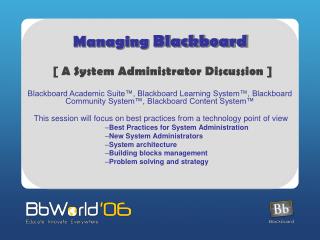
Control Panel • The control panel provides you the links to each section of your blackboard course. • The following slides will guide you to each of the SOE proficiency standards.
This is your main Control Panel – you will use this to create your course.
To set the availability of the course Click here
Click Here 1st Then click here
Click here After each addition or modification to the course, you will be shown a similar screen to inform you that the settings have been updated. Click “OK.”
Click here to return to the Control Panel Or click OK
Click here to add syllabus Click here to add Course materials
This page gives you several options regarding what material you can include and how you may organize the information. Click here if you wish to organize information together – per week, subject, or chapter. Click here to add a single item such as a handout, PowerPoint, or article. Click here to add a link to an external link such as an internet site. You can choose to add a test here or under the section “Tests & Quizzes” on the control panel.
Once you decide to add an item, you will be asked to give it a name. You can add any information or directions to the students Regarding the specific item. Scroll down
Click here to attach file (handout, PowerPoint, etc.) You can control when the document is available to students - add the document at the beginning of the semester and have it Become available to students the week of the lecture.
Once you select “Browse” this screen will Allow you to search your computer files For the corresponding document Double click on the corresponding file And it will be sent to blackboard.
Once you double click on the file, the file box Will close and it will appear here. Once you have set the availability dates, click submit
Or you can return to the Control Panel To conduct a new task by clicking on the Control panel or by clicking OK. You can continue to enter items by repeating the previous steps.
To post an announcement Click here.
Here you can view all announcements or add a new announcement To add an announcement, click here.
You can give your announcement a title Enter your message here Scroll down You can choose to make it a permanent or Temporary announcement.
You can choose when the announcement appears and How long it stays available to the students. If the announcement is about information in a specific Section on Blackboard, you can add a link here. When finished, click submit and then on the following page Click OK to return to the ‘add announcement’ page. Click OK again to return to the ‘control panel.’
To send an email to individuals or groups Click here
From this page you have several email options To send an email to everyone, click here To email a specific individual, click here You can organize students and email them here
Once you have selected your type of email, This page works similar to most email applications. When finished click “Submit” and then “OK” to Return to the Control Panel.
Give your forum and title and include any Directions for your students in the Description section. Scroll down
You can set the preferred settings for each Discussion or forum. Once finished, click “Submit” and then “OK” to return to the Control Panel.
This feature enables you to add files to your Blackboard class or send files directly to Students. Students may also use this feature to share Files with the class and to send files such as Papers, articles, or presentations to the Instructor. When files are sent or added, they are stamped with The date and time they were submitted.