Configuring TP-Link Router: A Step-by-Step Guide
260 likes | 395 Vues
Learn how to set up and configure your TP-Link router efficiently with this detailed guide. Follow step-by-step instructions for WAN connection, enabling DHCP, and wireless security settings.

Configuring TP-Link Router: A Step-by-Step Guide
E N D
Presentation Transcript
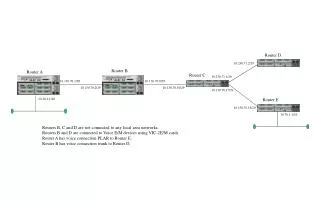
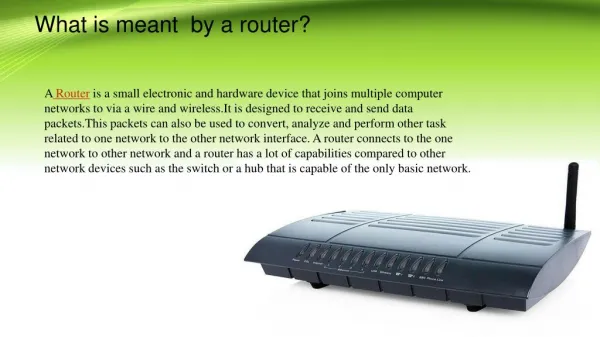
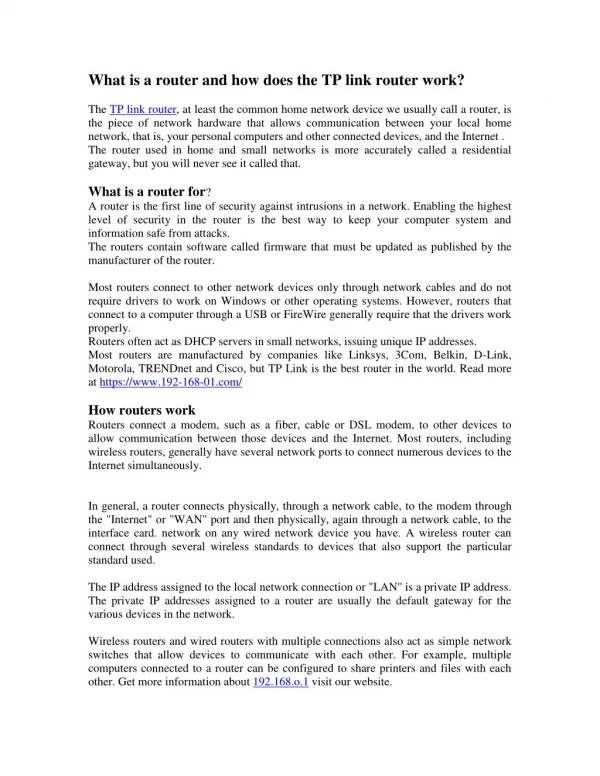
A router is a device in computer networking that forwards data packets to their destinations, based on their addresses. The work a router does it called routing, which is somewhat like switching, but a router is different from a switch. The latter is simply a device to connect machines to form a LAN.
You will need to have a working network card or port with a computer attached in order to connect to the ADSL router. These instructions assume the default router setup, if they do not work, contact us. This guide assumes that you have set up all the physical conections as per the welcome note, found inside the router's box.1.Open a browser (Internet Explorer, Mozilla Firefox etc.) and type http://192.168.1.1 in the address bar
2. The browser should ask you for username and password, use username: admin and password: admin (these are the default for Linksys routers, refer to your manual if they don't work
Configure WAN Connection TypeClick Network > WAN on the left of the web page: If your ISP provides static IP address for you, please select Static IP as the WAN Connection Type, otherwise select Dynamic IP to get IP address automatically from your ISP
Static IP: Enter the IP information provided by your ISP into the boxes shown as below, then click Save button. Wait about 2 minutes, if you can’t connect to the Internet, please skip to the Step
Dynamic IP: Select Dynamic IP as the WAN Connection Type on the right of the web page, shown as below. Then click Save button
Click Status on the left side. Under WAN section, click Renew button. Wait about 2 minutes, then an IP address will be assigned. If it doesn’t get an IP address restart the router.
What is DHCP • Dynamic Host Configuration Protocol (DHCP) is a network protocol that enables a server to automatically assign an IP address to a computer from a defined range of numbers (i.e., a scope) configured for a given network.
How to enable DHCP in TP-LINK DHCP Server – by default is disable if we don’t have any DHCP in our network . We can enable it to disturbed IP address for our client in the network ,but if we have DHCP in our network we should not enable the DCHP network.
DHCP Server – Enable when we enable the DHCP options in the wireless router by default the gateway is 192.168.1.1 . Start IP Address – Enter an IP address for the DHCP Server to start with when assigning IP addresses. 192.168.1.100 is the default start IP address. End IP Address – Enter an IP address for the DHCP Server to end with when assigning IP addresses. 192.168.1.199 is the default end address. We will the picture and live in next slide
Default Domain – (Optional.) Input the domain name of your network.Primary DNS – (Optional.) Input the DNS IP address provided by your ISP. Or consult your ISP.Secondary DNS – (Optional.) Input the IP address of another DNS server if your ISP provides two DNS servers.Note:To use the DHCP server function of the Router, you must configure all computers on the LAN as “Obtain an IP Address automatically” mode.
Security section Disable Security – If you do not want to use wireless security, select this check box, but it’s strongly recommended to choose one of the following modes to enable security
WEP - It is based on the IEEE 802.11 standard. If you select this check box, you will find a notice in red as show in Figure.
Type – you can choose the type for the WEP security on the drop-down list.The default setting is Automatic, which can select Open System or Shared Key authentication type automaticallybased on the wireless station’s capability and request.WEP Key Format – Hexadecimal and ASCII formats are provided.Hexadecimal format stands for any combination of hexadecimal digits (0-9, a-f, A-F) in the specified length. ASCII format stands for any combination of keyboard characters in the specified length.WEP Key- Select which of the four keys will be used and enter the matching WEP key that you create. Make sure these values are identical on all wireless stations in your network.Key Type – You can select the WEP key length (64-bit, or 128-bit, or 152-bit.) for encryption.Disabled” means this WEP key entry is invalid.64-bit – You can enter 10 hexadecimal digits (any combination of 0-9, a-f, A-F,zero key is not promoted) or 5 ASCII characters.
128-bit – You can enter 26 hexadecimal digits (any combination of 0-9, a-f, A-F,zero key is not promoted) or 13 ASCII characters.152-bit – You can enter 32 hexadecimal digits (any combination of 0-9, a-f, A-F,zero key is not promoted) or 16 ASCII characters.Note:If you do not set the key, the wireless security function is still disabled even if you have selected Shared Key as Authentication Type.WPA /WPA2 – It’s based on Radius Server.Version – you can choose the version of the WPA security on the drop-down list.The default setting is Automatic, which can select WPA (Wi-Fi Protected Access) orWPA2 (WPA version 2) automatically based on the wireless station’s capability and request.Encryption – You can select either Automatic, or TKIP or AES.
Note:If you check the WPA/WPA2 radio button and choose TKIP encryption, you will find a notice in red as shown in Figure
Radius Server IP – Enter the IP address of the Radius Server. • Radius Port – Enter the port that radius service used. • Radius Password – Enter the password for the Radius Server. • Group Key Update Period – Specify the group key update interval in seconds.The value should be 30 or above. Enter 0 to disable the update. • WPA-PSK/WPA2-PSK – It’s the WPA/WPA2 authentication type based on pre-shared passphrase. • Version – you can choose the version of the WPA-PSK security on the drop-down list.The default setting is Automatic, which can select WPA-PSK (Pre-shared key of WPA) orWPA2-PSK (Pre-shared key of WPA) automatically based on the wireless station’s capability and request. • Encryption - When WPA-PSK or WPA is set as the Authentication Type,you can select either Automatic, or TKIP or AES as Encryption.
Note:If you check the WPA-PSK/WPA2-PSK radio button and choose TKIP encryption, you will find a notice in red as shown in Figure.
PSK Passphrase – You can enter ASCII characters between 8 and 63 characters or 8 to 64 Hexadecimal characters. • Group Key Update Period – Specify the group key update interval in seconds.The value should be 30 or above. Enter 0 to disable the update. • Be sure to click the Save button to save your settings on this page.