How to Disassemble a Laptop
460 likes | 1.89k Vues
How to Disassemble a Laptop. By: Mathiew Cornell. Objective. After viewing this lesson, you will be able to take apart your laptop to see each individual component. Requirements. For this lesson you will need a laptop. You will need a screw driver

How to Disassemble a Laptop
E N D
Presentation Transcript
How to Disassemble a Laptop By: Mathiew Cornell
Objective After viewing this lesson, you will be able to take apart your laptop to see each individual component.
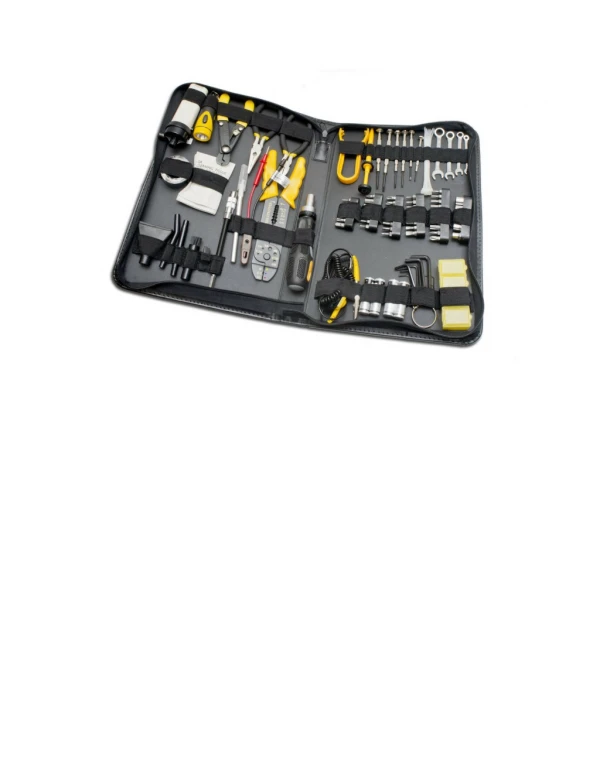
Requirements For this lesson you will need a laptop. You will need a screw driver You will need an electric static discharge band or something to get rid of the extra electricity.
Step 1: To remove the battery pack from the battery bay, follow the steps below.1. Turn the computer upside down.2. Unlock the battery double lock and slide the battery bay latch to release the battery pack. Then you can remove it from the bay.
Step 2: Follow the steps below to remove HDD module:1. Turn the computer upside down2. Remove two black M2.5x5 screws to release the HDD door.3. Pull out the tab to remove the HDD unit.
Step 3: For this you will have to do the previous step. 1. Turn the computer upside down.2. Follow the steps above to remove the HDD unit.3. Remove one M2.5x8 screw and slide the optical drive module from the bay.
Step 4: 1. Loosen the screw securing the wireless LAN compartment cover.2. Lift off the wireless LAN compartment cover.3. Remove the embedded screw M2.5x5 securing Mini PCI bracket.4. Detach the two ends of the wireless LAN antenna. 5. Gently press out on the latches. One end of the wireless LAN unit will pop up.6. Grasp the wireless LAN unit and pull it out
Step 5: To remove the memory module, make sure the computer is in boot mode then:1. Be sure the power is off and all cables are disconnected from the computer.2. Turn the computer upside down and remove the battery and the screw securing the memory module socket cover.3. Slide your fingernail or a thin object under the cover and lift it off.4. Push the latches to the outside to release the module. A spring will force one end of the module up.5. Grasp the module and pull it out.6. Seat the cover and secure its screws.
Step 6: To remove the installed modem, first remove the strip cover and keyboard , then follow the steps below:1. Remove two black M2.5x3 screws securing the modem module.2. Carefully lift the unit off its connector.3. Disconnect the modem cable from the modem module.
Step 7: To remove the top cover, first remove the battery pack, display assembly , optical drive module, HDD, memory module and wireless LAN, then:1. Remove five black M2.5x8 black screws and one black M2.5x3 screw securing the top cover.2. Detach the upper FFC cable and two speaker cables on the top chassis.3. Remove the two black M2.5x8 screws securing the system board.4. Turn the computer upside down and remove the following sixteen screws as shown in the diagram below5. Turn the computer upright to lift off the top cover.
Step 8: To remove your laptop's main board, first remove the LCD assembly and top cover, then follow the steps below:1. Remove the two black M2.5x8 screws securing the system board to the bottom cover.2. Remove the two or four silver screws securing the system board to the backside.3. Remove the system board from the chassis.
Warning This should really on be done by people who know what they are doing and if you are not one of these people I would take it to someone who knows how to work on laptops.