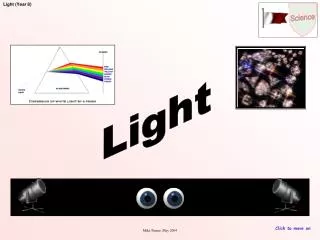
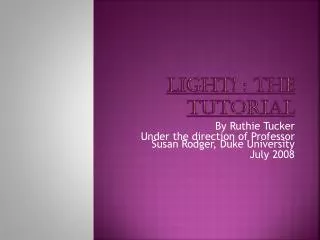
Light! : The Tutorial
In this tutorial by Ruthie Tucker, guided by Professor Susan Rodger of Duke University, learn how to manipulate light settings in a virtual environment for enhanced aesthetics. Starting with a blank slate, you'll explore creating different skies, utilizing fog to add depth, and adding various lighting features, such as spotlights and light bulbs. Discover how to set lighting as vehicles to follow characters and adjust opacity for realism. Finally, integrate a dawn effect to transform your world dynamically. With these techniques, your virtual creations will come to life!

Light! : The Tutorial
E N D
Presentation Transcript
Light! : The Tutorial By Ruthie Tucker Under the direction of Professor Susan Rodger, Duke University July 2008
Getting Started • Lets start with a blank world. • Snow is easiest to use for this because it reflects light so well. • Open a new world to begin
Creating the Sky • Go to world and select properties. • Select “Atmosphere Color” and change it to black. • Note that this will change the sky to black. • While you are here, try changing the sky to other colors.
Creating the sky continued • Now right below it there is a setting called “Ambient Light Color”, set it to black. • It should set a shade over your entire world. • Your world should now look like this
Fog makes your world look fuzzy • Now go to “fog style” and select “distance” • Be careful not to select “density” under “Fog style” • “density” will make your world invisible • You can control your density level in the “Fog density” tab below “fog Style.
Environment concluded • Finally, go to the subcategory of world called “light” • Scroll down to properties/color and select light gray • This should make your world look very dark
Getting started with specific light • Lets add some characters to our world as reference points for our light. • Add one person and one object of your choice to your world
Specific Lighting • Now, go into “add objects” again and scroll to the folder called “light” • There should be an object called “Stage Spotlight” • Import two of them into your world • Your lights should appear beside your person.
Spotlights • Each Stage light has two components • The stage light: which is the actual physical object that you can drop in. • And the Light: which shines on the world • Play around with the positioning until you get the lights right • Note that the Stage lights are up in the air but the light is spotlighting my person
Stage light continued • Now click on stage spotlight and set “Is showing” to false. • The physical object should become invisible but the light should still be there. • Your world should now look like this
Light as a vehicle • Now, try setting the stage lights as vehicles to your person. • Move your person around and see if the light follows them. • Once you are done, set both of the lights as vehicles to the gate
Light bulbs • Now go into “add objects” again, under the “lights” folder and add a “light bulb” to your world
Light bulb continued • Note how the light bulb has the same features as the stage light. • There is a physical object and an area of light. • Just like the stage light, we can set “is showing” to false for the physical light bulb, but the ambiance of the light will still be there.
Light bulb continued • Now, try clicking on the properties from the light bulb and changing the color. • The ambiance of the light should change • Note the green hue that is now on our person
Light bulb continued • Now set the light bulb as a vehicle to your person • Have her move around, and see if the green light follows her. • You can turn the light on and off or have it stationary or following a character, simply by using the vehicle and “is showing” properties.
Opacity • Opacity works much the same way that “is showing” works • However Opacity can be measured in gradations, while “Is showing” is (fittingly) either showing or not.
Opacity Continued • Go to the “properties” settings of your person. • Look for the setting called “Opacity” • When you click on it there should be a series of percentage gradations
Opacity continued • Try changing the opacity of your person. You should notice that the smaller the percentage, the more your person seems see through or invisible.
Looping Opacity • Now create a new method for your opacity changing code. • Loop it. • Now call it in a “when the world starts” event.
Creating the Dawn • The Dawn is created in a world level method. • It is a series of color changes, placed in a “Do in Order” method. • Color changes can be found under World Properties
Dawn continued • If you do not wish to use the colors in the main column you can click on “other” at the bottom of the list. • This should give you a rainbow of shades to choose from
Dawn Continued • Once you are done choosing your colors you should have a list like this. • Set the duration for each color to several seconds. • Finally set “style” to “abruptly” • This will make the colors fade in and out instance of roughly changing
Dawn Conclusion • Now set your Dawn method as an event for “when the world starts” so that it will play in the background of your world • Now your world should slowly shift to the Dawn as the world plays
Conclusion By combining the things that you have learned in this tutorial, in a variety of ways, you can create many new possibilities for your worlds. And that’s all folks!!!!!!!!!