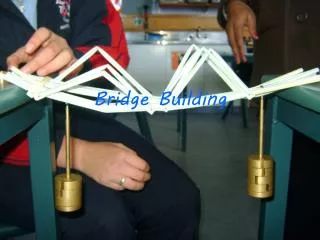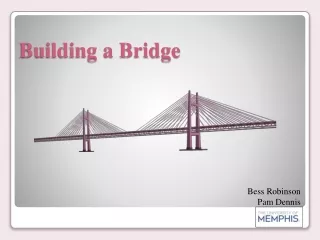
Bridge Building
Bridge Building. American High School SECME Workshop. Types of Bridges. Beam Bridge – constructed to span short distances because of its horizontal beam supported at each end by piers . . Beam Bridge.

Bridge Building
E N D
Presentation Transcript
Bridge Building American High School SECME Workshop
Types of Bridges • Beam Bridge – constructed to span short distances because of its horizontal beam supported at each end by piers.
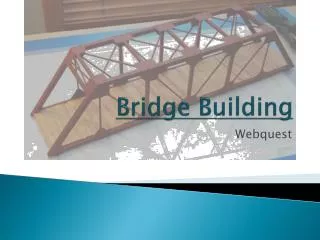
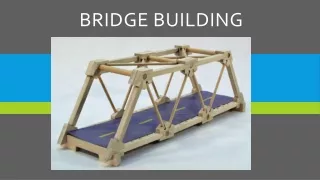
Truss Bridge–constructed with straight, steel bars in series of triangles. Rigid arms extend from both piers, diagonal steel tubes, projecting from the top and bottom of each pier, hold the arms in place. The arms that project toward the middle are supported on one side.
Arch Bridge – built to squeeze together, and this squeezing force is carried outward along the curve to the supports at each end. The supports, called abutments, push back on the arch and prevent the ends of the arch from spreading apart.
Suspension Bridge - the road hangs from steelcables, draped over towers and secured by anchorages, on both ends of the bridge. The force on the roadway is transferred into compression on the towers which support most of the bridge's weight.
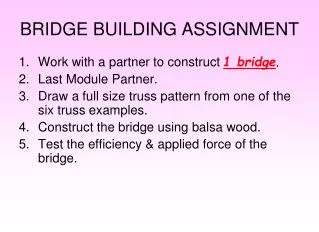
Planning Construction • Sketch two different bridges with a top, front, and side views. • Draw the outline of your bridge design. Draw all of these lines as single lines. It should be drawn to the actual size. • Draw all of your cross members to strengthen the bridge.
Planning Construction • Put in your measurements. The overall length of the bridge is between 30cm and 40cm. • Find the center of the land by drawing diagonal construction lines from corner to corner. • This is where the force of pressure will begin.
Planning Construction • Start the construction with the outer support pieces. • Glue sticks together making a beam long enough to support from one side to the other. • Use only enough glue as needed. A drop per connection is all that is needed.
Planning Construction • Use the clothes pins or tacks to hold the wood together until the glue sets. • When the front is completely finished, add to the top. • Finally, add to the sides of the bridge, this will keep the back and forth shifting from breaking the bridge.
Bridge joints • Lap Joint:The lap joint is one of the strongest. It strengthens by compression because it adds stiffness. The lap joint’s one drawback is the joint is only as strong as the face of the wood. That means that only one part of your piece of wood is in contact with the other.
End Joint:The end joint is not a very strong joint for tension members. In tension, the two pieces of wood will pull away from each other. In compression, this joint will allow the piece to bend in a arc. The lap joint holds the piece stiff, which helps it to hold.
Notched Joint: The notched joint gives more strength than the end joint, but less than the lap joint. It is more difficult to build, so it is not very common.
Forces • Compression: Compression is a pushing force. If you take the middle a straw and squeeze, the straw flattens. If you hold each end of a straw and push it is harder to make the straw compress, or flatten. The shorter a piece of wood is, the more compression it can hold.
Tension: Tension is pulling. Wood has the ability to resist tension. Tension may be applied parallel to the grain of the wood, but should be avoided perpendicular to the grain. Wood is very strong in tension parallel to the grain, but extremely weak in tension perpendicular to the grain.
Torsion: Torsion is twisting. When you wring out a cloth, you are applying torsion to the cloth. If you take a piece of licorice and apply torsion to it, the licorice will twist around several times before it breaks.
Shear: Shear occurs when there are two opposing forces acting on the same point. If a piece of wood is held with both hands next to each other, and one hand pushes up while the other pushes down, you are applying shear force. Shear usually occurs horizontally, and not vertically.
Resources • http://bridgecontest.usma.edu/download.htm • http://www.pbs.org/wgbh/buildingbig/bridge/basics.html • http://cl.k12.md.us/bridges/bsteps.htm • http://www.iit.edu/~hsbridge