Guide to Changing ResponseCard Channels in the Classroom
110 likes | 219 Vues
This guide provides step-by-step instructions on how to change channels for ResponseCards in classroom settings. When using ResponseCards, ensure they are set to the correct channel for each class. The process includes accessing the main screen, navigating the Change Channel Menu, and entering the new channel number. Learn how to verify if the channel change was successful, troubleshoot issues, and enter Presentation Mode to begin polling. Follow these instructions to facilitate smooth communication during class activities.

Guide to Changing ResponseCard Channels in the Classroom
E N D
Presentation Transcript
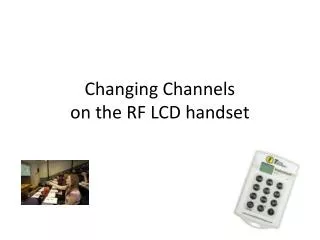
The ResponseCards in each classroom communicate with a receiver that is set to a specific channel. If you use the ResponseCard in more than one class, you may need to change the channel at the beginning of each class. Receivers Channel
Go to Main Screen Press the MENU button until you see the main screen.
Change Channel Menu Use the down arrow key (Yes) to select the Change Channel Menu item. Press the Enter key to change the channel.
Changing Channel You will momentarily see the change channel screen.
Check Your Channel The first screen reports your current channel. Your instructor will let you know what channel to use. If the current channel is correct, then press the Enter button, otherwise...
Enter New Channel # You can now use the keypad to enter a new channel number. Press Enter to change to the new channel. (Valid channel numbers are from 1-74.)
Receiver Found If the channel is correct, the ResponseCard will report that the channel has been changed and the receiver was found.
Receiver Not Found If there was a problem finding the channel, the ResponseCard will momentarily indicate that it can’t find the receiver.
Try Another Channel After reporting that the card cannot find the receiver, you will be asked if you want to try another channel. Press YES to repeat the channel entry process.
Presentation Mode After the ResponseCard has successfully found a receiver, it will enter into Presentation Mode and you can begin entering answers when polling is open.