Comprehensive Job Hazard Analysis Guide for Safe Work Practices
160 likes | 205 Vues
Learn about Job Hazard Analysis (JHA) - a technique focusing on identifying workplace hazards to prevent injuries and protect workers. Find out why JHA is essential, steps to follow, common hazards, training tips, and documentation requirements.

Comprehensive Job Hazard Analysis Guide for Safe Work Practices
E N D
Presentation Transcript
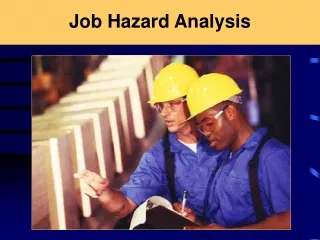
Job Hazard Analysis (JHA) • What is it? • Why do I have to do it?
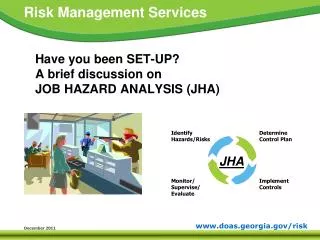
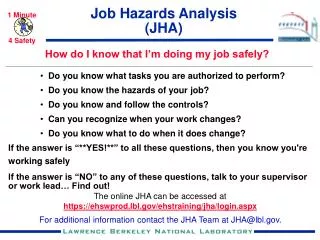
JHA (or JSA) Defined • A Job Hazard Analysis is a technique that focuses on job tasks as a way to identify hazards before they result in injury, illness, property damage, or worse • It focuses on the relationship between the worker, the task, the tools, and the work environment • After identifying uncontrolled hazards, steps are taken to eliminate or reduce them to an acceptable risk level • Reference: OSHA 3071 Guidebook
Workplace injuries • Majority of disabling workplace injuries happen to workers who are in their first year with a new employer • Little or no safety training • Unsafe work procedures • Inadequate Personal Protective Equipment (PPE) • No safety oversight
Why do we all have to do this? • Each lab and each project has unique hazards • One-time training is insufficient: better to drill important concepts • Human beings are unreliable operators, and training is the least reliable way of preventing injuries unless it is thorough
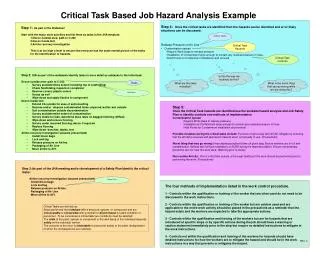
Steps to follow: • Assemble group of people knowledgeable in tasks involved in a lab or research project • Break down jobs involved in a lab or project into steps, and identify potential hazards in each step • Identify “controls” for each hazard • Train all involved personnel and students • Document the hazards, safe procedures, and training sessions in writing
People who will do JHA • Course Coordinator and Lab Coordinator for teaching labs. Input from instructors, TA’s, students. • Team advisor and student captains for team projects. • Principle Investigator(s) for research projects. Input from student researchers. • All of the above should use expertise of COE techs and safety personnel as needed.
Breaking down the job • Not too many steps, not too few steps • Get out of your normal mode of thinking and imagine things that can go wrong • Of the things that can go wrong, prioritize the ones that are: • Most Likely • Most dangerous
A few common hazards • Chemical (toxic, flammable, corrosive, explosive) • Unexpected release of stored mechanical energy (springs, compressed gasses, dropped weights) • Electrical hazards (shock/electrocution, fire, electrostatic discharge) • Mechanical (blades, crushing, rotating machinery, abrasion) • Radiation (lasers, radioactive materials) • Biohazard (toxins, infectious agents, carcinogens) • Ergonomic (lifting heavy weights, repetitive motion, eye strain)
Training • Train instructors and TA’s thoroughly • Train students before they do anything in the lab • Consider giving students a safety test as part of the grade for teaching labs, and as a qualifying litmus test for participation in a project
Controls From most effective to least effective: • Remove the danger altogether if not critical to class/project • Guard the danger • Provide personal protective equipment • Provide instructions, training, warnings
Documentation • Document hazards and safe operating procedures on standard form • Keep this list on file • Provide this list to all students/instructors involved with lab or project before they start work • Keep a signup sheet with names, dates, and signatures, verifying that training occurred
Examples • ME 220L Safety Form • Ethanol Distillation Safety Form • Blank Safety Form: Learn by doing!