CAMERA QUICK START
CAMERA QUICK START. Get started, shoot and upload. Camera quick start. INTRODUCTION The Sanyo Dual Camera VPC-HD2000EX is a Full HD digital camcorder. To read a complete QuickGuide manual check out: http ://en.ca.sanyo.com/dynamic/product/Downloads/QuickGuide_GB-16187795. pdf.

CAMERA QUICK START
E N D
Presentation Transcript
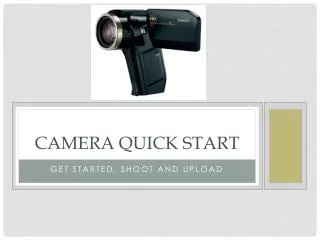
CAMERA QUICK START Get started, shoot and upload
Camera quick start • INTRODUCTION • The Sanyo Dual Camera VPC-HD2000EX is a Full HD digital camcorder. • To read a complete QuickGuide manual check out:http://en.ca.sanyo.com/dynamic/product/Downloads/QuickGuide_GB-16187795.pdf
Camera quick start • 1. GET STATED • Turn on/off the camera by lifting/closing the monitor unit. Alternatively use the ON/OFF-switch – press for one second – underneath the monitor unit. • Remove the lens cover. • Set the REC/PLAY switch - To shoot: REC - To playback: PLAY
Camera quick start • 2. SHOOT • Set the camera to recording mode (REC). • Press the red camera button and recording begins(same procedure on the remote control). • Press the red camera button again to stop recording. • Zoom in and out by using the T/W switch on the left side (sameprocedure on the remote control).
Camera quick start • 2.1 View files • Set the REC/PLAY switch on PLAY • Use the SET button to scroll through the recorded files by moving it left/right and up/down. • Press the SET button to select and view a specific file. • Pause, rewindand stop the selected video by using the SET button as instructed on the monitor.
Camera quick start • 3. UPLOAD • Place the camera as shown in the docking station terminal. • Connect the docking station to apower outlet (using the AC adapter) and to a computer (using the USB cable). • Turn on the camera with the ON/OFF button and follow the instructions on the monitor. • Choose “computer” from the menu by pressing the SET button.
Camera quick start • 3. UPLOAD - continued • Choose “card reader” from the menu. • A window will open, but simply close that and all other pop-ups. • Access the camera as an external hard disk in “This computer” on the PC. • The camera files are placed in the “DCIN”-folder. • Select and copy the desired files to another folder or the desktop on the computer. • You can delete files on the camera through the computer. • Now you are ready to edit video.