Download
1 / 10
100 likes | 108 Vues
Bookkeeping is extremely bustling in the last days of the year. You should close the ongoing year's books and start anticipating the following. By appropriately taking care of these assignments, you can flawlessly progress over time.

E N D
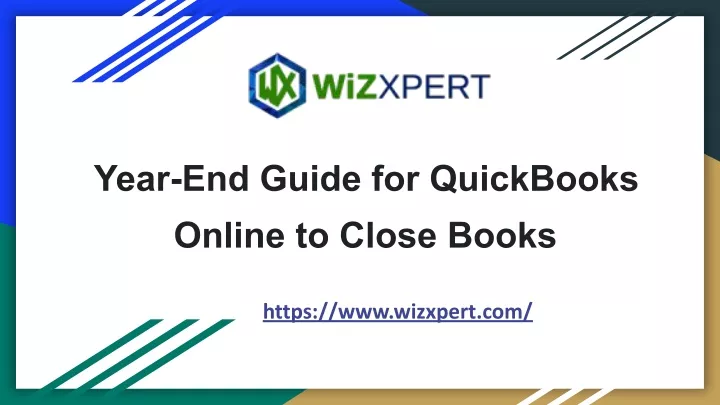
Year-End Guide for QuickBooks Online to Close Books https://www.wizxpert.com/
How To Close Year-End Books 1. You need to click the Company name (gear icon), in the upper-right-corner 2. Select Account and Settings 3. Go to Advanced tab 4. Under Accounting, put a checkmark in the Close the books box 5. Enter the Closing date 6. Set whether or not a password is needed to change closed transactions 7. Click Save 8. Click Done https://www.wizxpert.com/quickbooks-online-year-end-guide/
Confirm the first month of your financial year 1. Go to the Setting icon 2. Select Account and Settings 3. Select Advanced 4. In the Accounting section, verify that the setting in the First month of the financial year field is correct, or select the pencil icon to change the setting 5. Select Save and Done https://www.wizxpert.com/quickbooks-online-year-end-guide/
Check customer account balances, send statements, and clear outstanding deposits To check customer account balances: 1. Select Reports 2. In the search bar, enter Accounts Receivable Aging Summary or Accounts Receivable Aging Detail and select the report you want to review. 3. Review the report to identify customers with outstanding balances https://www.wizxpert.com/quickbooks-online-year-end-guide/
To send a statement: 1. Select Sales, then select Customers 2. Locate the customer you want to send a statement to 3. From the Action column drop-down menu, select Create statement 4. select Save and send to create and preview an email to send with the statement to the customer https://www.wizxpert.com/quickbooks-online-year-end-guide/
Confirm supplier account balances, pay bills and write checks To review outstanding bills: 1. Select Reports 2. On the search bar, enter Accounts Payable Aging Summary or Accounts Payable Aging Detail and select the report you want to review. Review the report to identify any outstanding bills to pay before the end of the year https://www.wizxpert.com/quickbooks-online-year-end-guide/
Reconcile bank accounts, credit cards, and petty cash To reconcile your bank and credit card accounts in QuickBooks online: 1. Go to Settings 2. Select Reconcile 3. Follow the prompts to match the transactions on your bank or credit card statement with the transactions on the Reconcile page https://www.wizxpert.com/quickbooks-online-year-end-guide/
Run year-end reports To run year-end reports: 1. Go to Reports 2. Locate and review the Profit and Loss report and the Balance Sheet, as well as any customised reports you or your accountant require 3. Make sure that the Profit for the Year figure matches the balance on the Profit and Loss report https://www.wizxpert.com/quickbooks-online-year-end-guide/
Get expert accounting advice Here are some tasks that should be handled in QuickBooks with the help of an accountant. Reclassify transactions Distribute profits from the business Prepare year-end tax returns Close the books (see steps above) ● ● ● ● https://www.wizxpert.com/quickbooks-online-year-end-guide/