How to decorate your Easter theme Layer Cake!
Learn how to beautifully decorate your Easter-themed layer cake with this comprehensive guide. From preparing your cake batter with parchment paper to crafting colorful icing using gel colors, we cover it all! Master essential cake decorating techniques like crumb coating, icing, and piping with various tips to create stars, rosettes, and flowers. Additionally, discover how to transfer images onto your cake for that professional touch. Elevate your baking skills and impress your friends and family with a delightful Easter cake!
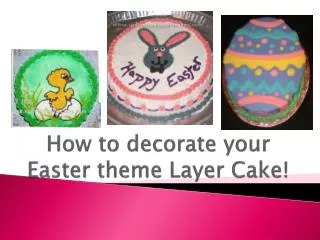

How to decorate your Easter theme Layer Cake!
E N D
Presentation Transcript
Baking a cake • Ensure you put a parchment paper circle underneath your cake batter to make it easier to take out when baked & cooled
Demo • Make icing • Color your icing using a toothpick and gel color How to prepare your icing bags • Cut coupler size • Fit bag on a cup • Fill about a hands length of icing.
How to fill your cake • Making a well/ wall around your filling • http://www.youtube.com/watch?v=kvScYh5ghA8&feature=relmfu
How to Crumb Coat • http://www.youtube.com/watch?v=mCEV5bCJBEU&feature=relmfu
How to ice your cake • http://www.youtube.com/watch?v=lw92AXYARUQ&feature=relmfu
STARS • Tip #18 & medium icing • Hold piping bag hovering over practice board. • Squeeze, hold, lift. • Maintain 90° angle
ROSETTES • Tip #18, medium icing • Squeeze on 90° angle and wrap around
SHELLS • Squeeze on 45° angle and pull so it has a tail • Often used for borders
DOTS • Round Tip, Less than 90° • Squeeze to size of dot required and pull down quickly
Basket Weave • Can make a basket or a fence using the tip • http://www.youtube.com/watch?v=RE4hBly_F7w
STAR FLOWERS • Tip 2D, medium icing,90° • The tip should be lightly touching surface. • Squeeze, letting icing build up to make the flower. Stop squeezing, then lift tip away. • Decorate the flower center, with small bead of icing, using round tip
SWIRL DROP FLOWERS • Tip 2D, 90° angle • Lightly touch the surface with tip 2D. • As you squeeze out icing, slowly turn your hand until the back of your hand returns to its natural position • You may use a small round tip to pipe a small bead or dot
LEAVES • Tip #352, thin consistency icing, 45° angle • With angled side down, pull down
Piping a Trim • Use dots, rosettes or stars to make a simple trim around your cake and give it a professional look
Transferring an image onto a cake • Choose the picture you would like to transfer • Lay a piece of parchment paper on top • Trace around the image with a gel writer • Place the parchment paper gel side down onto the cake • Fill the image with the desired colors • You may use different piping techniques to create a professional look
Choose one of the images for your lab group’s cake • Decide what colours of icing you will need to create your picture • Write them down on your lab sheet to refer to for tomorrow when you are making icing