Recording voices ( 1 / 6 )
60 likes | 170 Vues
Learn how to effectively record voices and manage sound clips in your Scratch projects. This guide covers the essential steps: ensuring you have a sound card and microphone, creating a new project and selecting the appropriate sprite, managing sound clips by renaming, playing, or deleting them, and importing new sound files. Follow the simple steps to record audio using the Sound Recorder, monitor the volume to avoid distortion, and play back your recordings. Enhance your Scratch projects with engaging audio elements easily!

Recording voices ( 1 / 6 )
E N D
Presentation Transcript
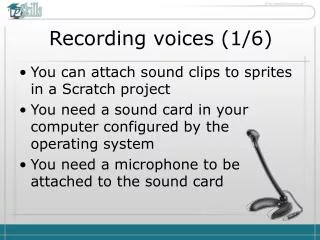
Recording voices (1/6) • You can attach sound clips to sprites in a Scratch project • You need a sound card in your computer configured by the operating system • You need a microphone to be attached to the sound card
Recording voices (2/6) • Create a new project • Click on Sprite1 and choose 'Sounds' tag to manage sound clips
Recording voices (3/6) • Recorded sounds can be • Renamed • Played • Deleted
Recording voices (4/6) • Press on button 'Import' and choose new prerecorded sound to sprite • Browse for a file and press 'OK' • You get a new sound item to the list
Recording voices (5/6) • Press on button 'Record' • Use 'Record' button in 'Sound Recorder' window • During the recording you can observe the volume • Avoid the red distortion range
Recording voices (6/6) • Use 'play sound ...' function to play back the recorded sound clip