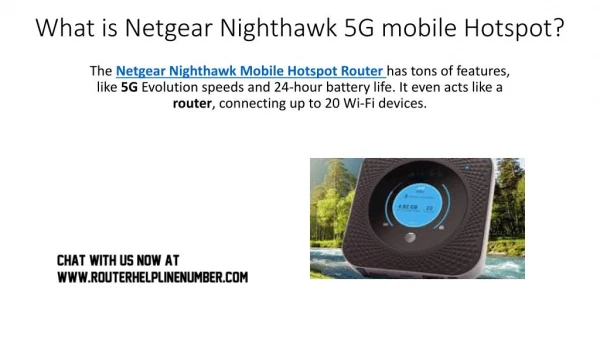
Netgear-Nighthawk-Setup-Without-Using-the-App
Nighthawk-setup.com is your new trusted online hub for setting up Netgear Nighthawk routers without using the app. If you are a first-time user or a tech genius, we simplify the manual setup process through web-based login, step-by-step guides, and troubleshooting tips. From accessing routerlogin.net to configuring advanced settings, we walk you through everything without using any mobile app.


Netgear-Nighthawk-Setup-Without-Using-the-App
E N D
Presentation Transcript
Netgear Nighthawk Setup Without Using the App Step-by-Step Manual Configuration Guide https://nighthawk-setup.net support@nighthawk-setup.net [Nighthawk Setup Support]
Why Manual Setup? Setting up your Netgear Nighthawk Setup without app. This guide focuses on the manual setup method via a web browser, which is ideal for desktop/laptop users or when the app is unavailable. It offers flexibility and direct control over your network configuration.
What You'll Need 1 2 3 Your Nighthawk Router Cables & Power Device with Browser Ensure you have your specific Netgear Nighthawk model. Power adapter and a working Ethernet cable. A computer, laptop, or tablet with any web browser. 4 5 Internet Modem Optional Info Your existing internet modem from your ISP. Your preferred network name (SSID) and password.
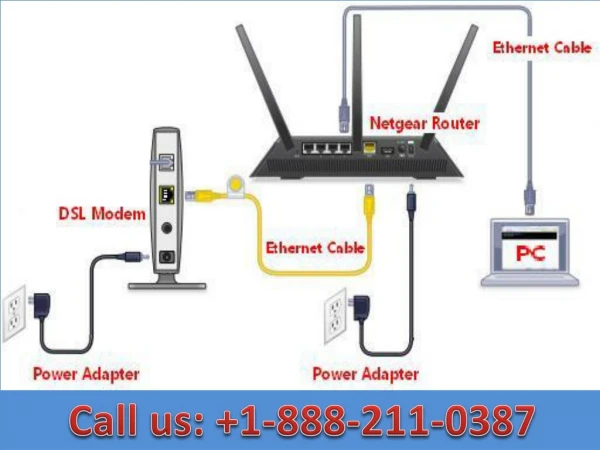
The Physical Setup 1. Connect the modem to the router¾s WAN port (usually yellow) using the provided Ethernet cable. This is your primary internet connection. 2. Plug in and power on both your modem and your Nighthawk router. Ensure all connections are secure. 3. Wait for the LED lights to turn solid (typically white or blue) on both devices. This indicates a stable connection and power.
Connect to the Router Network Open WiFi Settings Join Default Netgear On your computer, navigate to your WiFi network settings. Connect to the default network (e.g., "_NETGEAR-XX"). Or Use Ethernet No Password Needed For a direct connection, plug an Ethernet cable from router to PC. No password is required for this initial connection.
Access the Web Interface 1. Open any web browser on your connected device. 2. In the address bar, type http://www.routerlogin.net or 192.168.1.1 (the default IP address). 3. Press Enter to load the Netgear setup page. 4. Log in with the default credentials: Username: admin and Password: password.
Setup Wizard Steps Launch Wizard 1 The Netgear Setup Wizard will automatically launch. Detect Internet 2 Select "Yes" to allow it to detect your internet connection. Follow Prompts 3 Set your new WiFi network name (SSID) and a strong admin password. Choose Security 4 Select your preferred security options (WPA2-PSK recommended). Finish & Apply 5 Click "Finish" to save all settings and apply them.
Optional Advanced Settings Guest Network Firmware Update Create a separate, secure network for visitors. Keep your router secure and optimized with the latest firmware. Parental Controls Port Forwarding / QoS Manage internet access and content for family members. Customize network traffic for gaming or specific applications.
Troubleshooting Tips Can't Access Login Page? Forgot Admin Password? Clear your browser's cache and cookies. Perform a factory reset: Press and hold the reset button on your router for 10 seconds. Try an alternative web browser. Warning: This will erase all custom settings. Directly type 192.168.1.1 into the address bar. Always ensure your modem is online and functioning correctly.
Summary: Your Nighthawk, Your Way Manual Setup is Simple Browser-Based Access Secure Your Network Quickly configure your Netgear Nighthawk without the need for an app. All configurations are done conveniently through your web browser via routerlogin.net. Remember to change default credentials for enhanced security and a personalized network name.