Guidelines for Creating and Sharing a Prezi Presentation in Lab Groups
Follow these step-by-step instructions to create and share a Prezi presentation with your lab group. One member will complete the setup while everyone else waits. First, sign up for an Edu account, entering your NYA email address. After receiving the confirmation email, register your account. One person will then create a new Prezi, entering a title and description. They will invite others to collaborate by sending a link. Ensure all group members log in to their own accounts to edit the presentation collaboratively. Let’s get started on your Prezi!

Guidelines for Creating and Sharing a Prezi Presentation in Lab Groups
E N D
Presentation Transcript
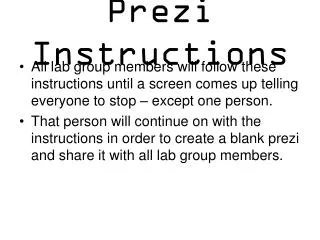
Prezi Instructions • All lab group members will follow these instructions until a screen comes up telling everyone to stop – except one person. • That person will continue on with the instructions in order to create a blank prezi and share it with all lab group members.
Fill in the information under “School or University details. Check the box and click “Continue”.
You should get a message asking you to check your email. Go to your email and click the link found in the email sent to you.
You should get an email similar to the one above. Click on the link.
Fill out all information boxes. Check the Terms of Use box and then click “Register and Continue”.
Stop...read this! • At this point, have just one person perform the following steps.
Enter a Title and Description. Click “New prezi”.
X-out the Start screen. Next, click on the blue “Exit” button at the top of the screen. You can come back later to play around in your new prezi.
Copy and paste the link in the box and send to your lab partners. This link gives your partners access to all edit your prezi together.
When your partners click on the link you sent them in their email, they will have to login to their own prezi account to start editing the prezi as well. If your partners haven’t made a prezi account yet, they can do so now.