Cut Out Lab - Photoshop
10 likes | 145 Vues
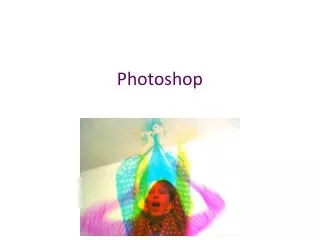
Cut Out Lab - Photoshop. Find or take a picture to cut out (Green Screen is easiest) If your in the internet--Control Click to copy Go to Photoshop and Do a “File---New” Make sure its set on Transparent. Click Edit---Paste to Paste picture into Photoshop.

Cut Out Lab - Photoshop
E N D
Presentation Transcript
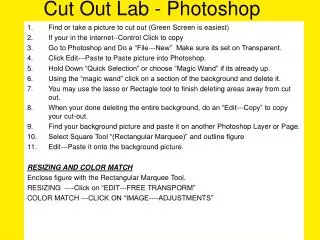
Cut Out Lab - Photoshop Find or take a picture to cut out (Green Screen is easiest) If your in the internet--Control Click to copy Go to Photoshop and Do a “File---New” Make sure its set on Transparent. Click Edit---Paste to Paste picture into Photoshop. Hold Down “Quick Selection” or choose “Magic Wand” if its already up. Using the “magic wand” click on a section of the background and delete it. You may use the lasso or Rectagle tool to finish deleting areas away from cut out. When your done deleting the entire background, do an “Edit---Copy” to copy your cut-out. Find your background picture and paste it on another Photoshop Layer or Page. Select Square Tool “(Rectangular Marquee)” and outline figure Edit---Paste it onto the background picture. RESIZING AND COLOR MATCH Enclose figure with the Rectangular Marquee Tool. RESIZING ----Click on “EDIT---FREE TRANSPORM” COLOR MATCH ---CLICK ON “IMAGE----ADJUSTMENTS”