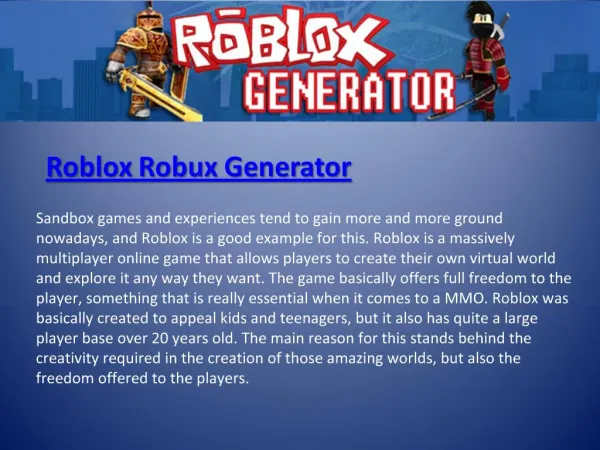
Complete Roblox Tutorial Part 2
Complete Roblox Tutorial Part 2. OVERVIEW: This section covers the functionalities of all important menus on the menu bar. Please Note: I will not go in full depth yet over every menu because some require a complete tutorial for that one menu. (i.e. Lua Scripting). File Menu.

Complete Roblox Tutorial Part 2
E N D
Presentation Transcript
Complete Roblox Tutorial Part 2 • OVERVIEW: • This section covers the functionalities of all important menus on the menu bar. • Please Note: I will not go in full depth yet over every menu because some require a complete tutorial for that one menu. (i.e. Lua Scripting)
File Menu • New – Opens a new Scene • Open – Allows you to open a previously saved Scene. • Close – Closes the current Scene. • Save – Saves the current Scene. • Save as… - Allows you to decide where to save your Scene at on your computer. • Publish to ROBLOX – This will upload the Game you just created to your Roblox profile. • Save Selection as Model… – This will allow you to save whatever you have selected as a Model. I will go over Models in a later lesson. • Publish Selection to ROBLOX… - This allows you to save what you have selected as a Model and then uploads it to your Roblox profile.
File Menu (Pt. 2) • Print… - This is used for printing scripts you create. I will talk about Scripting in a later tutorial. • Print Preview – Similar to the above, only allows you to preview what your printing before you print it. • Print Setup – Set certain settings for how you want to print your file. • Exit – Exits Roblox Studio.
Edit Menu • Undo – Undoes the last action. Simple eh? • Redo – Redoes the last thing undone. • Cut – Cuts whatever is selected and allows it to be pasted again. • Copy – Copies whatever is selected. • Paste – Pastes whatever was last Cut or Copied. • Clear – Deletes whatever is selected. • Select all – Selects everything in the current Scene. • Duplicate – Copies the current selection and places it in the Scene. • Lock – Locks whatever is selected so it can’t be selected from the Workspace until unlocked. • Unlock All – Unlocks everything that is locked.
View Menu • Start Page – You will view the Roblox Home Page. • Toolbox – Opens the toolbox. This is where you can insert bricks, Roblox default Models, your Models, and Free Models (Models published by others to be used by everyone.) • CAUTION: Although some free models are very cool, many contain viruses that can easily mess up your scene. It is also not creative at all and leads to negative reviews if you use free models. I would try to stay away from them as much as possible. • Explorer – Makes the Explorer visible. (If it is not already visible, you should turn it on now. This is a very important tool when creating games in Roblox) • Properties – Makes the Properties visible. (Like the explorer, make this visible as well.) • Full Screen – Makes Roblox Studio fill up your entire screen for best size.
Insert Menu • Model – Allows you to insert a Model you have saved to your computer. (Sorry about that.) • Object – Allows you to insert any object available for use in Roblox Studio. (I’ll go over these in a later tutorial.) • Service – Allows you to insert a service into your Scene. (I would stay away from this unless you know what you are doing. You can easily mess up your Scene using these.)
Format Menu • Rotate – Rotates a brick (or bricks) you have selected by 90 degrees. • Tilt – Tilts a brick (or bricks) you have selected by 90 degrees. • Group – Allows you to group two or more objects together. (Only available when multiple objects are selected.) • Ungroup – Allows you to ungroup a group you have previously made. (Only available when a group is selected.)
Tools Menu • Test • Play Solo – Places your Roblox character in the Scene and allows you to walk around. • Start Server – Starts the place in a separate window but without a player in it. • Start Player – If you have click Start Server, this allows your Roblox Character to come into the scene. • All other Tools have to do with scripting or performance. You should not mess with this unless you know what you are doing.
Window Menu • Basically, this is similar to the tabs. It just has a list of all the tabs under this and lets you choose which one you want active.
Help Menu • About Roblox… - Gives you information on the current version of Roblox Studio you are using and other goodies • Online Help… - A great place to find answers to many questions for using Roblox Studio. (This is where I learned to use Roblox) • Object Browser – Gives a list of every object on Roblox and a short description as well as scripting code to edit them.
Conclusion • We are finally done with the overview of all the menus. Don’t worry, once you get used to everything in Roblox Studio, it becomes very easy and fun to use. • You may have noticed I skipped some menus. These are menus that have to do with scripting and would be too complicated to explain right now. I will explain them in a later tutorial. • Don’t forget to subscribe • If you want to view my Roblox profile it is brickman637. • Best of luck to your game making. Goodbye.