Exporting GPS Data for GIS Integration Using Pathfinder Office
After correcting your GPS data in Pathfinder Office, you can export it for use in GeoMedia and ArcGIS. To customize your export setup, navigate to the Utilities menu, select "Export," and choose either "Sample ArcView Shapefile Setup" or "Sample ESRI Shapefile Setup." Follow the steps to configure output settings, including combining input files, selecting attributes, and verifying coordinate systems. Once the export is complete, check the output folder for your files and note their locations for future GIS integration.

Exporting GPS Data for GIS Integration Using Pathfinder Office
E N D
Presentation Transcript
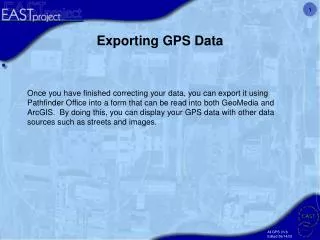
Exporting GPS Data Once you have finished correcting your data, you can export it using Pathfinder Office into a form that can be read into both GeoMedia and ArcGIS. By doing this, you can display your GPS data with other data sources such as streets and images.
1. Before exporting any data, it is best to customize an export setup. Go to the Utilities menu in Pathfinder Office and select “Export.” • In the Export box, choose the Export Setup to be: “Sample ArcView Shapefile Setup” (GPS Pathfinder Office 2.x) OR: “Sample ESRI Shapefile Setup” (GPS Pathfinder Office 3) • Click the “New” button.
4. Click on the “Output,” tab and select “Combine all input files and output to an Auto-Generated subfolder.” 3. The first page opens to the data tab. The default is set to “Export All Features.”
5. Click on the Attributes tab. You have many options here, so if you want to know the time and date that the data was recorded, click on those boxes. 6. Click on the Position Filter tab and make sure it matches the display to the right. 8. Click on the Coordinate Systems tab and make sure it matches the display to the right. 7. Click on the Units tab and make sure it matches the display to the right.
9. If the file you wish to export is not showing in the “Selected Files,” box, click “Browse” and load the appropriate file. Also check the “Output Folder” box so that you will know where your files will be exported. By default it exports to c:\Pfdata\school map\Export . Click OK.
10. You will see a box pop up describing the success of the export. Check the button that says “More Details.” The details will show you the names and paths of each feature exported. You will need to know these file locations when you are ready to place the features in a GIS. After making a note of the file locations, you may close this window as well as the “Export Completed” pop up.. The next section will explain how to open your files in a GIS.