Download

1 / 3
0 likes | 12 Vues
Front porch columns are more than just structural elements; they add a touch of elegance and curb appeal to your home. Whether you're replacing old, worn-out columns or installing new ones, understanding the proper steps is crucial for a successful project. In this guide, we'll walk you through How to install front porch columns, ensuring your installation is both sturdy and aesthetically pleasing. Ottawa Column Replacement is here to provide expert guidance and top-quality materials for your project. For more details -: https://ottawacolumns.ca/<br><br>

E N D
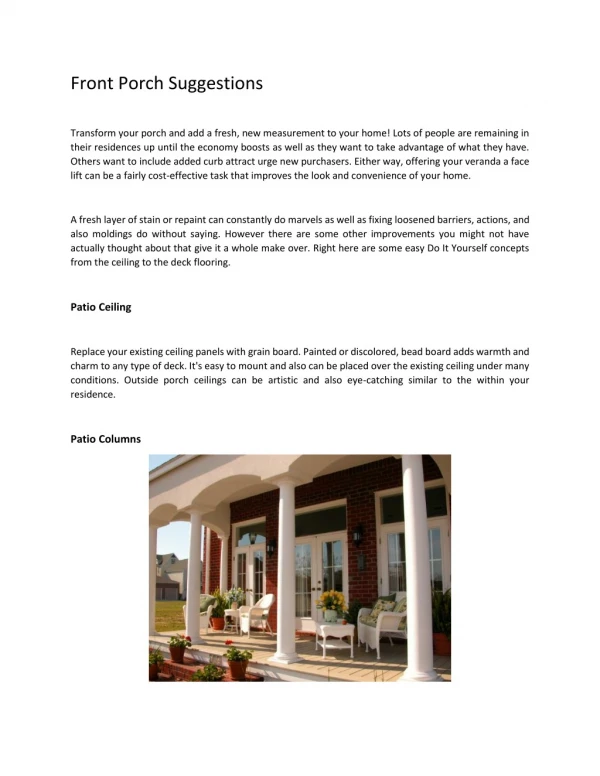
How to Install Front Porch Columns: A Step-by-Step Guide Front porch columns are more than just structural elements; they add a touch of elegance and curb appeal to your home. Whether you're replacing old, worn-out columns or installing new ones, understanding the proper steps is crucial for a successful project. In this guide, we'll walk you through How to install front porch columns, ensuring your installation is both sturdy and aesthetically pleasing. Ottawa Column Replacement is here to provide expert guidance and top-quality materials for your project. 1. Gather Your Materials Before you begin, it's essential to gather all the necessary tools and materials. For installing front porch columns, you'll need: Measuring tape Level Saw (if cutting is required) Drill and appropriate drill bits Screws or bolts Construction adhesive Shims Column base and cap (if separate from the column) Safety gear (gloves, goggles) ● ● ● ● ● ● ● ● ● Having everything ready will ensure a smooth and efficient installation process. 2. Measure and Prepare To get started, measure the distance between the porch floor and the porch roof's underside. To make sure the column fits accurately, it's important to obtain an accurate measurement. If the column has to be trimmed, cut it to the proper height with a saw. With the adjustable columns offered by Ottawa Column Replacement, you can change the height as necessary. Next, make sure the surface where the column will be mounted is level. Shims can be used to provide an even surface if the floor or ceiling are not completely level. To guarantee that the column is straight and provides sufficient support for the structure, this stage is essential.
3. Position the Column After the column has been trimmed to size and the surfaces are level, install it. To keep a heavy column steady while working with it, you might require help. After positioning the column bottom into the base, place the column base, if separate, on the ground. Verify that the column is in line with the overhead roof beam. Use a level to verify the positioning. The column needs to be entirely vertical. Shims at the base can be used to obtain the proper positioning if necessary changes are made. Ottawa Column Replacement makes this step easier by providing columns with bases and crowns that are already aligned. 4. Secure the Column It's now time to secure the column after it has been properly positioned. When the column joins the porch floor and roof, cement the top and bottom of the column together. It will add further stability with this solution. The column can then be secured by inserting screws or bolts after pilot holes have been drilled through the base and into the floor. Use the same technique to fasten the cap on your column to the roof beam. Using bolts or screws that are appropriate for the porch's roof and floor material will provide a sturdy hold. 5. Finishing Touches Check to make sure everything is level and balanced once you've fixed the column. Make the required corrections and remove any leftover sticky with a clean cloth. The front porch pillars may support your porch roof and improve the curb appeal of your property once the glue has completely dried, which normally happens in a day or two. You can choose to match the column's exterior paint or stain color to your home. You may choose a pre-finished column style and color that matches the exterior of your house from the selection provided by Ottawa Column Replacement. Conclusion Front porch column installation can be a reasonable do-it-yourself project if you have the proper equipment, supplies, and advice. This step-by-step tutorial will show you How to install front porch columns so you can get a polished look that increases the value and appeal of your house. You may rely on Ottawa Column Replacement to assist you at every stage if you need premium columns and knowledgeable advice.