Download
1 / 5
50 likes | 148 Vues
Consultations To open a consultation for a specific patient, click on the button (or press F8 ). The ‘Select a patient’ dialog will appear. In the ‘Search Characters’ box, begin typing the surname of the patient.

E N D
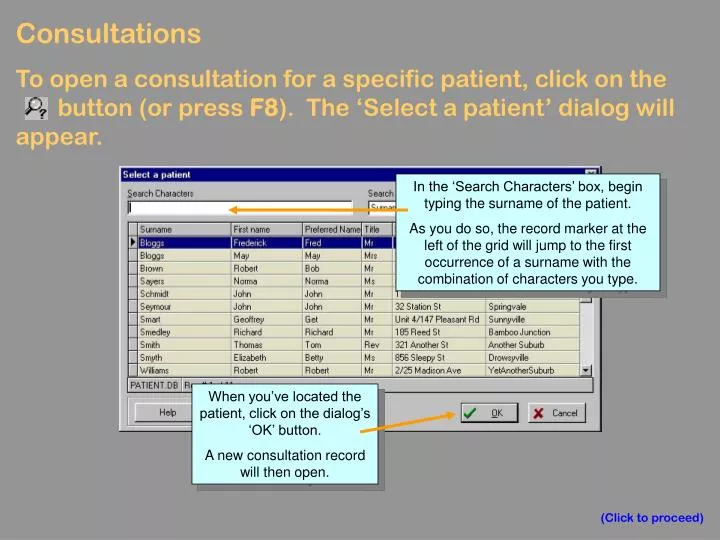
Consultations To open a consultation for a specific patient, click on the button (or press F8). The ‘Select a patient’ dialog will appear. In the ‘Search Characters’ box, begin typing the surname of the patient. As you do so, the record marker at the left of the grid will jump to the first occurrence of a surname with the combination of characters you type. When you’ve located the patient, click on the dialog’s ‘OK’ button. A new consultation record will then open. (Click to proceed)
Enter data as appropriate for the current consultation in the fields in the lower part of the form. You can refer to previous consultations and other data on the patient as necessary. (Click to proceed) These fields are read-only. The timer can be paused by clicking on this button. These fields are ‘cumulative’. When you double-click on them, the current date will automatically be inserted at the end of the file. Memo fields: double-click to edit. Clicking on any of these buttons will open the PPro Rich Text Editor with the template you designed on the Options Form embedded at the top. Click to construct an invoice for the consultation.
The ‘Previous consultations’ tab contains data on all prior visits of the current patient. You can double-click on memo fields to display their contents. Click on the ‘Current consultation’ button to return to it. (Click to proceed) Click on this button to display the selected record in the grid as though it was the current consultation. Click on the ‘Current’ button to redisplay the real current consultation. Double-click on any of these memo fields to display their contents. Click on this button to return to the current consultation. Click on this button to move to the first record in the grid.
Patient Pro’s ‘history lists’ are automatically created when you enter patient bio-sign data on the ‘Allergies/Bio-signs tab. Click on this radio button to display a grid containing height data for the current patient. (Click to proceed)
See the other PowerPoint presentations in this series: • Starting Patient Pro • Configuring Patient Pro to suit your practice • Adding and deleting patients • Issuing invoices • Receiving payments (Click to conclude)