Oxy-Fuel Cutting
580 likes | 2.06k Vues
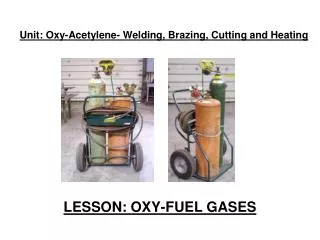
Oxy-Fuel Cutting. I. Parts and Adjustments. Torch Cutting Tip Pre-heat holes Cutting hole. Three control knobs. Preheat O2 valve Preheat Propylene valve Cutting oxygen valve Lever. Lighting and Adjusting Torch. Propylene valve open slightly Light torch with striker

Oxy-Fuel Cutting
E N D
Presentation Transcript
I. Parts and Adjustments Torch • Cutting Tip • Pre-heat holes • Cutting hole
Three control knobs • Preheat O2 valve • Preheat Propylene valve • Cutting oxygen valve • Lever
Lighting and Adjusting Torch • Propylene valve open slightly • Light torch with striker • Adjust flame back to tip • Adjust preheat O2 until neutral flame • Press cutting lever and readjust O2 (NOTE) Propylene = 10 psi, Oxygen = 40 psi Tank valves are open fully on both gases.
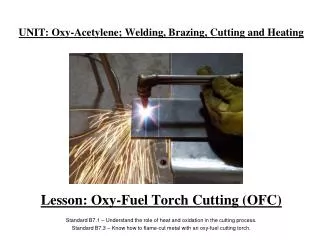
Cutting Metals Metal preparation • Metal should be clean • Mark desired cut with soapstone • Place metal on cutting table • Get comfortable
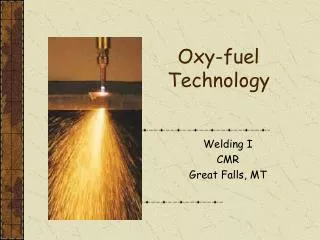
Steps to making a cut • Inner cone flames • 1/16 to 1/8 • Prevents slag from collecting on tip • Allow the edge of the steel to melt • Press down slowly on the O2 cutting lever until completely open. • Tilt torch tip slightly toward the direction of the cut • Move the torch slowly along the surface • When beveling or cutting at an angle, lean the tip at the desired angle and hold the torch parallel to the work.
Turning off the Torch • First the Propylene valve is closed on the torch. • Then close the oxygen valve. • Close both tank valves • Re-open the torch valves to release hose pressure and then close them again. • Back out the regulator adjusting screws until they just become loose.