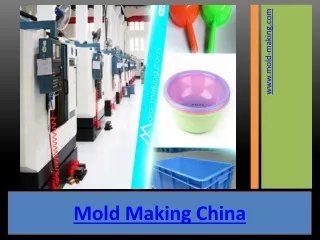
Mold Making
Mold Making. This is the latex mold maker I use. Mold Making. Press the specimen into the clay matrix to level it. Mold Making. I place on plastic place mat to prevent sticking. Mold Making. Trim the clay to even the edges for a better appearance. Mold Making.

Mold Making
E N D
Presentation Transcript
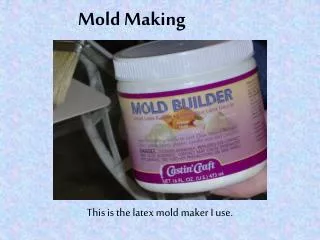
Mold Making This is the latex mold maker I use.
Mold Making Press the specimen into the clay matrix to level it.
Mold Making I place on plastic place mat to prevent sticking.
Mold Making Trim the clay to even the edges for a better appearance.
Mold Making Smooth the clay to eliminate unwanted shapes
Mold Making To prevent sticking, coat with a little bit of Ivory Liquid.
Mold Making Spread evenly over specimen and base.
Mold Making Dip your brush sparingly into the latex mold maker.
Mold Making Cover the entire specimen with a smooth even coat
Mold Making Make sure to add an “edge” around base about 3/4 inch
Mold Making Allow specimen to completely dry (a few hours).
Mold Making Clean excess off brush after EVERY session.
Mold Making Thoroughly rinse your brush (or it will be useless).
Mold Making Once dry (appears yellow/clear) repeat process.
Mold Making Repeat procedure for 3-4 coats in this fashion.
Mold Making Cut cheesecloth to the shape of your mold.
Mold Making Remember it has to cover edges as well.
Mold Making Press cloth to form-fit the specimen. (It will be a little tacky)
Mold Making Press cloth to form-fit the specimen. (It will be a little tacky)
Mold Making Press cloth to form-fit the specimen. (It will be a little tacky)
Mold Making Paint over cheesecloth to become another layer.
Mold Making Continue to add a cloth layer after 2-3 latex layers.
Mold Making Once completed, peel carefully off sheet.
Mold Making Once completed, peel carefully off sheet.
Mold Making Remove mold from specimen (carefully to prevent ripping)
Mold Making Remove mold from specimen (carefully to prevent ripping)
Mold Making Now you can recreate the specimens with plaster (and paint)