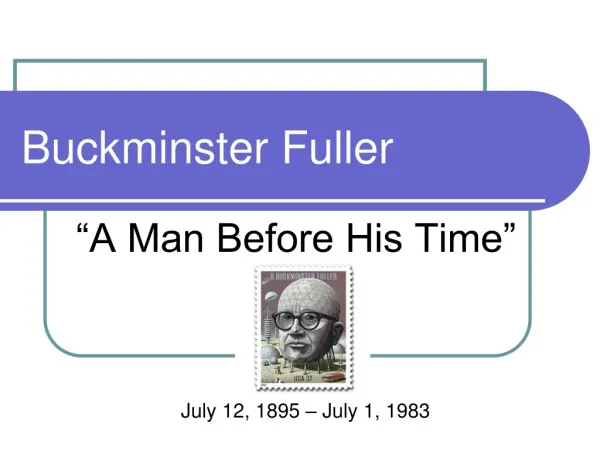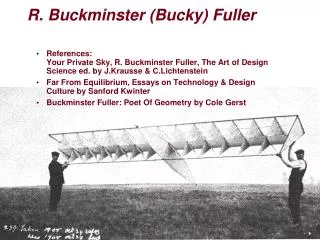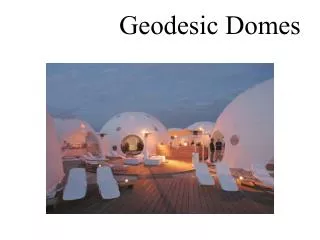
Using Grasshopper with Buckminster Fuller Domes
Using Grasshopper with Buckminster Fuller Domes. STA Project, Spring 2011 Faculty Member: Daniel Lopez-Perez STA: Devon Morris. Project Description.

Using Grasshopper with Buckminster Fuller Domes
E N D
Presentation Transcript
Using Grasshopper with Buckminster Fuller Domes STA Project, Spring 2011 Faculty Member: Daniel Lopez-Perez STA: Devon Morris
Project Description • Last year, Professor Lopez-Perez and I used Grasshopper (a plug-in for the program Rhino) to create one of Buckminster Fuller’s surface domes. This year, our goal was to further our knowledge on Grasshopper as well as create the 31-Circle model, which is the base of many other models.
Obstacles Encountered • One of the biggest obstacles we had was through working with different computers and people, we would have different versions of Grasshopper which would sometimes be unusable on certain computers. • There was also the struggle of creating the circles accurately. We were basing our model off of a drawing, which was then recreated into Rhino which was then recreated into Grasshopper – creating a rather high margin of error for a few of the circles and their intersecting points.
Part 1 The first part of the semester, I was able to attend a workshop that taught a lot of information regarding Grasshopper. It was a great experience to go to. Even though last year I worked with Grasshopper, my understanding of it was on the surface level, but the workshop taught me a deeper understanding of the mechanics which helped me throughout the rest of the semester.
Part 2 The next part of our project was to create the multitude of circles, which we did in Rhino.
Using these circles as a guide, we created a single circle in Grasshopper and rotated copies of it so that it would fit inline with the Rhino version. We repeated this until all 31 Circles were created.
Part 3 Next, from these circles, I used Grasshopper to find the intersections where I would place a point. These points would therefore always stay where two circles intersect.
Part 4 • Finally, I connected each adjacent three points with surfaces – filling out the sphere with a collection of triangles. Triangles were used because they’re always flat, whereas a rectangle could be curved by accident.
There were a few areas that had problems, but with what I had learned from the initial workshop, I was able to overcome them. Much of these issues related to how Grasshopper organizes data lists and having to rearrange them to my liking.
The finished product is not just the 31-Circle Dome but also a surfaced variation of it as well. These two models can be altered to one’s liking, and still the surfaces connect on their own.
The complete Grasshopper command. Incredibly dense since each of these interact with each other.