iServ Technical Manual
iServ Technical Manual. Handset: 8630 Base: 8660. Stand-Alone Setup. The following setup will be demonstrated on a OS7070 with 1x base unit and 4x handsets. 4x Handsets 1x Base Station Samsung OS 7070 8x MGI Licence 4x 3 rd Party Sip Licence 4x Sip Trunk Licence

iServ Technical Manual
E N D
Presentation Transcript
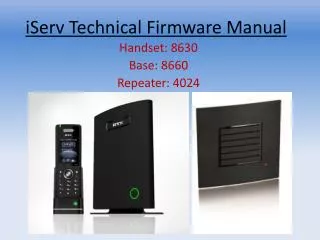
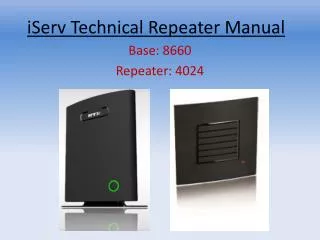
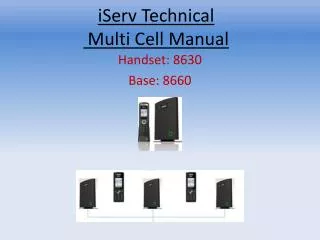
iServTechnical Manual Handset: 8630 Base: 8660
Stand-Alone Setup The following setup will be demonstrated on a OS7070 with 1x base unit and 4x handsets. • 4x Handsets • 1x Base Station • Samsung OS 7070 • 8x MGI Licence • 4x 3rd Party Sip Licence • 4x Sip Trunk Licence • 1x Sip Phone Virtual Card • PoE Switch / Injectors • 36 – 60V IEEE802.3af (Class 2) • DHCP (For initial setup) • Static can be set after boot up. • Time Server on the network or public NTP Server. • Public: ntp.time.org.za
Firmware Locations • Samsung Dealer: • http://www.miatech.co.za/Partner/Technical/Software/I-Serv%20IP%20DECT/ • Username: “Dealer Username” • Password: “Dealer Password” • NON Samsung Dealer: • http://www.miatech.co.za/Partner/iserv/ • Username: iserv • Password: iserv
Samsung OS7070 Preperations • MMC 860 - MGI & SIP Licences • MMC 857 - Setup Virtual Card • MMC 724 - Provide SIP Phone Ext numbers • MMC 842 - Provide User ID and Password. • MMC 835 - Set Codec. Optional DSP on Base: G729. Please Specify if needed. • MMC 835 - Frame Count: 20ms • MMC 837 - Sip Extension Expire time: 60 • MMC 861 - DTMF: RFC 2833
Network Tab Specify the details below. Specify same GW, DNS and VLan as PBX.
Server Tab Log onto the base Station. Menu*47* Open Server Tab • Registrar - PBX IP • Reregistration Time - 600 • SIP Transport - UDP • Keep Alive - Enable • DTMF Signalling - RFC 2833 • Codec Priority - G711a / G729 • Depending on the Codec required.
Adding Extensions • Extension - Taken from MMC 842 • Authentication User Name - Same as above • Authentication Password - Taken from MMC 842 • Display Name - User Name.
Registering Extensions • Select required Extension. • Click Register Handset Handset • Press Menu • Scroll to Connectivity • Select Register • Access Code: 00 00 Handset will Register shortly, test with internal and external calls.
Provider Change Base Once the Base and Handset has been Setup. You will need to change the Provider of the Units. Base: • Login and edit the URL address. • Example: http://192.168.0.209/Key.html • For Samsung: 141-150-083-189-134-122-181-031 • For Generic SIP: 080-159-041-158-098-004-189-177 • Click - Save and Forced Reboot. Open Home Status: Confirm that System Type reads: Samsung OfficeServ
Provider Change Handset Once the Base has been done. You will need to change the Provider of the handset. Handset: • Place the “Set Provider” in root directory. • Install “RtxEaiPortServer-setup” • Open RTX Port Server Program • Right Click Setup. • Change Comm port under UART Tab. • Close Window. • Open Root File. • Edit Comm port in “RtxEaiPortServer.ini” under the UART line. • Open CMD • Type the following while handset is turned on. • Cd\ • Cd set provider • SetMmiSystemProviderKey.bat '“xxx-xxx-xxx-xxx-xxx-xxx-xxx-xxx"‘ • CMD will display SUCCESS. • Switch off and on again.
Time Server Once installation has completed, the time needs to be rectified. This is a VERY Important Factor when Setting up Multi Cell. • Select Time Tab • Time Server: Public or Local • Refresh time: 2 • Timezone: +2:00 • Click save. • Switch handset off then on. • Correct time will display.