Download
1 / 8
100 likes | 132 Vues
How to do email marketing with Mailchimp, slide, digital marketing slide, email marketing slide, smbelal.com,best slide, slide hack<br>

E N D
EMAIL MARKETING WITHMAILCHIMP The complete guide to using mailchimp for email marketing
WHY MAILCHIMP? 01 TABLE OF CONTENTS GETTING STARTED WITH MAILCHIMP FOR EMAIL MARKETING 02 CONCLUSION 03
WHY MAILCHIMP? MailChimp is only one of many solutions out there. So why should you go with this service? MailChimp is free for up to 2000 subscribers on your email list and 12,000 monthly emails.The service is trusted by more than seven million users.It integrates extremely well with WordPress. MailChimp is very easy to use and lets you create HTML email templates without any coding. It also provides a superior user experience.
Getting Started With Using MailChimp for Email Marketing As a first step, you will need to set up a free MailChimp account. For that, simply go to the MailChimp website and click Sign Up Free in the upper right corner. Enter an email address, user name and password, and click Create My Account. After clicking the link in your confirmation email, you need to input some personal info (no credit card required, don’t worry). Once completed, you automatically move on the main menu. 2. CREATE YOUR FIRST EMAIL LIST 3. GENERATE A SIGNUP FORM Signup forms appear on your website and allow people to subscribe to your newsletter. You can get there via Lists and then use the drop-down menu to the right and select Signup forms. After you’re done with the signup form, add the form to your website via plugin, manually or in other ways such as WP Popup Plugin or SumoMe. While we all know that “the money is in the list,” before you can start putting anything of value in it, you have to create it. So let’s do it, shall we? First, click on “Create a List”. Then enter necessary information such as List name, Deafult “From” Email, Default “From” Name, your personal information, Notifications and then click on “Save”. 1. GETTING TO KNOW THE DASHBOARD JUPITER MERCURY The MailChimp dashboard is the heart and soul of your MailChimp account. But hey, you are a WordPress user, so what else is new? Create and Send Campaign: Here’s where you set up your campaigns. This is what MailChimp calls an email broadcast. Create a List: This list is where your subscribers are stored. Start Building Your Audience: This is where you build forms where people can sign up to your list(s) on the web. Invite Your Colleagues: You can have multiple people work on one MailChimp account. It’s a gas giant and the biggest planet in our Solar System. Jupiter is the fourth-brightest object in the sky Mercury is the closest planet to the Sun and the smallest one in our Solar System—it’s only a bit larger than our Moon
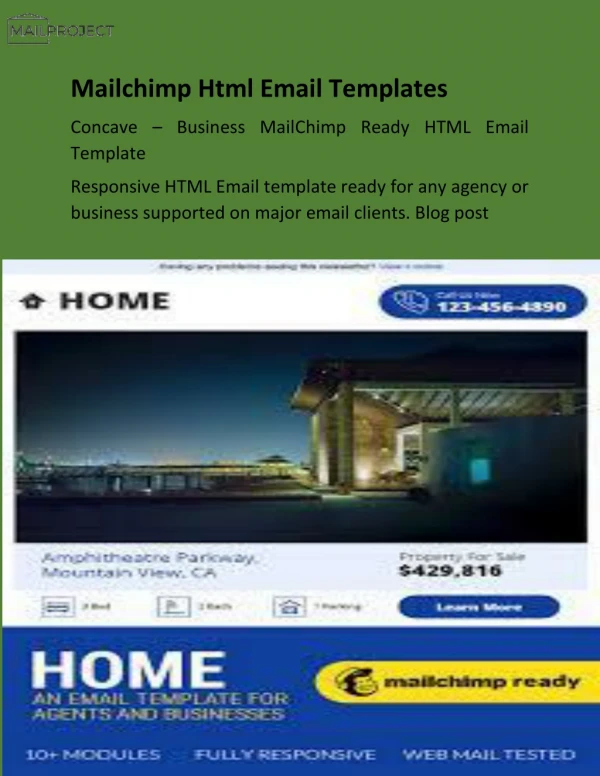
4. SET UP AN EMAIL TEMPLATE 5. CREATE YOUR FIRST CAMPAIGN Find the Templates menu item at the top of the dashboard. Once there, click the button that says Create Template. From here you have three different choices of Basic, Themes and Code Your Own. If you want to create your own template, select your basic layout: such as one, two, or three columns (or a mix), left or right sidebar, integrated RSS feed, and more. such as one, two, or three columns (or a mix), and more. On the left side is the preview of your template, and on the right side the content blocks you can add and further design options. To add text, images, and groups of images, simply drag and drop them into position. Once in your template, you can hover over each block to edit, duplicate, or delete them. Upload images, edit and format text, create columns, and more. If you need to change more global settings for your template, stop editing content blocks (press Save & Close) and choose the Design column in the upper right corner. This lets you choose styling for different elements of your template such as the entire page, pre-header, footer, and more. There is also an option for Mobile Styles. This allows you to further customize your template for display on mobile devices. Once you are satisfied with your changes,you can enter the preview mode by using the menu Preview and Test in the upper right corner. This will show you what your emails will look like on desktop computers and mobile devices. From either your main dashboard or from the Campaigns menu, click on Create Campaign to get started. This will lead you to a submenu where you can choose the type of your email campaign: Regular Campaign: Send out a normal HTML email with attached plain-text version (for anti-spam reasons) to your subscribers. Plain-Text Campaign: Simple text-only email without images or styling. A/B Split Campaign: Test different subject lines, sender names, timings, and even content with several versions of your campaign. RSS-Driven Campaign: Send content from your own or any other RSS feed to a list of subscribers. Once you are done creating your campaign, you will be taken to a confirmation page that gives you an overview of your campaign. You can review the recipients of your email, subject line, reply address, and everything else. MailChimp will also warn you if anything is wrong from their side.
WHAT’S NEXT? You are all set up to run your own email marketing campaigns. So what’s the next step after you are done toasting to yourself?For one, it’s time to check your campaign’s performance. Under Reports at the top, you can see how many people are opening your emails, click your links, and more. This will give you an impression on which content they are interested in, which types of email subjects perform best, and will provide you with much-needed feedback to improve your marketing skills.Another step in your career as future email marketing guru is educating yourself on both advanced features of MailChimp and marketing techniques.
CONCLUSION Email is an important marketing tool for anyone doing business online and MailChimp is an extremely attractive option for those getting started with email marketing. Besides being quite affordable, the email monkey also makes it very easy to start building an email list and running marketing campaigns without prior knowledge. The entire user interface is very intuitive and well documented.
THANKS! Does anyone have any questions? hello@smbelal.com smbelal.com