Download
1 / 3
50 likes | 334 Vues
Get simple procedure for making the grinch face pattern easily. By following these steps you are able to make various patterns with svg files. Also browse our collection of svg files for grinch in different designs and formats at https://svgfiledesigns.com/category/dr-seuss/<br>.<br><br>

E N D
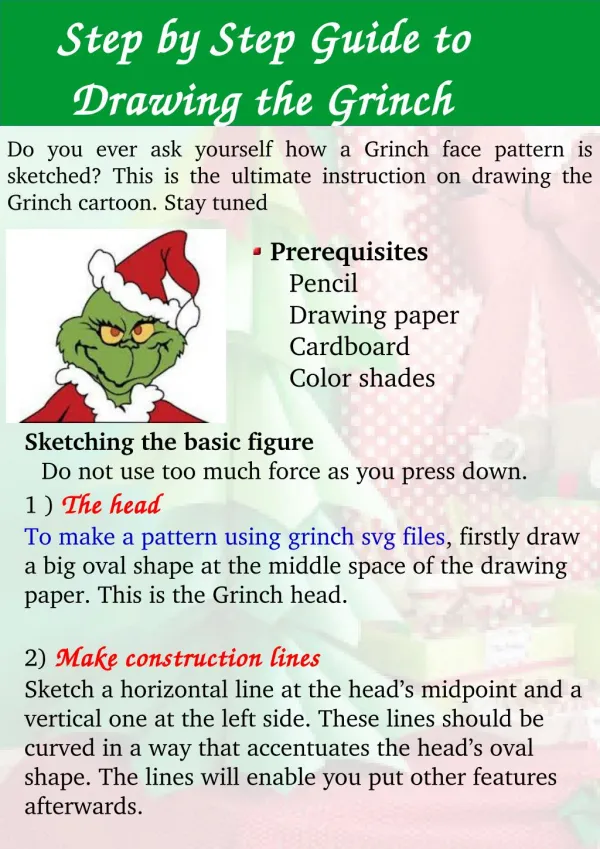
Step by Step Guide to Step by Step Guide to Drawing the Grinch Drawing the Grinch Do you ever ask yourself how a Grinch face pattern is sketched? This is the ultimate instruction on drawing the Grinch cartoon. Stay tuned Prerequisites Pencil Drawing paper Cardboard Color shades Sketching the basic figure Do not use too much force as you press down. 1 ) The head The head To make a pattern using grinch svg files, firstly draw a big oval shape at the middle space of the drawing paper. This is the Grinch head. 2) Make construction lines Make construction lines Sketch a horizontal line at the head’s midpoint and a vertical one at the left side. These lines should be curved in a way that accentuates the head’s oval shape. The lines will enable you put other features afterwards.
3) 3) Grinch cheeks guides Grinch cheeks guides On both sides of the head, sketch curves beginning at the edges of the horizontal construction line. The curves should bulge outwards and then go lower to meet the bottom of the Grinch head. 4) The eyes The eyes Draw two triangles with round corners on both sides of the horizontal construction. These will be the Grinch eyes. The left eye needs to be smaller than the right. 5) The hat The hat It takes the design of Santa’s hat. It is drawn as a tilted triangular figure at the heads top. Tightening the Grinch This stage aims at pressing the drawing harder using a darker pencil for a well defined figure
a) a) The eyes The eyes Darken the Grinch’s eyes and draw the eyelids. Make long eyelashes poke out of the dark eyelids. Remember to circle the pupils and color them dark. Below the eye, sketch some curves to show wrinkles. Between the eyebrows, draw defined curves to represent a frowned face. b) b) The nose The nose A nose should be constructed below the horizontal line; curved at the top and a W shape at the bottom. c) c) The mouth The mouth The mouth is a wavy line running between the two cheeks. It is deep at the lower edge and with smile lines on both ends. d) d) Coloring Coloring Make use of markers, crayons and color pencils.Color the face green and the hat red.