Download
1 / 18
210 likes | 685 Vues
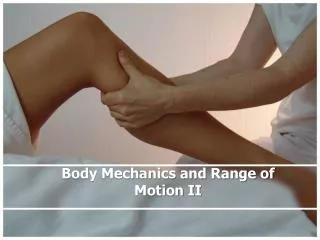
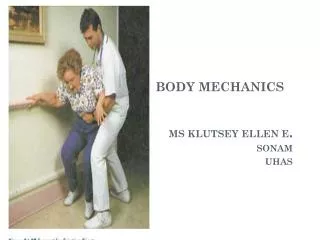
Body Mechanics and Range of Motion. Healthcare providers must know how to properly apply the principles of body mechanics to minimize personal and client injury. Body Movement Accomplished by the musculoskeletal systems. B. The main framework of the body is covered with muscle:

E N D
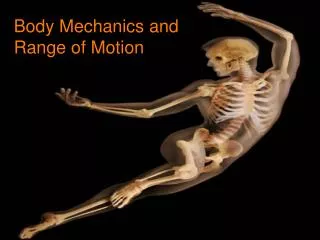
Body Mechanics and Range of Motion Healthcare providers must know how to properly apply the principles of body mechanics to minimize personal and client injury.
Body Movement Accomplished by the musculoskeletal systems. B. The main framework of the body is covered with muscle: 1. Allows movement 2. The type and extent of movement is determined by the load or resistance that is moved. 3. The arms and legs are like machines. 4. The action of muscles pulling on a bone are like a machine called a lever.
5. A lever is a rigid rod able to rotate around a point called a fulcrum. a. In the body the rigid rod is the bone. b. In the body the fulcrum is the joint. 6. Any force applied to the lever is called the effort. 7. Any force that resists the motion of the lever is called the load, or resistance. a. In the body, contraction of the muscle is the effort. b. In the body, the part of the body is the resistance or load.
Types of levers in the body a. First-Class Levers i. The placement of the fulcrum lies between the pull and the load, as in a set of scales. ii. The head being tipped backward on the atlas a) the facial portion of the skull is the load. b) the joint between the skull and the atlas is the fulcrum. c) the muscles of the back produce the pull.
b. Second-Class Levers i. The load lies between the fulcrum and the joint, where the pull is exerted. ii. Raising of the body on the toes a) the point of contact between the toes and the ground is the fulcrum. b) the load is located at the ankle. c) the pull is exerted by the gastrocnemius (the muscle in the calf).
c. Third-Class levers i. The pull is exerted between the fulcrum and the resistance or load to be moved. ii. The flexing of the forearm at the elbow joint, as in lifting a hand weight. a) the load is the weight in the hand. b) the pull is the biceps brachii muscle. c) the fulcrum is the elbow. iii. This is the most common lever in the body
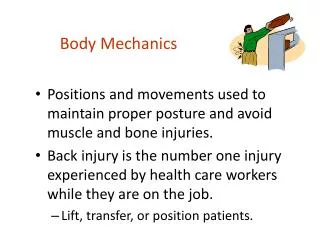
Proper Posture (the position of body parts in relation to eachother) and Body Mechanics (using all body parts efficiently and in a careful way) are necessary in to order to limit stress and strain on the musculoskeletal system. Lifting, pushing, or pulling increases stress on the musculoskeletal system.
Principles a. Use the larger and stronger muscles to perform work (shoulders, upper arms, hip and thighs). b. Maintain the center of gravity in the body close to the center of the support base (feet provide a support base for humans). c. Keep centered within the support base the combined center of gravity of the HealthCare worker and the object or person to be moved (hold objects to be moved close to you). d. Have a support base that is the appropriate size and shape
Rules for proper body mechanics: A. Use stronger, larger muscles to perform tasks which require physical effort. B. When moving a heavy object, try to push or pull it instead of lifting. C. Maintain a wide base of support (feet approximately 12 inches apart). D. Get help if the object feels too heavy to lift. E. Lift in a smooth motion to prevent injury.
Maintain a good posture. Avoid twisting the body; turn your whole body and face the area in which you are working. Bend your knees, keep your back straight, spread the feet about one foot apart, and use your leg muscles while lifting. Keep objects close to your body when lifting, moving, or carrying them. Avoid unnecessary bending and reaching: raise the bed or overbedtable to your waist level.
When to use Body Mechanics At all times that you have to lift, move, or carry an item. 1. In everyday daily activities: for example, while cleaning, carrying books to school and to class, or getting in and out of a car. 2. In Healthcare settings: for example, while assisting a patient to a chair, picking up supplies, or positioning a patient in bed.
Ergonomics: – the science of work. The science of fitting the work to the user instead of forcing the user to fit the work. (OSHA has put emphasis on developing a policy of no lifting in Long Term Care Facilities and other high-risk areas.
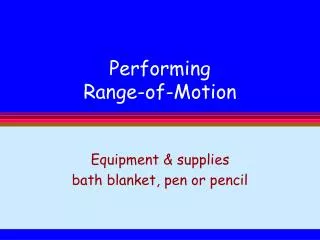
Range of Motion: – the complete extent of movement which a joint is capable of Used when doing routine activities such as bathing, eating, and dressing; uses muscles that keep many joints in effective range of motion. B. The purpose of Range of Motion 1. To prevent problems caused by a lack of movement 2. To prevent problems caused by inactivity a. Contractures: the tightening and shortening of a muscle: for example, foot drop b. Muscles may atrophy (shrink) when they are not used.
c. Joints become stiff d. Blood clots and decubitus ulcers may develop. C. Active Range of Motion – those movements performed by the patient without help. D. Passive Range of Motion – a movement cannot be performed by the patient and the health care worker moves each joint through its range of motion. E. Active Assistive Range of Motion – the patient does the exercises with some assistance from another person.
General rules for Range of Motion 1. Use good body mechanics; raise the bed to your waist level if the patient is in bed. 2. Expose only the body part being exercised. 3. Explain to the patient what you are going to do, and teach the patient how to do it. 4. Support the extremity being exercised (place hands under the extremity, supporting the joint above and the joint below the one you are exercising).
5. Move each joint until there is resistance but not pain. 6. Move each joint slowly, smoothly, and gently. 7. Return the joint to a neutral position after the movement. 8. Keep friction to a minimum. 9. Repeat each exercise 3-5 times.
Joint Movement 1. Abduction – moving a body part away from the midline 2. Adduction – moving a body part toward the midline 3. Flexion – bending a body part 4. Extension – straightening a body part 5. Hyperextension – excessive straightening of a body part 6. Rotation – moving in a circle at a joint 7. Pronation – turning a body part downward
8. Supination – turning a body part upward 9. Inversion – turning a body part inward 10. Eversion – turning a body part outward 11. Dorsiflexion – bending backward 12. Plantar Flexion – bending forward 13. Radial deviation – moving toward the thumb side 14. Ulnar deviation – moving toward the little finger side