Download
1 / 3
30 likes | 46 Vues
Setting up the wireless printer to Google Cloud Print is very easy. Check if the printer supports Google Cloud Print. After setting up the printer, add the printer name to the available list. Select the printer from the list and start printing.

E N D
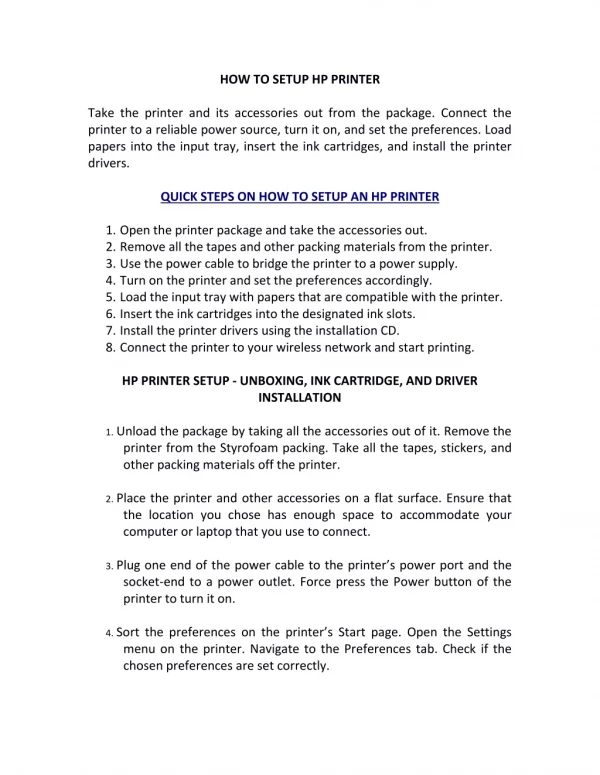
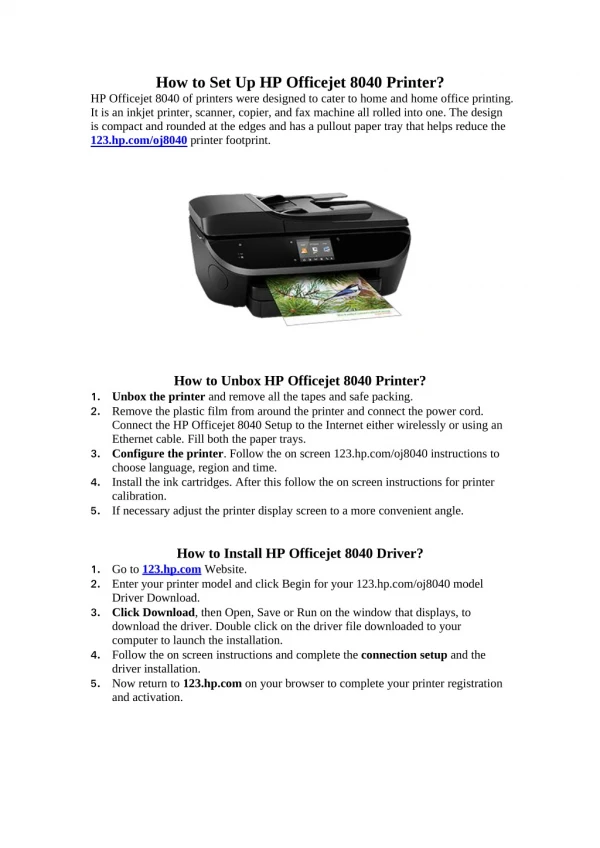
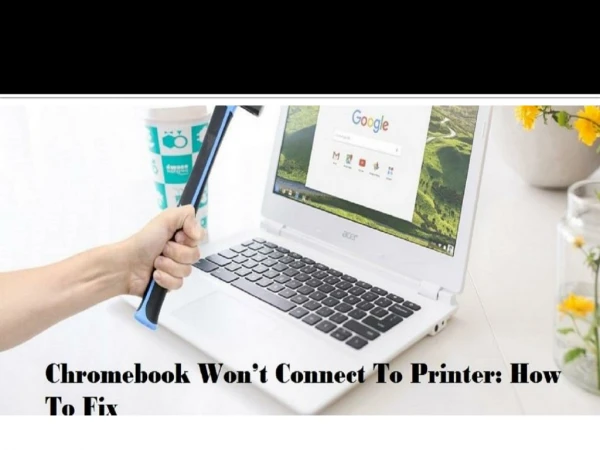
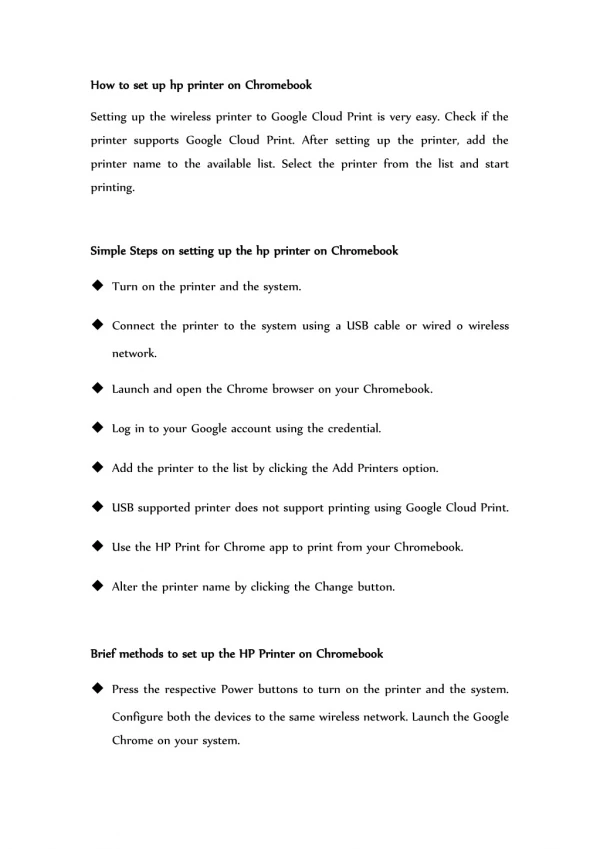
How to set up hp printer on Chromebook How to set up hp printer on Chromebook Setting up the wireless printer to Google Cloud Print is very easy. Check if the printer supports Google Cloud Print. After setting up the printer, add the printer name to the available list. Select the printer from the list and start printing. Simple Steps on setting up the hp printer on Chromebook Simple Steps on setting up the hp printer on Chromebook Turn on the printer and the system. Connect the printer to the system using a USB cable or wired o wireless network. Launch and open the Chrome browser on your Chromebook. Log in to your Google account using the credential. Add the printer to the list by clicking the Add Printers option. USB supported printer does not support printing using Google Cloud Print. Use the HP Print for Chrome app to print from your Chromebook. Alter the printer name by clicking the Change button. Brief methods to set up the HP Printer on Chromebook Brief methods to set up the HP Printer on Chromebook Press the respective Power buttons to turn on the printer and the system. Configure both the devices to the same wireless network. Launch the Google Chrome on your system.
Log in to Google Account using the username and password. Click the Sign into account. Select the Menu button on the Google browser. Type Cloud Print in the search field. Click the Manage Cloud Print devices option. View the Add Printers option on the system. Select the Add printer option. The printer permits to connect the Google Cloud to Google Cloud Service. Choose the Manage your Printers option may take you to Google Print. View the list of printers on the left menu. When you wish to print something from the Chrome browser, choose the printer name from the list. After adding the printer, view the Devices list on the screen. It detects the printers on the network. If you are installing a new printer, click the Register option to confirm. Complete the process from the Control panel. If you have added the printer name earlier, view the name under My Devices. The process indicates that the printer name is already enrolled on Google Cloud Print Service. If the printer name is not detected on the list of available devices, check the connection between the printer and the network. Check if the printer connection and network name are similar. Place the printer, system, and router together for better signal strength. If you intend to change the printer name, open the Chrome browser. View the list of available printers on the screen. Select the Manage icon beside the printer you wish to rename. View the printer settings. Select the Rename option. Enter the new name of the printer. Click the Rename to save the destination printer displays using