Download
1 / 64
640 likes | 694 Vues
Learn about Overfill Equipment Options, Inspections, and Spill Bucket Testing from an expert in regulatory affairs. Understand testing procedures, requirements, and documentation for ensuring compliance. Get insights on Containment Sump Testing and stay updated on EPA regulations.

E N D
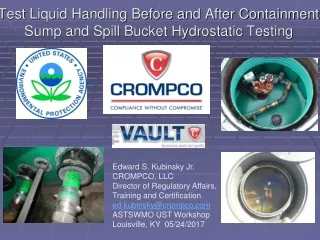
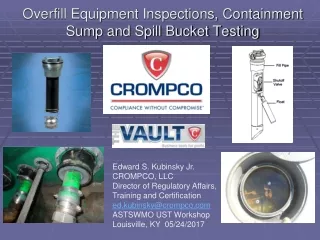
Overfill Equipment Inspections, Containment Sump and Spill Bucket Testing Edward S. Kubinsky Jr. CROMPCO, LLC Director of Regulatory Affairs, Training and Certification ed.kubinsky@crompco.com ASTSWMO UST Workshop Louisville, KY 05/24/2017
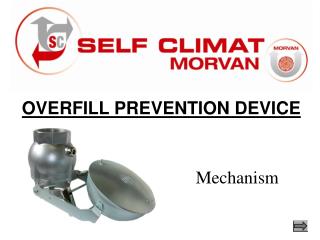
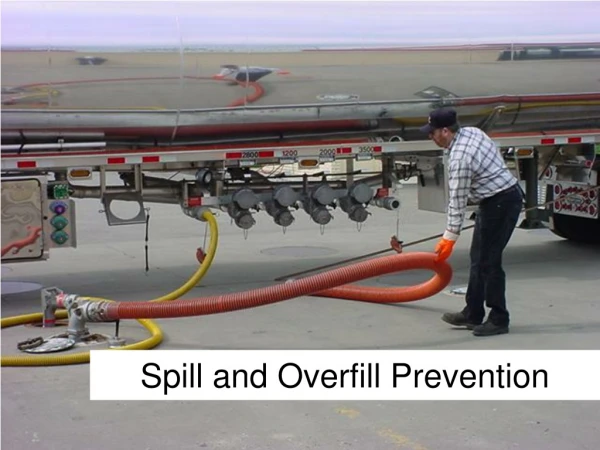
Overfill Equipment Options: 1. Ball Floats (aka vent valves or flow restrictors) 2. Flapper Valves (aka overfill drop tubes or automatic shutoff devices) 3. High Level Alarms (aka external audible/visual alarms)
Chapter 7: Overfill Prevention Device Inspection and Testing
Overfill Prevention: Flapper RP 1200: • Remove and inspect for damage • Float moves freely • Latch mechanism works • Bypass valve open • Verify 95% level shutoff
Overfill Prevention: Ball Float RP 1200: • Remove ball float & inspect • Check ball for holes or cracks • Check vent hole • Check for 90% level • Visually verify tank-top fittings are vapor-tight • Recommends removal of ball floats
Overfill Prevention: Alarm RP 1200: • Compare ATG fuel level to stick level • Check that overfill alarm is “on” • Activate overfill alarm • Remove ATG probe • Move float to activate alarm • Check float height is at 90%
Documentation PEI RP 1200 provides sample forms: Some States have developed forms (NC):
Spill Bucket Testing • Testing spill buckets for tightness: 1st routine test is not yet required in most states because EPA regs have not yet been adopted. • Some states are moving with new regs already… • SC – 1st test by 5/26/20 • NC – 1st test by 10/13/18 • MO – 1st test by 1/1/20 • When EPA regs go into effect, test according to: manufacturer’s guidelines, PEI RP 1200 or state standard (if developed).
Spill Bucket Testing SW spill buckets tested at installation and at least every 3 years (annual in MD) DW spill buckets that are routinely monitored do not need to be tested (except MD) Testing not required for stage I vapor recovery spill buckets (per EPA) and (except MD)
RP 1200 Spill Bucket Test (Primary): Hydrostatic • Clean, inspect and repair defects • Fill cap and adapter must seal tightly (or use plumber’s plug) • Drain valve leak tight (or permanently removed) • Fill with water to within 1.5 inches of top • Measure water depth to within 1/16 inch • Wait one hour • Water level must drop less than 1/8 inch
RP 1200 Spill Bucket Test (Primary): Vacuum Test • Clean, inspect and repair defects • Fill cap and adapter must seal tightly (or use plumber’s plug) • Drain valve leak tight (or permanently removed) • Seal test cover to top of spill bucket • Apply vacuum of 30 inches water column • Hold for one minute • If ending vacuum is 26 inches or greater, test passes
What About DW Buckets?Test of Primary Acceptable? (MD = No)Must Test Interstitial? (MD = Yes)Your state guidance = ??
If the bucket is DW and monitored monthly = no test (per feds) FL = must test every 3 years MD = annual Your state = ???
RP 1200 Spill Bucket Test (Outer Wall): Vacuum • Clean, inspect and repair defects • Attach vacuum source to secondary access point • Apply vacuum of 15 inches water column • Hold for one minute • If ending vacuum is 12 inches or greater, test passes
What About Stage I Vapor Buckets?EPA = No MD = Yes Your State = ? Why MD tests Stage I Vapor Recovery Spill Buckets….
Containment Sump Testing • Has your state required interstitial monitoring when piping is installed after a certain date? If so, owners will have to test sumps installed after that date. • If testing, follow manufacturer’s guidelines, PEI RP 1200 or state standard. According to the new federal UST regulations, if interstitial monitoring is used for release detection, need to test SW STP and DISPENSER SUMPS for tightness at installation and every 3 years thereafter DW Sumps that are monitored monthly (with documentation) do not need periodic testing
RP 1200 Containment Sump Testing: Hydrostatic • Clean, inspect and repair defects • Fill with water to 4” above highest penetration or sidewall seam • Measure water depth to within 1/16 inch • Wait one hour • Water level must drop less than 1/8 inch