LCD Projector Set Up Instructions
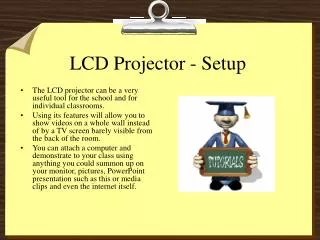
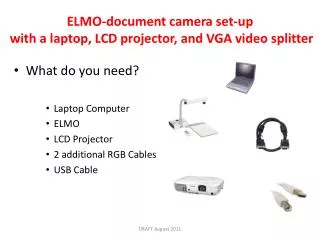
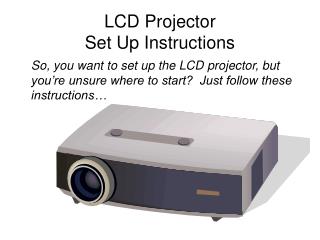
LCD Projector Set Up Instructions. So, you want to set up the LCD projector, but you’re unsure where to start? Just follow these instructions…. Make sure that you have the following items:. LCD Projector 25 foot Monitor Cable Power cord. Before you begin….

LCD Projector Set Up Instructions
E N D
Presentation Transcript
LCD ProjectorSet Up Instructions So, you want to set up the LCD projector, but you’re unsure where to start? Just follow these instructions…
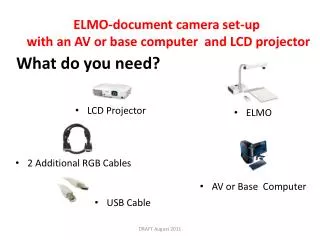
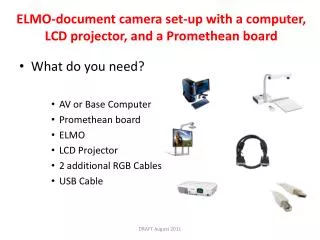
Make sure that you have the following items: • LCD Projector • 25 foot Monitor Cable • Power cord
Before you begin… • Setting up the projector replaces your monitor. • Therefore, it’s very important to go through this entire presentation before you begin the set up procedure. • Got it? Okay, let’s begin…
Plug the power cord and Monitor cable into the projector. • Note: Make sure you plug the monitor cable into the port labelled “Computer 2 In”. • Why? Because it gives the clearest picture of the two available ports Monitor Cable Power cable
Now for the monitor cable. • First, disconnect the blue monitor cable from the white adapter on the computer. • (Note: This will disconnect your monitor. Make sure you know the rest of the steps before continuing) • Next, plug the black monitor cable from the projector into the white adapter
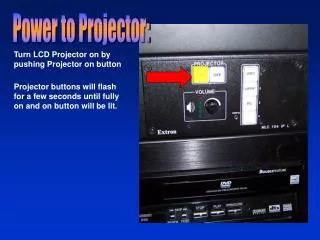
Turn on the projector.Press the “Power button, and wait for the light to turn green.
Press “the Computer 2” button, and wait for that light to turn green. If it doesn’t light up right away, that’s okay. It’s probably just warming up. Give it some time, and then hit it again.
You should have a projected image which now replaces your monitor.