Create Your Own Vector Rabbit Using Advanced Effects
In this lesson, students will learn to utilize vector tools to create a detailed rabbit image. The main objective is for each student to create a unique vector rabbit, with many exploring advanced effects like bevel, blur, and shadows. By the end of the lesson, students will have a foundational understanding of working with layers and vector tools. Different skill levels are catered for, ensuring all students can engage and produce great results. Join us for this fun and creative project!

Create Your Own Vector Rabbit Using Advanced Effects
E N D
Presentation Transcript
Lesson Objectives To use vector tools to create a rabbit image Lesson Outcomes All students will create a vector rabbit Most students will use advanced effects such as bevel, blur, shadows etc
Levels Level 3: I can create an image on fireworks on my own Level 4: I can use layers in my work Level 5: I can use vector filers such as bevel, shadows, blurs etc
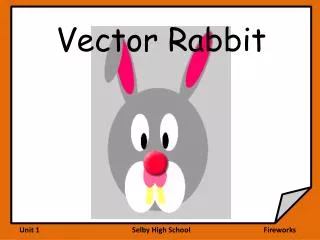
Starting the Vector Rabbit • New canvas • 600 x 800 • Colour light Grey • Fill Colour, medium Grey, #999999 • Stroke Colour, Transparent
Eyes • Using the Elipse VECTOR tool • Try shading the eyes with VECTOR tools
Layers • Each Shape is a new object • Name the Objects • Eye / Eye
Cheeky • Draw the Cheeks • Finish as 2 Objects • Select both using the Shift Key • Modify / Combine Paths / Union
Nose • Another Elipse – Hold the Shift key to make a circle. • Draw the second part of the nose • Drag the Layer. The higher the layer – the closer to the front of the picture.
Teeth • Use Rounded rectangle • Shape the Teeth • Move the Layers.
The Ears Draw one first Then the Inner ear Copy and rotate Add the flop
Effects • Nose – Shadow & Glow / Drop Shadow • Nose –Bevel & Emboss / Inner Bevel • Try some more filters on different parts. • Remember to save • Undo is Ctrl-Z
Extension • You can create a vector image of another animal of your choice • Remember • Use layers • Use the vector tools available to create an effective image