Download
1 / 6
60 likes | 75 Vues
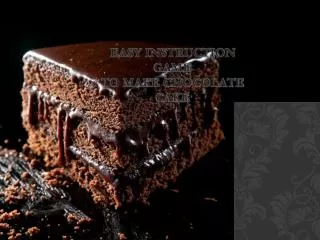
The thought of having a completely flat and straight cake almost seemed impossible, until the clear acrylic discs came into existence. It has not only helped in making up the frosting process faster but also made it hassle-free. Isn't this invention the best thing that has ever happened? Check out.

E N D
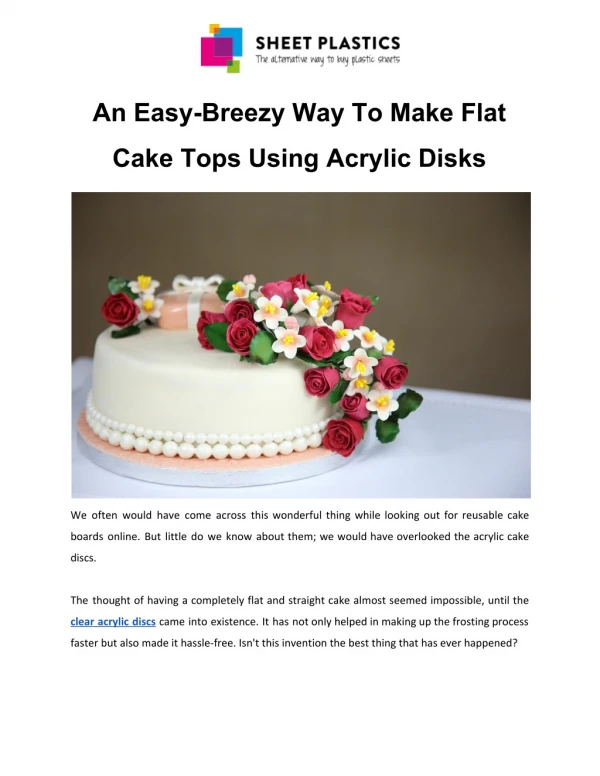
An Easy-Breezy Way To Make Flat Cake Tops Using Acrylic Disks We often would have come across this wonderful thing while looking out for reusable cake boards online. But little do we know about them; we would have overlooked the acrylic cake discs. The thought of having a completely flat and straight cake almost seemed impossible, until the clear acrylic discs came into existence. It has not only helped in making up the frosting process faster but also made it hassle-free. Isn't this invention the best thing that has ever happened?
All the bakers are going Ga-Ga about it, and millions of videos are being posted online about its usage. Some are worth a watch, while others are a waste of time. Out of all the methods available, the Upside Down method is a nerve-racking one. In this method, you frost the cake upside down, and at last, when it is done, you flip it over. Sounds crazy, right? After much of tossing between the methods, we found the Press and Seal Wrap method an easy one. It is such an easy method that even a novice cake decorator can adapt it. So let's start with our main focus on what and how will you frost a cake using clear acrylic discs? The list of things that are required are: ● Acrylic disks(depending on the size of the cake; ● Glad press and seal wrap; ● Cardboard; ● Non-skid grip liner; ● Bench scraper; ● Construction leveller; ● Heavy duty cake turntable; ● Turntable extender; ● Ganache
Step 1: Cover the acrylic disks with press and seal wrap. Trim the left out part to make it perfectly round. Now stretch the wrap by pulling it slightly with finger and thumb. It should be made as snug and flat as possible for better results. Ensure the layer looks secure and smooth. Step 2: Now, start frosting on the smooth side of the acrylic disk with a dense coating of ganache. You can do ¼ + inch thick frosting. Wipe the edge of the disk using a scraper and place this into the freezer for 10-15 minutes until it thickens. Step 3: If you are planning a stacked cake, get a turntable which is 4 inches larger than the cake shape. Place a non-skid grip mat on the top of it and then place a clear acrylic plastic sheet above the same. This mat ensures that the frosting doesn't get washed out. Also, place another non-skid grip mat above the acrylic disks and also above that, place the cardboard cake in the centre of it. This method may not be used as a standard protocol, but it surely wouldn't be a problem. You can also use parchment paper, between the cakes for easy removal of the pieces while serving.
Step 4: Now when you have achieved the perfect stacking, start frosting the cake with a thick layer of ganache. Try to match the thickness at the edges so that it matches the height in the centre. Step 5: It is the time to take the clear acrylic disc with hardened ganache and place it ganache side down. You can place a levelling device on the top of the cake to check if it is levelled. Move it around the cake and check the consistency. Step 6: Using the large bench scraper, ensure the alignment of the two layers. It is advisable to use a flat base bench scraper for aligning in a proper way. Step 7: While scraping, ensure that the level of the cake is maintained and the top remains flat as you nudge the acrylic disc. Now when the alignment of frosting is done, fill in the ganache into the gaps between the layers. Make sure every gap is filled up properly.
Step 8: Cover the whole remaining part of the cake with ganache and make the entire cake a glossy one. Step 9: Here comes an interesting next step. Make the bench scraper rest flat against the turntable and perpendicular to the bottom and start rotating the turntable. All the ganache layer that extends beyond the acrylic sheet will scrap down. Yes, it is allowed to keep back the extra ganache collected. Step 10: Fill up all the gaps you see with ganache, even after performing the above step. Repeat the scraping step as long as you get the desired smooth layer of the cake. Remove the extra ganache using a small pallet knife or your finger. No ganache should be found clinging on the outer edges of the cake. Step 11: Now allow the cake to settle down for one-two hours. Set the cake for chilling. Once, you find the ganache hard; you need to remove the acrylic disks along with the plastic wrap.
Step 12: If necessary, use a small palette knife between the top acrylic disk and plastic wrap. Once this is removed, only the plastic wrap will remain. Peel it off softly. If any holes found, feel it with softened ganache. Step 13: For removing the acrylic sheet placed at the bottom. Insert a small palette knife between the acrylic sheet and the cardboard. Step 14: There you go.. Lift your cake and place it with a flat layer on the top. Cover it with fondant if required. Wasn't that an easy way to create a gorgeous cake of your dream? Wish you all the very best for preparing one.