Download
1 / 30
300 likes | 562 Vues
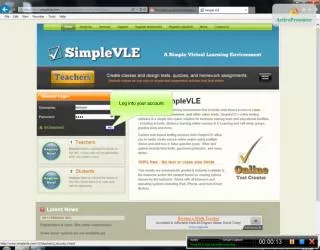
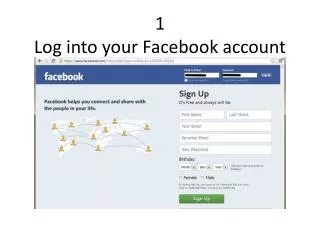
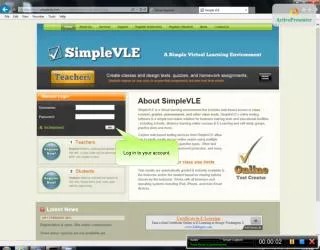
Log in to your account. Select 'Create Test'. Enter test name. Note: You can change the name of the test and the test instructions whenever you wish. Enter test instructions. Click 'Submit'. Your test has been create. Click 'Next'. Type the question here.

E N D
Enter test name Note: You can change the name of the test and the test instructions whenever you wish. Enter test instructions
Type the question here. Click 'Add Answer' to add more answers.
Only click 'Save' if you are finished adding questions to the test. Click 'Next' to add another question.
Questions must contain at least two up to a maximum of 10 answers per question.
Highlight the test you have created and click 'Edit Test' to edit the questions and/or the test name and instructions.
Click 'Edit' to edit a particular question and/or the corresponding answers. Click here to 'Edit Test Name' to edit the test name and/or the test instructions Click 'Delete' to delete a particular question
Change which answer is correct Change question text Click 'Add Answer' to add an answer to the question Click 'Delete' to delete an answer.
Verify the question and answers are correct and click 'Save' to return to all questions page
Click 'Delete' to delete a test question Click 'Add Question' to add a question to the test Click 'Save' to save the changes made
Click 'Manage Class' Highlight the class that you want to assign the test to
This is where you would see previously assigned tests. You only need to highlight the test when you want to edit the assignment. Click 'Assign Test' to create a new test assignment.
Highlight the test that you wish to assign. Select the assignment options. Click the calendar to select the date that you wish the test to be available to your students.
Choose the date from the calendar for when you want the students to be able to access the test. As of now, the calendar is based on the Eastern US time zone. Therefore all tests will be available at 12am, eastern time zone on the date chosen here. Many users live in a different time zone and/or may want to make tests available at a specific time of the day. It is suggested that you add a password to the assignment and email the password to your students when you want them to be able to take the test.
Note: If a student registers for your class after the assignment has been created, you must either assign the test to them specifically or delete the current assignment and create a new one. If you do not want to assign the test to the entire class, you can highlight a specific person a click 'Assign to Student' Click 'Assign to Class' in order to assign the test to the entire class.
If you chose to add a password to the test assignment, you will be prompted for it here. Don't forget to provide your students with the password before they take the test.
Verify this information is correct and click 'Back' to return to the class control panel
You will see the newly created test assignment here. You can highlight the assignment and click 'Edit Assmt.' if you wish to change any of the test options After your students have taken the test you will be able to review their grades and their answers to the test by click 'Student Grades.' You can also curve their test grades as well.