Download
1 / 22
240 likes | 564 Vues
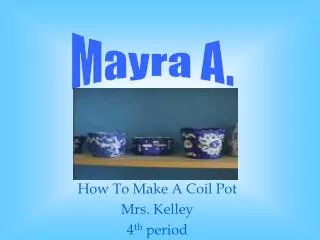
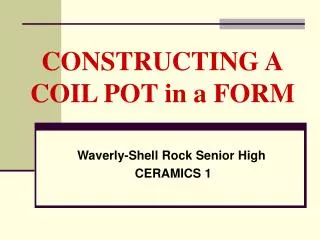
CONSTRUCTING A COIL POT in a FORM. Waverly-Shell Rock Senior High CERAMICS 1. CONSTRUCTING A COIL POT. OBJECTIVE: The student will learn how to use coil-building techniques to create a coil pot that incorporates variety and pattern within a cardboard form. TYPES OF HAND BUILDING.

E N D
CONSTRUCTING ACOIL POT in a FORM Waverly-Shell Rock Senior High CERAMICS 1
CONSTRUCTING A COIL POT • OBJECTIVE: • The student will learn how to use coil-building techniques to create a coil pot that incorporates variety and pattern within a cardboard form.
TYPES OF HAND BUILDING • HAND-BUILDING TECHNIQUES: • 1. Pinch Method • 2. Piece Mounting Method • 3. Slab Method • 4. Coil Method • ** Consideration must be given to the thickness of clay walls, moisture content and methods for joining clay.
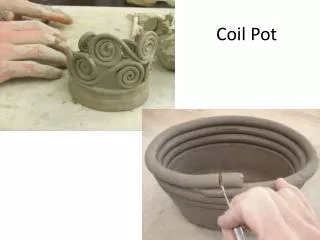
WHAT IS COILING? • Coiling: A method of creating objects by building bottom and/or walls with even, rope like coils made from wedged clay.
Pottery is one of the oldest art forms that have come down to us. Its evolution and development through the ages, in all geographical areas, has continued in almost unbroken progress. COILING – The History…
The ancient technique of building a coiled pot involves squeezing, squashing and smoothing the successive layers of coils into an even wall which tapers as it grows and encloses a shape. To do this you need to turn the pot around slowly as you work. What is COIL CONSTUCTION?
COILING – The History… • Early potters soon learned to make the task of periodically turning the pot much easier and more efficient by beginning their coiling on a dish or bowl they could twist round as they worked.
COILING – The History… • Eventually a small turntable or "tournette" was developed. • With this a pot could be turned around much more easily and quickly. • The pot making technique in Mesopotamia now gradually changed as the more potters adopted the turntable for making and decorating.
COILING – The History… • However, it took a long time for free running steady turntables to be developed, therefore "throwing", as we understand the technique today, did not develop for a long time to come. • It would be more accurate to describe this turntable making process as "fast coiling."
What are COIL POTS and who made them? Some examples of early coil pots made in Mesopotamia – Modern day Iraq.
CREATING ANDUSING A FORM Create a geometric form to “build” your project within.
THE FORM – the process… • Using cardboard, students will make a “form” that will then be lined with your coil design. • The cardboard will be painted with hot wax to seal the seams and allow the clay to be released easier. • Avoid gaps in the cardboard, you might use a paper prototype before moving onto the cardboard.
What do you need to do? • Draw 3 sketches of coil pot designs. • Student and teacher will critique coil designs. • Select one design for the coil project. • Use variety and pattern in the construction of the coil pot. • The students should pre-plan the pot through drawings. • The students will correct mistakes in moisture levels of the clay or start over. • The construction of the pottery should complement the design and glaze – kiln procedures. • Written critique of piece. • Demonstrate mastery of coil building. • Show evidence of craftsmanship.
GENERAL BUILDING INFORMATION: • Make a base within your geometric form. • The first coils should be placed directly on top of the base and reinforced on the inside by a smaller coil. • Knead first coil to base, after that every three coils can be kneaded. • The use of slip between coils should prevent splitting at coil joints during firing.
GENERAL BUILDING INFORMATION: • Coils should decrease in size as the pot is created. Thicker coils on the bottom will support the weigh of the thinner coils at the top. • Smoothing inside should be determined by design and function. • Avoid accessive pressure when smoothing the inside of the piece, you want the design to remain against the form.
GENERAL BUILDING INFORMATION: • The coils themselves can be used as built-in decorative surface by making swirls, holes, bumps, or by varying the height of the coils. • Do not try to join wet clay to dry clay – start over! • Dry the pot slowly to prevent cracking or coil separation.