Download

1 / 18
180 likes | 209 Vues
Customize your profile by adding text and an image that represents you. Follow the steps to upload a picture URL, make files public, and share your profile with others. Save and edit easily!

E N D
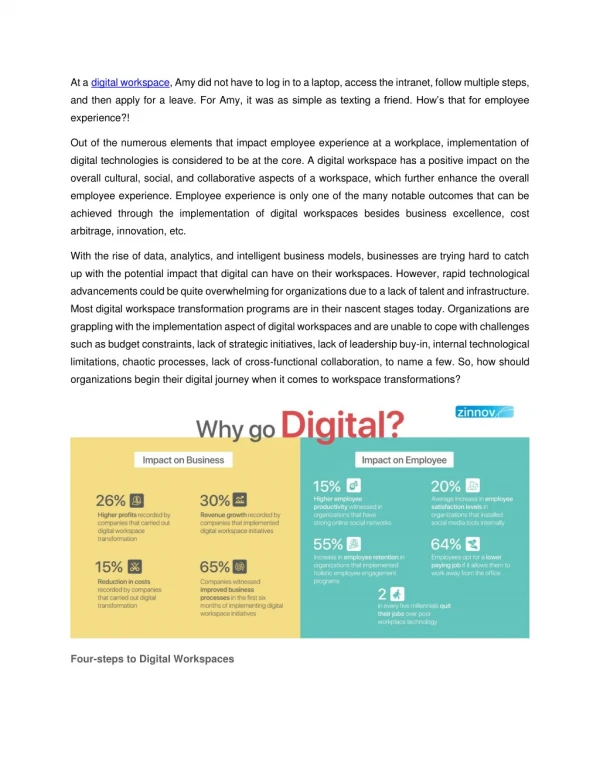
My Workspace Profile
Under the header for Public Information, enter text about yourself. ** It is your choice what you add and if you would like to show your profile. To add an image of yourself or something that represents who you are, click on the radio button for “Use Picture URL”.
To enter a URL for the image you need to go to Resources and upload the image file. ** You need to have the image already saved to your computer, no need to worry about the size since the Profile tool will resize it to the correct dimensions.
Resources is your private area to upload and store files. To upload a file, move your mouse over the “Add” text and select “Upload Files” from the drop down menu.
Click the “Browse” button to locate and select the image file.
To finalize the upload click on the button “Upload Files Now”
Your Resources area is private, to allow others to be able to see your image, move the mouse over “Actions” and select “Edit Details” from the drop down menu.
Select the radio button for “This file is publicly viewable”.
We need the Web address for the Profile URL, highlight the URL, right click and select copy or if on a mac, use command key + C
Return back to Profile by selecting “Profile” in the Course Menu.
In the text block under “Use Picture URL:”, right click and select paste or if on a mac, command key + V
If needed you can choose to enter additional information by typing in the HTML editor under “Other”. Click “Save” when done.
The image and text information is now added to your profile. You can always return to add additional information by clicking on “Edit my Profile”. To allow others to be able to view your profile, select “Show my Profile” in the menu bar. This will allow instructors who use the Roster tool in their course to link to your profile.
End of Profile