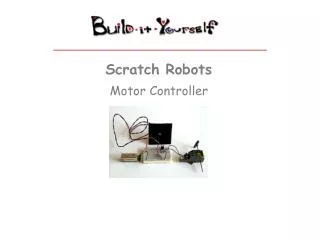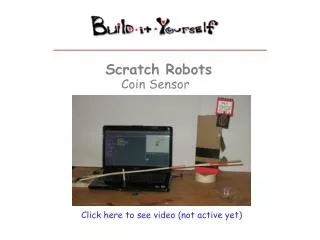
Scratch Robots
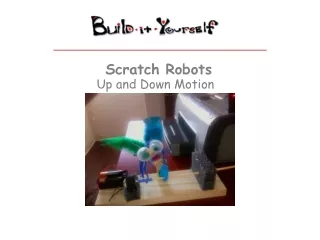
Scratch Robots. Up and Down Motion. Scratch Robots. Up and Down Motion Module – How does it work?. The cap’s rotation is off-center, so it pushes the popsicle stick (with the character on top) up and down. www.build-it-yourself.com. Scratch Robots.

Scratch Robots
E N D
Presentation Transcript
Scratch Robots Up and Down Motion
Scratch Robots Up and Down Motion Module – How does it work? The cap’s rotation is off-center, so it pushes the popsicle stick (with the character on top) up and down. www.build-it-yourself.com
Scratch Robots Up and Down Motion Module – How does it work? The cap’s rotation is off-center, so it pushes the popsicle stick (with the character on top) up and down. www.build-it-yourself.com
Scratch Robots Motion Module Overview Bottle Cap 2 HB Wooden Base Popsicle Stick Foamie Hinge Pencil or wooden dowel (axel) Foamie Motor Screws Styrofoam blocks www.build-it-yourself.com
Scratch Robots Motion Module Materials: Wooden base Styrofoam Foamies 2 Screws Popsicle Stick Bottle Cap Motor 9V Battery/Clip WAY COOL CRITTER Tools: Scissors Hot glue gun Drill www.build-it-yourself.com
Scratch Robots Motion Module – Step 1 • Place the motor on the smaller block of styrofoam. • Put this near one end of the base (leave room for the battery). • Screw a foamie strip over the motor (do not glue to motor), through the styrofoam, and into the base. • Repeat for other side. www.build-it-yourself.com
Scratch Robots Motion Module – Step 2 • Attach the battery clip to the motor on one end, leave the other unconnected. • Make a small pocket for the battery to slip into with a foamie. www.build-it-yourself.com
Scratch Robots Motion Module – Step 3 • Glue the pencil or wooden dowel to the motor. www.build-it-yourself.com
Scratch Robots Motion Module – Step 4 • Shove the pencil through the block. You may want to make the hole bigger with a drill or insert a thick straw to reduce friction. www.build-it-yourself.com
Scratch Robots Motion Module – Step 5 1. Drill a hole through the bottle cap. ALWAYS PUT SOMETHING UNDER WHAT YOUR DRILLING! www.build-it-yourself.com
Scratch Robots Motion Module – Step 6 • Slide the bottle cap over the pencil to the spot you want and glue it down. www.build-it-yourself.com
Scratch Robots Motion Module – Step 7 • Glue a short foamie strip onto the popsicle stick. • Glue the Remaining end of the foamie to the styrofoam block. www.build-it-yourself.com
Scratch Robots Motion Module – Step 8 • Attach you WAY COOL CRITTER to the popsicle stick, and voila! www.build-it-yourself.com