Download
1 / 3
30 likes | 156 Vues
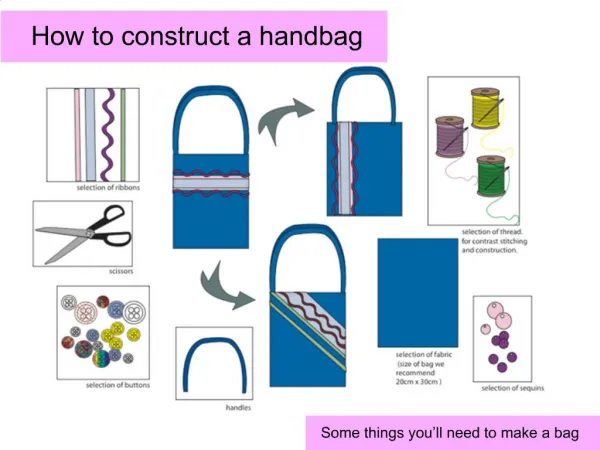
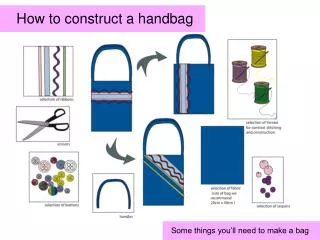
In this lesson, students will learn how to effectively construct and present their design ideas. Success criteria include understanding the different markings on a net and their purposes, completing a neat design, and constructing a box using scissors, a craft knife, and double-sided tape (DST). The process consists of finishing the design, labeling necessary tabs, and ensuring any windows are noted. Students will laminate their designs, cut out the outline, score fold lines, and assemble the box by following specific steps and using the tools safely.

E N D
Lesson Objectives To understand how to construct and present a design idea. Success Criteria Must Be able to understand the different marking on a net and what they are for. Should Be able to complete your design neatly and built the box using scissors, craft knife and double sided tape.. Could Be able to complete your design neatly and built the box using craft knife, scissors and DST and drilled your PCB.
Order of work. Finish your design. Add Fine liner. Label the tabs that need to be stuck. Are there any windows? Bring to Mr Wilde before laminating. Laminate. Two at a time. Cut out the outline using scissors. Score the fold lines and cut the slots using the safety rule and craft knife on the cutting mat. Attach the double sided tape to the correct tabs. Remove the double sided tape and assemble the box.
Name: Designers name : Disagree. Agree. Total: