Download
1 / 44
440 likes | 678 Vues
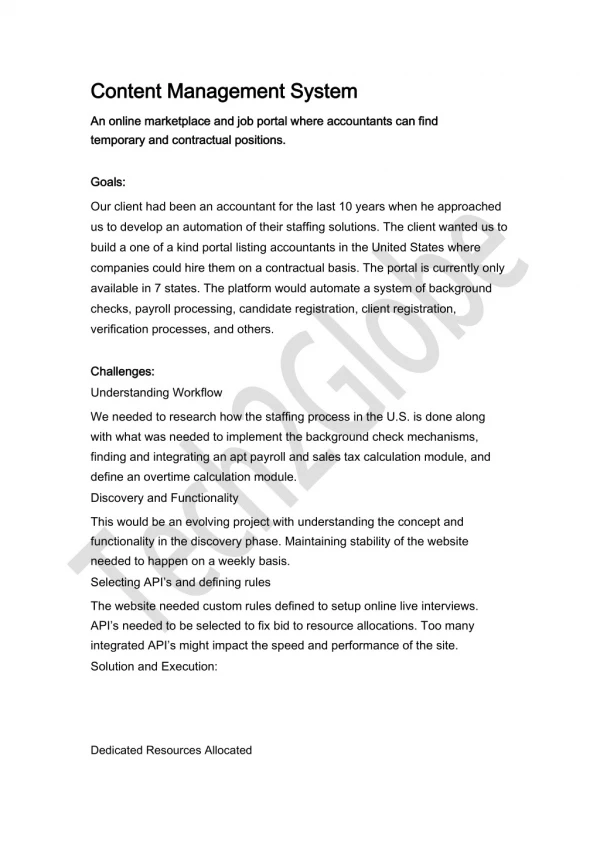
Content Editor Workshop Using Roxen Content Management System Presented by the Office of Communications and Office of Information Technology. Content editor workshop overview. Part 1 - Key concepts Part 2 - Tour of the system Part 3 - Using the CMS tools Part 4 - Advanced CMS tools

E N D
Content Editor Workshop Using Roxen Content Management System Presented by the Office of Communications and Office of Information Technology
Content editor workshop overview • Part 1 - Key concepts • Part 2 - Tour of the system • Part 3 - Using the CMS tools • Part 4 - Advanced CMS tools • Exercises throughout the presentation Introduction|part 1|part 2
Content Editor Workshop Using Roxen Content Management System Part 1 Key concepts
Key concepts // How Princeton University's content management system works • Roxen’s Web content management system allows non-technical editors to add and change content. • There is no need for special software on your computer. All you need is a Web browser and a URL. • You can edit equally well from Macintosh, PC and Linux computers. • Support staff members in Communications and OIT maintain the infrastructure and templates. Introduction| part 1 |part 2
Key concepts // How Princeton University's content management system works • In Princeton’s implementation of Roxen CMS, it is more than a content editing tool. Our CMS-enabled sites also include templates with specific designs and functions. • These templates help promote a higher standard of information architecture, usability and accessibility. Introduction| part 1 |part 2
Key concepts // How Princeton University's content management system works • Princeton’s system recognizes your regular netID and password. • You can log in and edit from any computer with Internet access, even at home or while traveling. • Members of groups on campus can be given permission to write or view specific sites, directories or pages. • Published pages can easily be made viewable for campus members only. Introduction| part 1 |part 2
Key concepts // How Princeton University's content management system works Introduction| part 1 |part 2
Key concepts // What makes our CMS special • It is easier to maintain current, accurate content • Editors can build Web pages without knowing HTML • Menu links are changed automatically as pages are added and deleted • It is easy to modify these menus without knowing HTML or having to change the menu in every page individually • Teammates can preview pages before they are made public using a two-step workflow • Workflows can include automatic e-mail notifications when pages are published Introduction| part 1 |part 2
Key concepts // What makes our CMS special? • Additional Roxen CMS advantages • Information in the editing environment is secure • Permissions can be controlled to a finely detailed level, such as: • Pages or sections can be made viewable only on campus • Individuals can have access to edit only specific pages or sections • You can revert to any published version of a page Introduction| part 1 |part 2
Key concepts // What makes the University’s templates special? • The templates are designed to be usable & accessible • The underlying code incorporates elements for users with vision issues, including styles for aural readers and skip-access links • Navigational elements and colors are used consistently to provide site visitors predictable clues for using the site • Content is separate from design & functionality • Page editors can't easily "break" the design • The design can be changed without affecting the content • The content can be reused in other formats (e.g. RSS for news readers) Introduction| part 1 |part 2
Key concepts // Preferred browsers for editing • Generally, the latest version of Firefox works best • Internet Explorer for Windows works better if you need to resize content tables • If you have access to a PC, we recommend having both IE7 and Firefox in order to test your site before launch • Developer extensions are now available for both • Safari on Macintosh doesn't handle the component editor well Introduction| part 1 |part 2
Key concepts // Understanding URLs in this system • Examples of public site URLs: • www.princeton.edu/evp • www.princeton.edu/main • Examples of edit server URLs: • https://www-cms-edit.princeton.edu/main • https://www-dept-edit.princeton.edu/training Introduction| part 1 |part 2
Content Editor Workshop Content Editor Using Roxen CMS Part 2 Tour of the system
Tour of the Insite Editor view // What is the Insite Editor? Roxen’s Insite Editor gives you access to modify content by surfing around the pages of your website. An editable version of your site exists on the “edit server,” which gives limited access to users & groups. When you are in “edit mode” you will see the Roxen Toolbar at the top of each page. Introduction| part 1 |part 2
Tour of the Insite Editor view // What parts of the page can be changed with Insite Editor? Introduction| part 1 |part 2
Tour of the Insite Editor view // What parts of the page cannot be changed from the Insite Editor? Introduction| part 1 |part 2
Tour of the Insite Editor view // Description of the standard elements of our templates Elements of our templates: toolbar logobar banner -bannerlogo -bannerphoto navalpha (horizontal) navbeta (left) content (center) -header subcontent (right) footer Introduction| part 1 |part 2
Tour of the Insite Editor view // Enter edit mode - red link in the footer Introduction| part 1 |part 2
Tour of the Insite Editor // Surveying the Roxen Toolbar • Main tab • Name, status area on left • New • Edit • Delete • Publish/Update • Revert • CE (Content Editor view) • Exit (exit edit mode) Introduction| part 1 |part 2
Tour of the Insite Editor // What "saving" and "publishing" mean • Saved content is visible only to you • Saved content is held in a virtual “sandbox” which is available to you from any computer with Internet access. • You can see your changes only when you are in edit mode. • When you exit edit mode, you will see the last published version of the page (which may not be the same as your sandbox if you haven’t published). Introduction| part 1 |part 2
Tour of the Insite Editor // What "saving" and "publishing" mean • Published content is visible to others • Published content can be previewed by your work group if you have a two-step workflow. • You must enter edit mode in order to preview internally published pages in a workflow step. • Publishing on a single step or the final step of a workflow makes your page visible to the public (only after site launch). • When you exit edit mode, you can see the version of the content that is being synchronized to the front-end servers. • Synchronization can take from 1 to 30 minutes. • Reverting only works on published content. Caution: If you revert a page without publishing, your sandbox for this page is cleared out. Introduction| part 1 |part 2
Tour of the Insite Editor // Surveying the Roxen Toolbar • Properties tab • Menu • Permissions • Languages • Visibility • Notification • Workflow • Versions Introduction| part 1 |part 2
Tour of the Insite Editor // Surveying the Roxen Toolbar • Tools tab • Documentation button may be helpful • See information in the Insite Editor section Introduction| part 1 |part 2
Tour of the Insite Editor // Surveying the Roxen Toolbar • Resolving Editing Conflicts • Conflicts can occur when you have made changes to a page and then someone publishes different changes to the same page before you do. • You will see a “Modified (Conflict)” status message in the Main tab of the Toolbar. • An Update button will appear in place of the Publish button. When you click on that, you can keep or discard changes both you and the other person made. • Occasionally, conflicts may need to be resolved through the CE view instead. Introduction| part 1 |part 2
Tour of the Insite Editor // Surveying the Editing Components • Components • Toolbar > Main tab > Edit button • Floating Edit button for some components • Add/Delete/Copy components • Rearrange components • How our components are used • Component variants - change the look and sometimes the location of your content Introduction| part 1 |part 2
Tour of the Insite Editor // Surveying Editing Component Variants Introduction| part 1 |part 2
Content Editor Workshop Using Roxen Content Management System Part 3 Using the tools
Using the tools // Editing pages Select a component to edit it Introduction|part 1| part 2
Using the tools // Editing pages Click on the up or down arrow at left to re-order the components in the page. Introduction|part 1| part 2
Using the tools // Editing pages Always use the Cancel or Save Page buttoninstead of your browser back button Introduction|part 1| part 2
Using the tools // Editing pages Floating Edit Button lets you edit some components directly Introduction|part 1| part 2
Using the tools // Creating new pages Steps for naming new pages Introduction|part 1| part 2
Using the tools // Creating new pages - TWO steps Step 2: Alternate way using “+” sign in toolbar (temporarily not functioning properly in dept-edit) IA tip: Use related, memorable, easily spelled words for the URL, menu link title and header. Example: URL: /training/sandbox/evelyn Menu link title: Evelyn’s page Header: Welcome to Evelyn’s Page Introduction|part 1| part 2
Using the Editor Components// Adding components • Click on the “Insert” tab and select a component • Components are organized in top-to-bottom order on the page Introduction|part 1| part 2
Using the tools// Adding links • Click on Link icon IA tip: People who skim a page’s content or who have vision problems may skip straight to link titles, which are highlighted in your content. Take advantage of this by hotlinking the most important concepts versus “click here.” Introduction|part 1| part 2
Using the tools// Adding links • Internal links = links on the same server • Example sites on same server: those from today’s training • Uses “relative URLs” • Surfing to these sites is best • External links • For other Princeton sites and outside sites • “Absolute URLs” must include http:// • Pasting in the URL occasionally can be faster Introduction|part 1| part 2
Using the tools// Placing existing photos • Insert or edit a text and picture component or a sidebar text and picture component • Select “Browse & Upload” • Select a picture name • Save the text and picture component Introduction|part 1| part 2
Using the tools// Uploading and placing new photos • Insert or edit a text and picture component or a sidebar text and picture component • Select “Browse & Upload” • Browse • Upload • Select the picture by name • Save the text and picture component Introduction|part 1| part 2
Content Editor Workshop Using Roxen Content Management System Part 4 Advanced CMS tools
Advanced CMS tools// Modifying menus - part 1 • Surf to highest level under which the menu links appear • Select the Properties tab • Select the Menu button IA tip: Ideally, similar menu links should be kept together in groups of five or fewer. A menu spacer can be inserted for longer contextual menus. This aids in ease of use and remembering link locations. Introduction|part 1| part 2
Advanced CMS tools// Modifying menus - part 2 • Insert Entry or Menu Spacer • Inserting an entry separates it from the others so it can be moved • Only needs to be done once • Move Menu Entry up or down • Save Menu • No need to publish it IA tip: Navigational menus should contain only links to pages in that site or in that section of the site. Menu links to other sites or to documents can be disorienting. Introduction|part 1| part 2
Advanced CMS tools// Versions and reverting • Click on Revert button on Main tab • Can revert to all previously published versions • Reverting creates a new version, vs. erasing the older ones • Reverting only addresses published versions of content • It is only available on pages that have been published at least once and then have been modified afterward Introduction|part 1| part 2
Advanced CMS tools// Using workflows • Internal vs. external publishing • Customizable in a "granular" way • Allows for automatic e-mail notifications Introduction|part 1| part 2
Advanced CMS tools// Setting page visibility by date • Select Visibility button on Properties tab • Select visibility: always, never, before or after a specified time, or during a specified time interval • Pages that are set not to be visible on the front-end servers are still visible on the edit server Introduction|part 1| part 2