Designing User Experience (UX)
Designing User Experience (UX). This work is licensed under a Creative Commons Attribution-NonCommercial-ShareAlike 3.0 Unported License .


Designing User Experience (UX)
E N D
Presentation Transcript
Designing User Experience (UX) This work is licensed under a Creative Commons Attribution-NonCommercial-ShareAlike 3.0 Unported License. It was originally created by Apps for Good(www.appsforgood.org ) as S18 – Designing User Experience. Modified here for Garfield HS’s Summer Apps Course, Summer 2013.
Objectives: • Designing User Experience (UX) using your Scenario Map and User goals. • Create the Site Map of your App illustrating how it flows between Screens to accomplish tasks • Build Wireframes of the Screens to further detail how your app will be used • Make sure all your User Goals are met by your design
“Prototyping” • The word Prototypejust means 'first version' of something; it is an early sample or model built to test an idea or process. • A Prototype is similar to the dressed dummy in the store window. It is not a living, breathing, functioning customer, but it gives you an idea of what clothes might look like if worn by a customer. • The same idea for Prototyping, it's not a functioning app - no data will be processed when buttons are clicked, but it will give you and your user an idea of what the flow of the app is - how to get from one screen to the next.
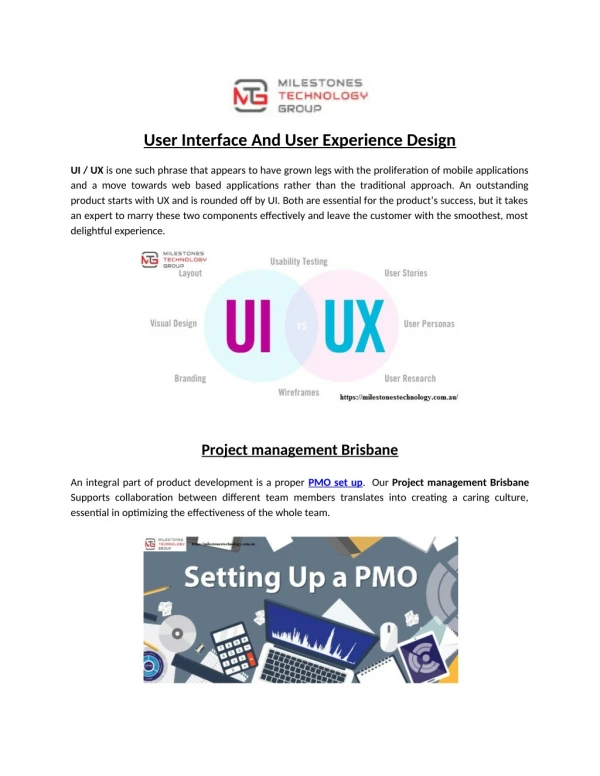
User Experience (UX) • Your app will have various States depending on what the user has entered or selected. • Each State will likely become a different Screen presented to the user; one screen might be a welcome screen, the next might be a form requiring user entry, etc. • User Experience (UX) is the term for the arrangement and layout of the screens in your app. • It forms the blueprints of data within the App; how the user will perform tasks and get to information within a website or App.
1. Building your Site Map • Make sure you have all your User Goals from the Personas to include • Examine your Scenario Map and find the flow and screens of your App • Build the Site Map using a Tree Structure to illustrate how a user can navigate through your App to accomplish all the Goals.
Cover all the App’s User Goals • Have a copy of all your Personas so you can insure your design accomplishes all the necessary User Goals. • As you go along, you may need to update those goals – you are better understanding what is needed in your App. • In the end, do a check to make sure all User Goals are accomplished in your design.
Review Your Scenario Map: • Look at the Steps in your Scenario Map, see if you can organize them to show the various ways that a user will use your App. This will start to give you an idea of the “flow” of your App. • The “Steps” will identify the different screens you will need, and your “Ideas & Comments” will specify the functions & details for them. • You may want to draw the transitions as arrows connecting the Steps of your Map, this starts to create your Site Map…
See sample Scenario Map • That has the transitions drawn in. • This starts to form your Site Map(I will insert a photo of the Nanny App Scenario Map here)
Building the Site Map • The Site Map shows the flow between the screens • Use a Tree Structure to indicate how to get from one Screen to another with arrows to show all the steps (transitions). • This creates the Site Map of how a user will travel through your app to accomplish goals • Some screens will have multiple arrows going to different screens and frequently one screen will be the destination of several others.
Keep the Site Map flow Simple • Limit opportunities for the user to make mistakes. • Stream line key paths. For an Ordering App, a larger number of screens decreases the likelihood of a final sale. • Create the map based on all your user’s goals. If a part does not support the goals, remove it. • Avoid unnecessary paths and try to combine and simplify them.
Build Wireframes of the Screens • A wireframe is way to layout the information on the Screen and show how the user will directly interact with it. • It is a rough sketch of the items necessary on each screen along with comments about how they will be used • A sequence of Wireframes can be assembled to simulate using the App
Sample Wire Frame Here is a Wireframe being built in the program Balsamiq:
Building up a Wireframe • As you build the screen “Mock Ups” in Balsamiq, you can add comment notes and order them in the sequence to demonstrate a user experience. • Below is a link to a sample Wireframe App Prototype - click the the diagonal arrow in upper right to "Launch Prototype” and to go to the first screen; then scroll through the screens using the arrows in the bottom left. https://appsforgood.mybalsamiq.com/projects/cubed/grid
Pick a key User Path to Prototype • Identify a key User goal that you want to demonstrate in your prototype • As you create the Screen Mockups in Balsamiq, you can rearrange them by dragging them into the order a user would experience in achieving the goal. • If you return to a screen, you can copy and paste it in a new mockup to use it again. • Add post notes to illustrate what is happening to accomplish the user goal and highlight any key points or possible outstanding questions for the viewer.
Any Questions? • Designing User Experience (UX) using your Scenario Map and User goals. • Create the Site Map of your App illustrating how it flows between Screens to accomplish tasks • Build Wireframes of the Screens to further detail how your app will be used • Make sure all your User Goals are met by your design