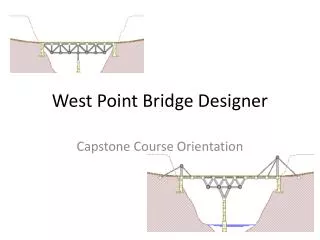
West Point Bridge Design
West Point Bridge Design. Cayla Johnson EFll /Period 3B January 9, 2013. Define the Problem. Students have to make a bridge starting with designing then constructing. The design would be on ‘West Point Bridge Design 2012’. Brainstorm.

West Point Bridge Design
E N D
Presentation Transcript
West Point Bridge Design Cayla Johnson EFll/Period 3B January 9, 2013
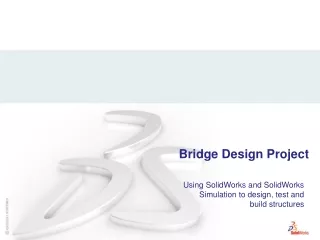
Define the Problem • Students have to make a bridge starting with designing then constructing. The design would be on ‘West Point Bridge Design 2012’.
Brainstorm • I had many ideas on how to make a bridge. They could either be built upward or downward.
Research • When you look up bridge designs you will notice a lot of criss-crossing and geometric shapes. With this information I chose to criss-cross my bridge.
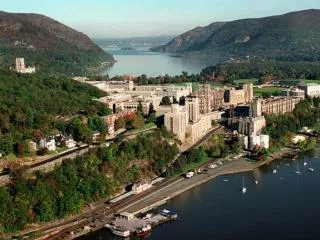
Identify Criteria and Constraints • The bridge had to be designed on a software program called ‘West Point Bridge Designer 2012’. The bridge must be durable and cost efficient. The goal price is from $150,000 to $170,000. Anything higher than that will result in failure.
Exploring Possibilities • There are many ways to build a durable bridge. You can build it with squares or triangles. You could also have a two part bridge or just one solid piece. You could even build it up to the sky or low to the ground.
Select an Approach • I chose a design with simple triangles. That seemed to be the easiest, cost friendly approach.
Design Proposal • My design would consist of a four part bridge. So there would be two pieces to make one side of the bridge. This, to me, seems to make it more sturdy.
Produce a Prototype • My prototype consisted of big triangles on each side. They would connect at their vertices on an angle.
Test • When I would try to test my bridge, the trial wouldn’t even work. My bridge was ‘unstable’. I had to make smaller triangles.
Refine • To refine my bridge, I decided to design smaller and thicker triangles. This way they weren’t too long and expensive.
Make • I constructed much smaller triangles. I also made them closer together. They were able to stay sturdy.
Process and Result • The result of my refinements were a sturdy four part bridge. It was also only $173,135.51.