Download
1 / 39
390 likes | 504 Vues
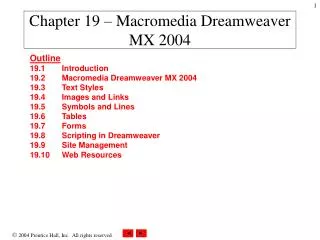
This tutorial provides a step-by-step guide on how to launch Dreamweaver MX 2004 to create and manage HTML pages. Learn how to set up your page properties, including fonts, background colors, and links. Discover how to insert tables, align content, and highlight headings. The guide also covers adding anchors to enable smooth navigation within a single page and linking to separate web pages. It includes external and email links, file organization tips, and best practices for naming conventions. Enhance your web development skills with this detailed resource.

E N D
Window>Insert & Properties, Files Have a Check Mark When Active
Click Drag Select Table Contents, Align Center, Add Table Color
Highlight Word to add Anchor Link to, & add #introduction in Link box Anchors allow links to jump down to lower sections on the same page #introduction
Place Curser in front of the Word then go to, Insert>Named Anchor
For Links to Separate Web Pages(example of files in website folder) Introduction file is named index.html
Highlight the Word to Link to &Type the Link Properties Name task.htm
To Link to Separate PagesHighlight Word & Type Link Name conclusion.htm
External Links: Highlight Word & Type the full URL Link Properties http://www.google.com
E-Mail Links: Highlight Word & Type mailto:hollandj@emporia.edu mailto:hollandj@emporia.edu
New Folder: website (save webpage files inside of the folder)
Locate the .gif or .jpg File on the Desktop to Place in your Website Be sure you do not pick up the desktop or folder path, or when uploaded to the server your graphics will not be found Correct link: disk.jpg
Upload All Files to iDrive Web Server Space public_html website1 index.html goals.htm instructor.htm syllabus.htm grading.htm rules.htm sitemap.htm graphic1.jpg graphic2.gif website2 index.html task.htm process.htm resources.htm evaluation.htm standards.htm conclusion.htm graphic1.jpg graphic2.gif
File Naming Conventions website1 index.html goals.htm instructor.htm syllabus.htm grading.htm rules.htm sitemap.htm graphic1.jpg graphic2.gif All Lowercase Letters Short Descriptive Names No Spaces No Special Characters Correct File Extensions website1 (Folder Name) index.html (Intro Page)
Additional Resources Dreamweaver Tutorials: http://www.macromedia.com/support/dreamweaver/tutorial_index.html http://www.macromedia.com/support/documentation/en/dreamweaver/index.html#tutorials or you may be able to find other free online tutorials Great Resource Book: “Teach Yourself Visually The Fast and Easy Way to Learn Dreamweaver MX2004”