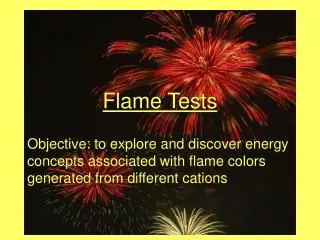
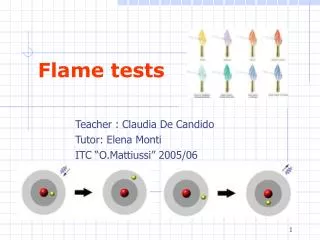
Flame tests
Flame tests. Teacher : Claudia De Candido Tutor: Elena Monti ITC “O.Mattiussi” 2005/06. Menu. Demonstration: flame tests. Giving reasons for the behaviour of the salts. Energy levels. Flame chart, multiple choice ,fill in the gaps. Objectives. In this unit the students will:

Flame tests
E N D
Presentation Transcript
Flame tests Teacher : Claudia De Candido Tutor: Elena Monti ITC “O.Mattiussi” 2005/06
Menu • Demonstration: flame tests. • Giving reasons for the behaviour of the salts. • Energy levels. • Flame chart, multiple choice ,fill in the gaps.
Objectives • In this unit the students will: • identify some elements from the flame tests; • explain the results by the model of energy levels.
Time • 3 class periods 50 min. each.
Skills • Knowledge of the new words and the new concepts. • Accurate explanation of the behaviour of the salts in the flame. • Prediction of behaviour through the acquainted knowledge. • Grade Level : second classes - secondary school.
Evaluation • During the lessons the students can evaluate their understanding and their improvements through activities single or in group. • Assessment: • flame chart, • fill in the blanks, • multiple choice.
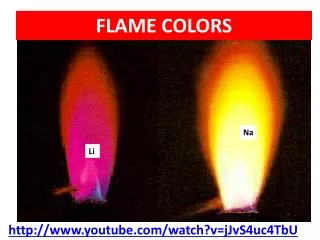
Procedures • Show the students the procedure in the flame tests . • Give instructions about safety. • The students will record the colour imparted to the flame in the flame test chart. • They will use the first table to work out the metals in the unknown samples. • They will learn that the colour of flame is emitted by the metal in the salt and that different metals produce different coloured light. Every coloured light has a specific energy, wavelength and frequency. • We will do a kinaesthetic exercise to introduce the levels of energy. • Show the slides about the electrons levels and explain it • Review the content by a multiple choice exercises and filling in the blanks.
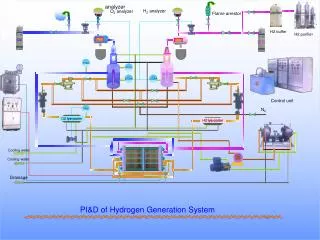
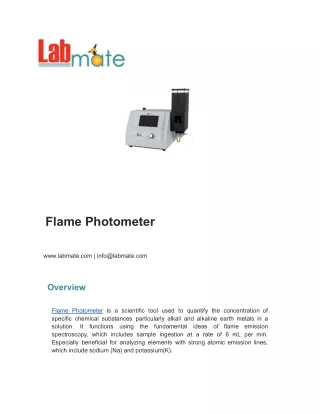
Resources required • Platinum wire, salts of various metals, acid solution , Bunsen burner (special burner), beakers, gloves and goggles. • Every material and apparatus is labeled with its name.
Suggestions • What the students need to do: • Ask, ask, ask if you don’t understand. • During the experiments follow instructions carefully. • Take notes and take part in the lessons. • Practice and revise even when we don’t tell you.
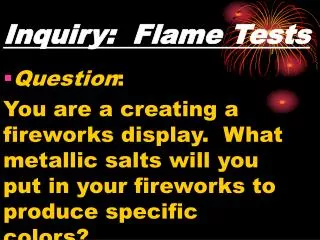
What do the street lamps , salt and fireworks have in common ? ?
They all contain SODIUM which givesoff a unique yellow flame when it is heated.
Apparatus and materials • Bunsen burner • Watch glass dish • Platinum wire • Beaker • Salts • Hydrochloric acid solution, (dilute) • Be careful!
Procedure • Dip the wire in a acid solution • Hold the wire in Bunsen flame (to check if wire is clean) • Place some of the salt on the wire • Hold the salt in the flame • Note the colour imparted to the flame. • Repeat for other salts. • Record your results in flame test chart (first table) , using different colours • Use the first table to fill in the blanks of the second table.
Safety • Take the necessary precautions before beginning this experiment. Wear goggles and gloves.
Kinaesthetic exercise • Stand up and close your eyes • Imagine a book on a shelf , a lower shelf, next to the ground. • Now get the book and put it on a higher shelf, on top. • It is heavy.It is a big book. • The book now is in an higher shelf, it has more energy because of your work. • Unfortunately the book is unstable and suddenly falls to the ground, on your foot. Ouch!The book has given off the energy of your work! • Open your eyes. • Imagine the electron in the atom, which occupy only certain positions or levels of energy, like shelves or steps.
Useful model • The diagram shows some steps leading up from horizontal ground. It is a useful model to explain the energy levels of electrons in the atoms. • The energy levels can be occupied or vacant. In the example three energy levels 1,2, 4 are occupied and one energy level (3 ) is vacant.
Shelves • Raising an electron to a higher energy level takes work. Similarly an electron falling to a lower step releases energy. This energy appears as radiation. The lowest electron is on the ground and cannot fail lower. An other useful model is shelves.
Energy levels The normal electron configuration of atoms of an element is known as the "ground state." In this most stable energy state, all electrons are in the lowest energy levels available. When atoms in the ground state are heated to high temperatures, some electrons may absorb enough energy to allow them to "jump" to higher energy levels. The element is then said to be in the "excited state."
This excited configuration is unstable, and the electrons "fall" back to theirnormal positions of lower energy. As the electrons return to their normal levels, the energy that was absorbed is emitted in the form of electromagneticenergy. Some of this energy may be in the form of visible light. The colour of this light can be used as a means of identifying the elements involved. Such crude analyses are known as flame tests. Only metals, with their loosely held electrons, are excited in the flame of a laboratory burner.
Thus, flame tests are useful in the identification of atoms. Many metallic elements exhibit characteristic colours when they are vaporised in the burner flame. If the light emitted is carefully analysed for its characteristic frequencies, it can be shown that each element has a characteristic pattern or fingerprint.