Download
1 / 33
340 likes | 512 Vues
Screen, relief, intaglio and thermographic printing. The various types of printing. Screen printing. Screen printing uses a stencil — which is mounted to a screen — to form images.

E N D
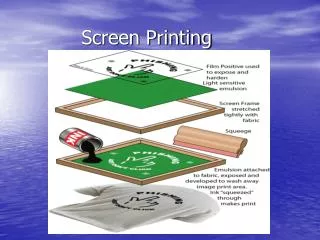
Screen printing • Screen printing uses a stencil—which is mounted to a screen—to form images. • Premedia and prepress…same as other processes. Prepress processes customized to capabilities of screen-printing process. • Thick opaque inks • Images cannot be too small due to the fabric of the screen
Printing plate • http://www.graphics.tech.uh.edu/student_work/screen_101/index.htm • o What is looks like • o Frame • o Polyester screen (not silk)
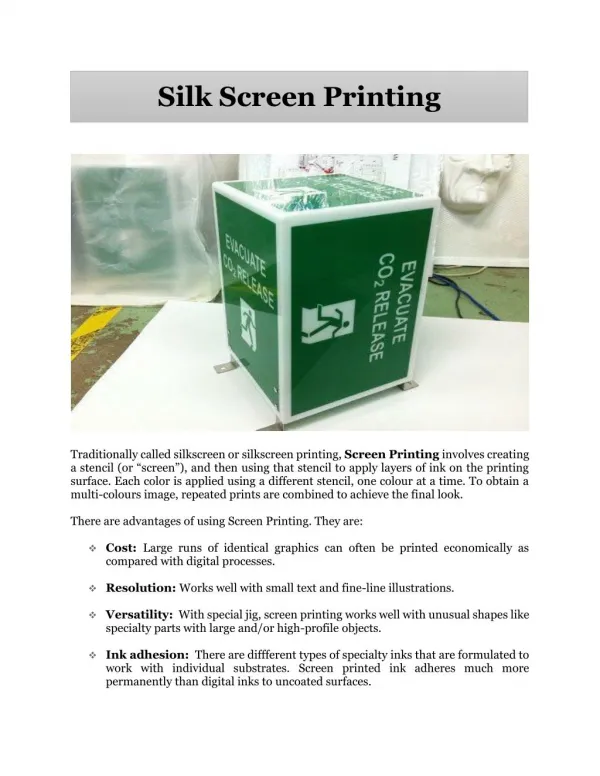
Stencil • Openings in the stencil are the image. Portions of the screen that are covered are the non-image. • Hand cut stencil of paper, plastic, or other material. • Photographically exposed onto light-sensitive emulsion from a positive made with film or by using a black-and-white laser printer to print a black image on a clear polyester sheet. • Direct to screen…ink-jet device sprays the “non-image” area onto an uncoated screen.
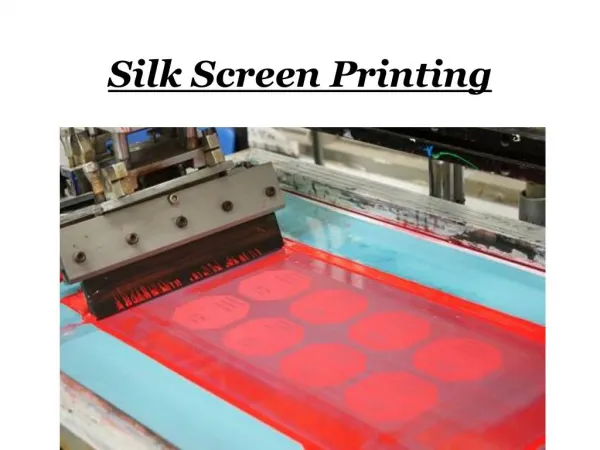
Printing process • Screen, mounted to a frame, is attached to a printing press (see Screen Printing 101 “The Process” page) • The screen is brought into contact with the substrate • Ink (paint) is applied to the screen. • A squeegee pushes the ink through the screen and onto the substrate. • The ink (paint) is dried and then the next color applied. • Products are removed, stacked, wrapped, and delivered.
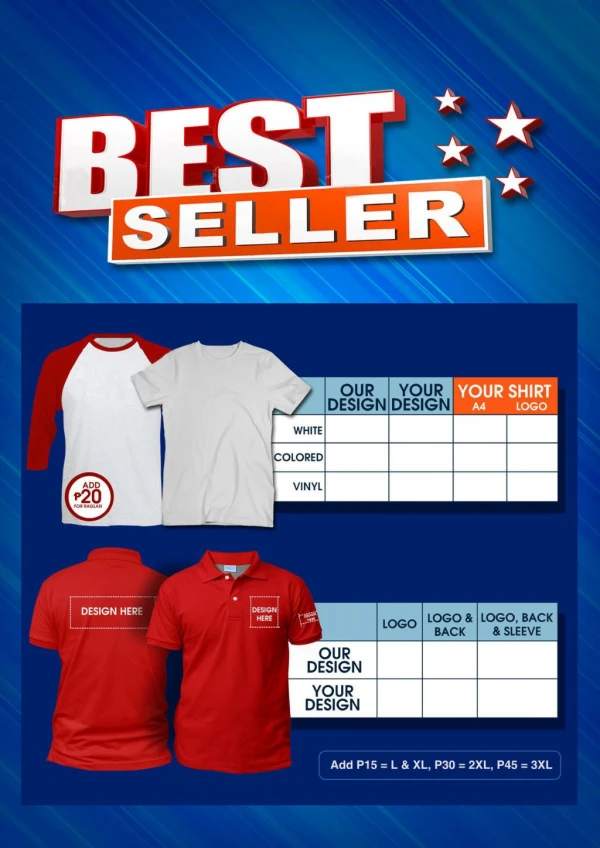
Uses • Very short runs • Odd shaped objects (coffee cups, touch-pads for electronic devices) • Fabrics, T-shirts • Items that need to withstand extreme weather abuse (outdoor billboards, point of purchase displays) • Items needing very thick ink (paint) coating (street signs, warning signs) • Extremely large items (billboards, signs in gas station parking lots) • Electronic items (circuits can literally be “printed” using molten metal instead of ink/paint)
Identifying screen-printed products • Extremely thick ink layer • Odd-shaped items (cups, Frisbees, ball caps) • Textiles…T-shirts
Relief printing • Relief printing processes have raised image areas and sunken non-image areas. • Inked rollers touch the top of the raised image. The non-image does not receive ink because it is too far below the surface for the ink rollers to touch. • The raised and inked image is then pressed directly onto paper or other substrate. The ink transfers (splits) from the raised surface to the substrate. • There are two relief printing processes…one uses a hard raised plate and the other uses a softer raised plate.
“Letterpress” uses a hard relief plate (metal or hard polyester). The process is the same as students used to print on the Columbian and Gutenberg presses at the museum of printing history. The process is very seldom used nowadays except for fine arts and historical applications. • “Flexography” uses a softer relief plate. The process is used extensively for the production of all sorts of packaging materials from labels to food boxes to plastic bags.
Premedia and prepress…same as other processes. Prepress processes customized to capabilities of letterpress or flexography. • Neither letterpress nor flexography can print extremely fine text or halftone dots. • Flexo plates stretch when they’re mounted to a press cylinder. The stretch is around the cylinder. So, the prepress process must shorten the around-the-cylinder length by an amount determined by a special formula. The across-the-cylinder dimension does not change. • Since flexo is often used for packaging, the specifications for bar codes and RFID tags must be followed carefully.
Food containers produced by flexo contain “Nutrition Facts.” The design of this portion of a package is specified by law and the designer must follow those specifications (typeface, size, boldness, and so on). • Documents to be printed by Flexography need to adhere to the specifications published in FIRST (Flexographic Image Reproduction Specifications and Tolerances—available through the bookstore on www.flexography.org)
Plates • Traditionally, both letterpress and flexography began with metal type characters (show type in type stick and linotype slugs) • When letterpress was used, the type itself, or a curved metal “stereotype” made from the type, was used to directly print onto the substrate. This hard plate-against-hard paper resulted in a somewhat broken appearance in type (especially headlines), solids, and halftone photos. • The softer flexo plates compress slightly when they print on rough stocks and can press the ink deeper into the crevices than can letterpress. Thus, flexo images are smoother than images printed by letterpress.
Traditional flexo plates were made by pressing the metal type into heated “matrix” material. Then, heated rubber was melted into the matrix. The cooled rubber became the plate. • Contemporary letterpress and flexographic plates can be made: • Photomechanically…by exposing a pre-sensitive photopolymer (explain) plate with a negative made from an imagesetter. • Using platesetters designed to expose relief plates.
Printing process • Contemporary relief plate (letterpress or flexographic) wrapped around cylinder of printing press page 142 of Kenly) • Cylinder rotates and is inked • Letterpress: hard plate brought into contact with soft inking rollers • Flexographic: soft plate is brought into contact with hard “anilox” roller that contains small wells that hold liquid ink. • Ink is applied to the raised portions of the plate. • Paste-like ink for letterpress • Liquid aniline ink for flexography
The cylinder continues to turn until the freshly-inked image touches the substrate being fed through the press. • The ink is pressed onto the substrate. • The ink is dried. • Products are removed, stacked, wrapped, and delivered. Some flexographically-produced products are re-rolled for use in automatic packaging machines (labels, plastic wrappers for candy, and so one)
Uses • Letterpress is seldom used • Flexography is very commonly used for packaging.
Identifying relief-printed products • Letterpress images are broken because the hard plate cannot press ink into the crevices of paper. • Flexographic images almost always have a “halo” around the edges caused by the compressing and expansion of the soft rubber as it prints the substrate.
Intaglio processes • Intaglio processes are engraved…that is, they have sunken (engraved) image areas and raised non-image areas.
There are three intaglio printing processes: • Gravure: the image is created using a stylus to “peck” cells into a metal cylinder. The cells, which can vary in circumference and depth, are filled with a liquid ink, the excess ink is squeegeed off of the raised non-image area (with a doctor blade), and the paper is pressed against the cylinder. (Refer to the Intaglio Printing Process PDF and/or pg 146 of Kenly.
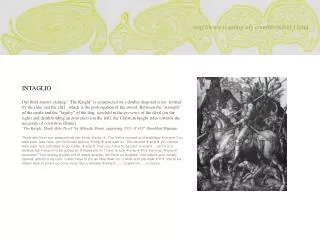
Engraving: the image, formed of lines rather than wells, is cut into a metal plate by hand, duplicated, and then the plates are combined on a press (Kipphan Fig 2.5-7 on pg 427). • Ink rollers press ink into the engraved image…and cover the non-image, too. • The ink is wiped off of the non-image area and then a large amount of force is applied to press the paper into the engraved image. This results in a characteristic “raised” image on the front of the sheet and sunken image on the back of the sheet. • This is a time consuming, difficult, and costly process used primarily for the production of currency, stamps, and other security items. • Engraving is also a symbol of status…as in the old saying, “What are you waiting for? An engraved invitation?” Thus, engraved stationery and business cards are associated with wealth or rank within an organization.
Pad printing: What is Pad Printing? See senior project website at: http://graphics.tech.uh.edu/student_work/pad_print_php/index.php.) • An engraved plate (called a cliché) is inked, the ink is squeegeed off of the non-image area with a doctor blade, and then a transfer pad, known as a tampon, removes the ink from the cliché. • Finally, the tampon moves into position to print the object…usually an odd-shaped object (like a pen, bottle cap, yo-yo) or a cylindrical object like a drink bottle.
How pad printing works
Prepress and platemaking • Prepress and platemaking vary considerably from one intaglio process to another and differ from lithography and screen-printing. • Gravure: prepress uses digital illustration, photographic, and page layout files like lithography. • Completed forms are sent to a RIP that converts the entire image, not just photographs, to dots. Every image…including “solids,” text, and illustrations printed by gravure is composed of dots (pass around samples of gravure printing and a loupe). • A HelioKlischograph follows the instructions provided by the RIP and engraves wells of varying circumference and depth into a copper cylinder.
Engraving: Engraving plates for security purposes are generally cut by hand by a “master engraver” and then duplicated for multiple-up printing. This is a fundamental part of the security of money and other negotiables because engraved plates are hard to counterfeit and few people have the skill and training to engrave. • Engraving plates can be cut by laser for more “mundane” purposes such as business cards, wedding invitations, and “classy” stationery. • Engraving plates can also be prepared photographically by exposing an image to a light sensitive coating. The image area is washed away and then an etch is used to “cut into” the metal plate.
Pad printing: The cliché is cut by laser or through the use of a photographic/etching process (There are movies of the process available on the What Is Pad Printing website.
Uses • Gravure…very long runs like magazines, catalogs, gift-wrapping paper, cigarette wrappers. • Engraving…security documents and high-status printing • Pad Printing…used “in-line” to decorate objects as they are being manufactured
Identifying intaglio-printed products • Gravure: every part of the image…including text and illustrations…is composed of dots. • Engraving: image on the front of the page is raised and is sunken on the back. • Pad printing: the image prints on or around an object that really couldn’t be printed any other way.
Themography • “Imitation” engraving • Since the raised image on an engraved business card or letterhead is a mark or status, those who can’t afford genuine engraving “fake it” using thermography. • Ink is printed on the sheet using litho and then a powder is dusted on the wet ink. • The powder-dusted sheet passes through a heater than causes the powder to swell. • The result is a raised image on the front…but a flat image on the back. You can tell “fake” engraving by the raised image without a sunken back.