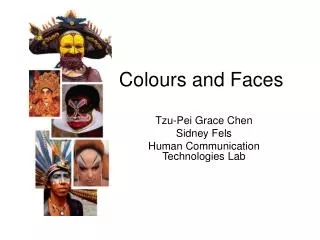
HEADS and FACES
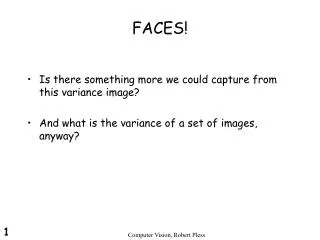
HEADS and FACES. PROPORTION. comparing the size, shape and placement of things. The PROPORTIONS need to be correct if you want to draw a REALISTIC human head. But what should those proportions be? Try measuring some heads to find out. top. measure. measure. chin. eyes. top.

HEADS and FACES
E N D
Presentation Transcript
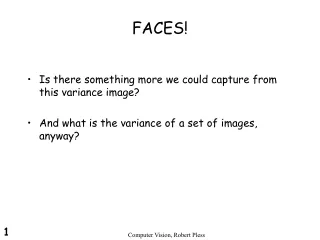
HEADS and FACES
PROPORTION comparing the size, shape and placement of things
The PROPORTIONS need to be correct if you want to draw a REALISTIC human head. But what should those proportions be? Try measuring some heads to find out.
top measure measure chin eyes
top measure measure chin
top measure measure chin
top measure measure chin
top measure measure chin
top measure measure chin
top measure measure chin
You will find that real humans have their eyes placed almost exactly HALFWAY up their heads. The reason you expect the eyes to be higher up, is that you probably are used to only thinking about the FACE, not the whole head.
To learn to make a human head with REALISTIC proportions, you need to start out with some GUIDELINES. Get a fresh piece of paper.
end up with this start with this do this to it 1. Fold vertically and open it up
2. Fold paper horizontally and keep it folded
folded edge open edges 3. Fold the OPEN edges over about a half inch. Keep them folded.
4. Fold the whole thing horizontally one last time.
Open it up. You should have folds like this: These are your main guidelines.
Put dots where the center line touches the top fold and the bottom fold.
Draw ONE SIDE of a fat oval. DON'T make pointy ends!
Make your good curve DARK with pencil.
Then fold it vertically, so the drawing is inside.
Press the top paper down against the side with the drawing. You should be able to see a darker line where you drew the half oval. Trace hard over that line.
The second half of the oval should transfer to the other side. You can darken it some if you want.
3/4 1/2 1/4 You should have something like this. Label the fold lines 1/4, 1/2 and 3/4.
STEREOTYPE: An idea stuck in your mind about how a type of person or thing looks, acts, etc. Usually, you hear this when people are talking about PREJUDICE and DISCRIMINATION.
But you can also have VISUAL stereotypes. Think about how little kids draw faces.
So a re-worded defininition of stereotype to use in art might be: A simplified picture of how something looks that is stuck in your mind.
Everyone has visual stereotypes. We come up with them as little kids. They are great for cartoons, where things don't need to look realistic.
But we are going to work on making REALISTIC human heads, without using little kid style STEREOTYPES.
3/4 1/2 1/4 Start with the hardest part: Make 4 EQUALLY SPACED marks across the 1/2 line, so that it is divided into 5 EQUAL parts.
Real people have heads that are 5 eye-spaces wide.
3/4 1/2 1/4 The eyes should fill the 2nd and 4th spaces. You tell how wide all the other parts of the face should be by comparing them to the eyes, so you need to get this right to look realistic!
3/4 1/2 1/4 Draw LIGHT guidelines straight down from the inside corners of the eyes, to the 1/4 line.
We don't pay much attention to people's noses, because noses don't do much to help show emotions and communicate. So we tend to expect noses to be smaller than they really are.
Most people also have a lot of trouble getting past the STEREOTYPES of noses that they formed when they were younger.
You only see EDGES at the BOTTOM of people's noses when you look straight at them. No edge here! And, we usually only draw LINES where we see an EDGE.
So, only draw LINES at the BOTTOM of people's noses! It usually makes a "triple - U" shape, with the center curve a little bigger than the nostrils.
3/4 1/2 1/4 The bottom curve of the nose should touch the 1/4 line, and the outside of the nostrils should touch the guidelines coming down from the inner eyes. Noses are bigger than you expect!
3/4 1/2 1/4 Now add another pair of guidelines, coming down from the CENTER of the eyes to the chin.
3/4 1/2 1/4 Divide the center line between the nose and the chin into 3 equal parts. This is LOTS easier than dividing the eye line into 5 parts!
The line between your lips (the bottom of your upper lip) usually has a small dip in the center, but sometimes is straight. Some possible lip shapes
3/4 1/2 1/4 Draw the opening between your lips on the upper 1/3 line, going out to the guidelines from the center of the eyes.
To help you remember where your lips go under your nose, put ONE finger above your upper lip. Then put TWO fingers below your bottom lip. Most people have TWICE as much space BELOW their lips, as they have ABOVE them.
The unexpected part about your lips is that they DON'T appear to go to the ends of the OPENING between your lips. It's like they curl in a little toward the ends.
3/4 1/2 1/4 So, add upper and lower lips, but draw them so they DON'T go to the ends of the opening line. Some possible lip shapes.
3/4 1/2 1/4 Add another pair of guidelines, coming from the OUTSIDE of the eyes, going all the way to the bottom of the paper. These are for the neck.
Your neck has lots of important things in it. It contains your backbone, big veins to carry lots of blood to your brain, the tubes that you breathe through and eat through, and muscles.
So it needs to be THICKER than you probably expect. Don't make a skinny neck like this: I call this a "pencil neck" because it looks to me like a potato stuck on a pencil.
Even a slender girl has a neck that is at least AS WIDE AS THE OUTSIDE CORNER OF HER EYES.
3/4 1/2 1/4 Necks are ALWAYS at least as wide as the outside of your eyes. Neck for a slender woman, a child, or a skinny man. Neck for a typical man, or for a larger woman. Neck for Goku as Super Saiyan 3.