Download
1 / 14
210 likes | 575 Vues
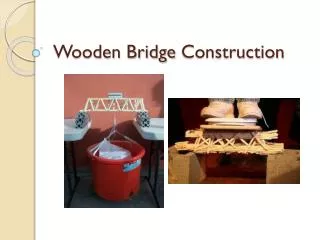
Wooden Bridge Construction. Strength & Joinery. Wood is very strong parallel to the grain ONLY Wood glues very well on the face grain and edge grain (sides) but poorly on end grain Bond is often stronger than wood itself

E N D
Strength & Joinery • Wood is very strong parallel to the grain ONLY • Wood glues very well on the face grain and edge grain (sides) but poorly on end grain • Bond is often stronger than wood itself • Wood has high strength in tension and compression but only moderate in shear
Gluing 2 pieces side by side will double its strength • Gluing 2 pieces o top of each other will quadruple its strength • Pieces that are too short can be over lapped
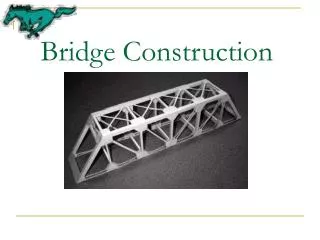
Triangles & Trusses • A triangle is the strongest geometric shape • Which bridge is stronger?
Types of Trusses • Various types of trusses are used in bridge design/construction • Designed & tested by bridge & mechanical engineers
8 Common Types 1. King Post/Queen Post • Simplest type of truss • Contains the fewest members • Used for simple roofs or short span bridges • 2 angled supports leaning into a common vertical support • A bridge would require 2 king post trusses with a road surface or bridge way between them
8 Common Types • Warren Truss • One of the simplest yet strong • Consists of longitudinal members joined by angled cross members • Forms alternately inverting triangles • Ensures all members are not subject to torsion – only compression and tension • Equilateral triangles
8 Common Types • Members alternate between tension and compression • Members in the centre are subject to compression and tension (compensate for live loads) Red = tension Blue = compression Green = no load Centre Load Spread Load
8 Common Types • Pratt Truss • Includes vertical members and diagonals • Opposite to Howe Truss • Shorter, vertical members are in COMPRESSION • Often used in railway bridges • Good use of iron • Typically uses more iron • Iron beams for diagonal members • Many variations Centre Load Spread Load
8 Common Types • Howe Truss • Includes vertical members and diagonals • Opposite to Pratt Truss • Longer, angled members are in COMPRESSION • Suitable for longer spans • Typically uses more wood • Wooden beams for diagonal members Centre Load Spread Load
8 Common Types • K –Truss • Shorter compression members than other truss designs • Shortened vertical members (compression) • Shorter compression members = more resistance to buckling • Most complicated and hardest bridges to build Centre Load Spread Load
8 Common Types • Bollman Truss • Type of suspension truss • Inefficient due to each panel functioning on is own rather than aiding each other like the previous types of trusses • Extremely stable • Stiff deck – good for railway bridges • Easy to assemble
8 Common Types Cont. • Fink Truss • Most common roof design truss • V-shaped members • Overlapping king post trusses connected by smaller member in BLANK • Capable of spanning longer distances • Single = 33ft, double = 54 ft • Quick, cheap, capable of carrying large loads, relatively long life span
Making Trusses When making a truss: • Make a full size drawing on grid paper. • Cut the pieces to fit the drawing. • Tape the drawing to a table. • Glue the pieces in place to the drawing gluing the joints. Use glue sparingly. • Glue joints. Use glue sparingly. • When dry, pull the paper off and remove carefully.