Download

1 / 3
30 likes | 33 Vues
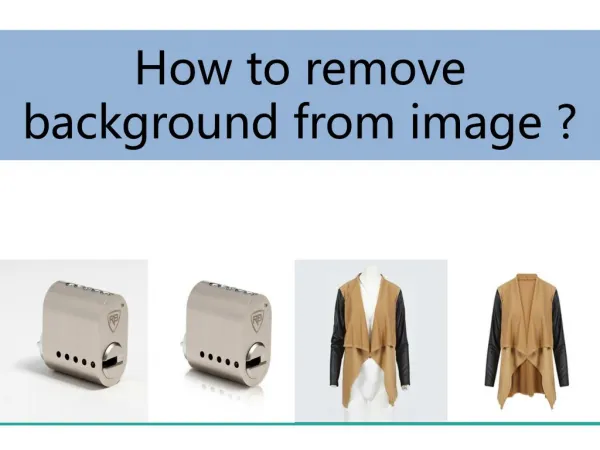
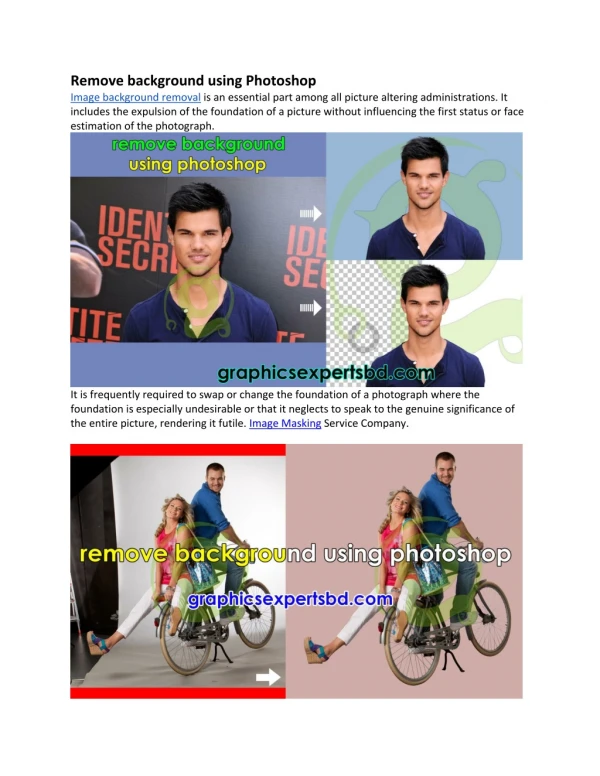
It is not always easy to remove a white background in Photoshop. Sometimes, removing an object with a white background can be challenging.

E N D
How To Remove a White Background in Photoshop: The Easiest Way It is not always easy to remove a white background in Photoshop. Sometimes, removing an object with a white background can be challenging. But don't despair! There are many ways to get the job done. Here are four ways to remove a white background in Photoshop that work even if your image has complex shapes or patterns. Pick the technique that best suits your needs and let's get started! Removing the Background with Content-Aware Fill Command The content-aware fill command is an excellent choice for objects with complex shapes or patterns. It is not the best option for images with textured backgrounds, but it can get the job done! Select the content-aware fill command in the edit menu. The content-aware fill will work to remove the background while preserving the original object. Select the area around your object. The background will fill in with pixels of the original background color. The Quick and Easy Way of Creating a New Layer
Step 1: Create a new layer In this example, we will be using the quick and easy way of creating a new layer. To do this, go to the "Layer" tab on the top of your screen and click on "New Layer." In the dialogue box that pops up, select "Transparent" as the layer type. Step 2: Fill the layer with color Go back to your layers tab and click on your new layer you created. This is the layer you want to fill with color. Click on the drop-down menu in the middle of your screen and select "Fill." From there, select "Solid Color" and "Black" as your color type. Step 3: Erase Once you're done filling your layer with black, go to your eraser tool (with the brush size set to about 5%) and erase the white background that is left. The Clone Stamp Tool Method For this method, you will need the clone stamp tool. If you do not already have the clone stamp tool, you can find it in the toolbar under the "Draw" tab. You will also want to select the sample all layers option. This method is best for images with simple backgrounds with little to no patterning. Simply select the area you want to copy. Then use the stamp tool to paint over the area that has the white background. Make sure that your brush is set to 100% opacity and 100% hardness. You can also play with your brush size for different sized areas of coverage. This method is best for more complex backgrounds with patterns or shapes. Simply select the area you want to copy. Then use the stamp tool to paint over the area that has the white background. Make sure that your brush is set to 100% opacity and 100% hardness. You can also play with your brush size for different sized areas of coverage. This method is best for more complex backgrounds with patterns or shapes. Simply select the area you want to copy. Then use the stamp tool to paint over the area that has the white background. Make sure that your brush is set to 100% opacity and 100% hardness. You can The Pen Tool Method for Complex Patterns Many people find the Pen Tool to be the best option for complex shapes or patterns because it allows them to make a selection based on the edge of the shape. To get started, you want to make a selection around your object. This can be done by clicking and dragging your cursor across the area of the object you want to select. Once you have your object selected, you can press Ctrl+X to cut it out of the white background.
Next, you want to paste this object on a new layer on top of your original image. When pasting, make sure it's positioned in the same spot as the original object. This will serve as a guide for your next step. After this, you want to press Ctrl+Shift+I to invert the color of your object. This will allow you to achieve a better output when you remove the white background. It's important to note that this technique will not work for all types of objects so be sure to experiment with the different methods above if this is not working for you. Conclusion Although removing a white background in Photoshop can be challenging, it is possible with the right techniques. Experiment with each of these four ways and find your favorite solution!