Download

1 / 70
700 likes | 818 Vues
Join Meridian Career Institute for an engaging seminar where we explore the ins and outs of Microsoft Publisher. This session will help you understand when to use Publisher versus Word, especially for graphic-rich projects like newsletters and greeting cards. Learn how to create documents using templates, insert text and images, manipulate text boxes, and nudge elements precisely. Whether you’re a beginner or looking to enhance your skills, this seminar will equip you with practical knowledge to design stunning publications.

E N D
Meridian Career Institute presents
Publisher or Word? • Use Publisher when working with pictures and a complicated layout, such as a newsletter or greeting card. • Use Word when working with mostly text.
If Publisher does not appear, click on “All Programs,” then “Microsoft Office,” then “Microsoft Office Publisher 2003.”
There are four different options for creating new documents.
“Publications for Print” provides templates for many types of print publications.
This option provides templates for many Websites and Email designs.
Design Sets show the same design on different types of documents.
The “Blank Publications” option shows several different types of documents and Websites that can be created using Publisher.
Fill color Text box Font color Table Line color Rotate WordArt Insert Picture Lines and shapes Vertical ruler
You MUST use a text box or WordArt to put text into a Publisher document.
Left click, hold the button down, and drag the mouse diagonally. Release the button when the text box is the size you need. You may now type inside the text box.
Click on the “Word Art” icon. WordArt adds color and is ideally used for headers, titles, and banners.
Choose an option from the menu: Clip Art, Picture from File, or Picture from Scanner or Camera. If you don’t yet have an image to insert into the document, select “Empty Picture Frame” to place the image in at a later time.
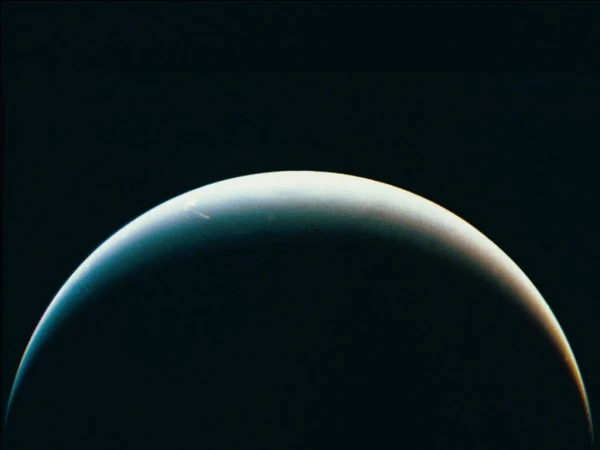
Type “ocean” in the “Search for” box. Click once on the photo you wish to insert.
Select “Picture from File.” Your mouse pointer will turn into a cross-hair style pointer. Drag it across your publication in the area where you want the picture inserted.
Once the mouse button is released, the “Insert Picture” window should appear. It automatically opens to the “My Pictures” folder.
Move the mouse over the green circle until the pointer changes into a circular arrow. Hold down the left mouse key and move the mouse in the direction you want the text box to turn.
Let go of the mouse button when the text box is rotated the way you want it.
To change the size of the text box, place the mouse over one of the white circles. The pointer should change into a double-headed arrow.
Hold down the left mouse button and drag the mouse until the text box is the size you want.
To move the text box, click within the box, then move the cursor over the perimeter of the box (not over the white circles). The cursor should turn into two double-headed arrows.
Hold down the left mouse key and drag the text box to the location you want, then let go of the mouse button.
If you need to move a text box or image by a very small amount, select it, then use the arrow keys to move it.