Download
1 / 19

E N D
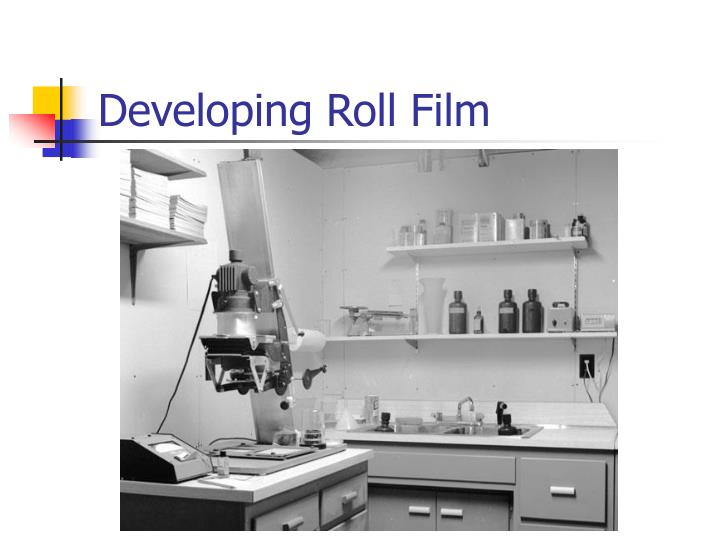
Developing Roll Film • In order to produce a properly developed negative in a daylight tank, the temperature and duration of the process must be carefully regulated. Generally, a temperature of 68 degrees F (20 degrees C) is recommended for black-and-white film developers and other processing solutions. Depending on the film and developer combination, recommended developing times may vary from a few to several minutes. Photographers often use a timer with a bell or buzzer at this stage.
Development • During development the solution is periodically agitated--gently sloshed around--to ensure uniform development and to prevent streaks from forming on the film. Experienced photographers usually agitate on the same time schedule for every roll of film the process.
Development • In a darkroom or changing bag where you have placed a film tank, reel, center insert and scissors remove the cap from the flat end of our roll film cartridge. Remove the inner reel and trim the film leader off of the film. Handle the film only by the edges or better yet use cotton gloves to avoid finger prints on the film surface
Development • In the DARK, place the tank reel so that the insert faces away from you. Feel for the bumps on the inner side of the reel. That is the start of the reel spiral that will hold the film Insert the flat end of the film into the spiral and pull it about half way around the reel. Then twist the top reel while holding the bottom reel still. This will push the film into the reel. Keep this up until the end of the roll is reached. Cut the tape and plastic reel off and you are done.
Development • Place the reel into the tank with the plastic insert face up. Notice that the lid on the tank fits into the center of the insert. Place the lid on the tank and twist it clock wise until it clicks shut. You are now free to bring the tank out of the dark for processing.
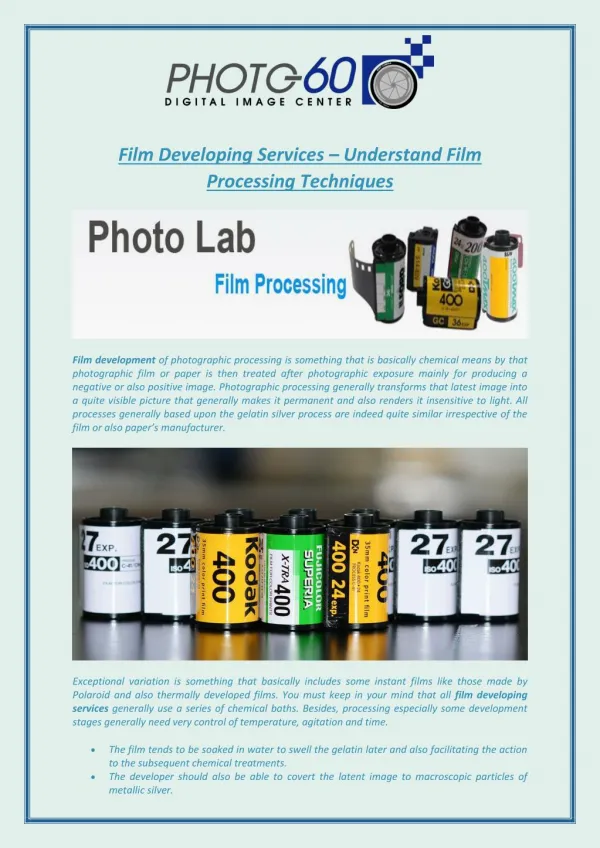
Steps for processing film • 1. MIX your developer. In this lab we use HC 110 from a stock solution diluted 1.5 oz. with 10.5 oz. of water to make a total of 12 oz. For a two roll tank this is doubled.
Steps for processing film • 2. Take the temperature of the developer and look on one of the processing charts in the lab to find the time. DO NOT assume it will be something someone else got.
Temperature Normal Contrast 20% less contrast 20% more contrast TRI - X 64 9 1/4 minutes 6 min 11 minutes 66 8 minutes 5 minutes 9 3/4 minutes 68 - ideal 7 1/2 minutes 4 1/2 minutes 10 1/2 minutes 70 6 3/4 minutes 4 minutes 8 minutes 72 6 minutes 3 1/2 minutes 7 1/4 minutes 74 5 1/4 minutes Avoid 6 1/2 minutes 76 5 minutes Avoid 6 minutes Other Films T - MAX 100 PLUS-X 65 8 minutes 6 1/2 minutes 68 7 minutes 6 minutes 70 6 1/2 minutes 5 1/2 minutes Processing Chart
Steps for processing film • 3. Pour the mixture into the top of the film tank. Gently tap the tank on the table 10 or 12 times to dislodge air from the side of the film. Start the time as soon as you start pouring in the developer.
Steps for processing film • 4. During your development time which will likely be between 8 and 12 minutes pick up the tank every 30 seconds and shake it for 5 seconds to agitate the developer. This will bring fresh chemical in contact with the film. Failure to agitate could cause your film to be low in contrast.
Steps for processing film • 5. With 15 seconds left on your time begin to pour out the developer. With the lid still on the tank rinse it out with water from the sink. Be sure the temperature of the water is the same as it was when you mixed the developer. Very cold or hot water can cause the grain to get larger on your film.
Steps for processing film • 6. Pour in 12 oz. of fixer from the bottle. Again tap the tank to shake off the air and set the time to 10 minutes. During the 10 minutes you should continue to agitate every 30 seconds, although some photographers do not think this is as critical as it is on the developer.
Steps for processing film • 7. At the end of the 10 minute time pour the fixer BACK into the bottle. DO NOT pour it down the drain.
Steps for processing film • 8. With the lid on the tank, fill the tank up with water and empty it 2 times. Then remove the tank lid and take out the reel and place it in the wash sink where it will be washed in running water for 15 minutes minimum. A 30 minute wash would be best if time permits.
Steps for processing film • 9. At the end of the wash pull the film reel out and DIP it in the photo flow solution, then pull the film from the roll and remove it to hang it up. It will take about 60 minutes to dry.