Download
1 / 35
350 likes | 497 Vues
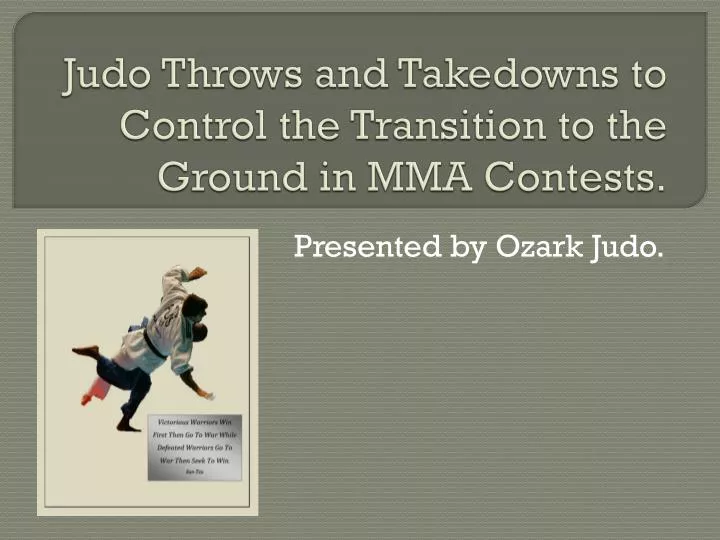
Judo Throws and Takedowns to Control the Transition to the Ground in MMA Contests. Presented by Ozark Judo. Course Objectives. At the conclusion of this course, the student will be able to: Understand the objectives of throwing in Kodokan Judo contests and in Mixed Martial Arts contests.

E N D
Judo Throws and Takedowns to Control the Transition to the Ground in MMA Contests. Presented by Ozark Judo.
Course Objectives • At the conclusion of this course, the student will be able to: • Understand the objectives of throwing in Kodokan Judo contests and in Mixed Martial Arts contests. • Execute common and uncommon Kodokan Judo throws in an Mixed Martial Art setting. • Use the throw to control the transition from standing to ground work.
Throws In Kodokan Judo • Kodokan Judo is known for its throwing techniques. • Of all the combat sports and martial arts practiced in the world today, Kodokan Judo throws are among the most highly developed and effective.
Throws In Kodokan Judo • Kodokan Judo throws are divided into five categories based on how the technique is executed. These are: • Hand Techniques • Techniques where the power is generated by the hands and arms • A typical hand technique is called Seoi-Nage (shoulder throw) in Judo and flying mare in wrestling.
Throws In Kodokan Judo • Hip Techniques • Techniques where the hip is utilized to execute the throw • A typical hip technique is O-Goshi (large hip throw) in Judo • Common variations are Harai-Goshi (sweeping hip) and Hane-Goshi (springing hip)
Throws In Kodokan Judo • Leg and Foot Techniques • Techniques where the power for the throw is provided by the leg or foot. • A typical leg technique used in Judo competitions is Uchi-Mata (inner thigh) • Other leg techniques often seen in Judo contests are O-Uchi-Gari (large inside reap), Ko-Uchi-gari (small inside reap) and O-Soto-Gari (large outside reap)
Throws In Kodokan Judo • Rear Sacrifice Techniques • Techniques where the throw is executed by sacrificing your position to the rear • Typical rear sacrifice techniques used in Judo contests include Tomoe-Nage (circle throw) and Sumi-Gaeshi (corner counter)
Throws In Kodokan Judo • Side Sacrifice Techniques • Techniques where the throw is executed by sacrificing your position to the one side or the other • Some side sacrifice techniques used in Judo contests include Yoko-Garuma (side wheel) and Yoko-Wakare (side separation).
Throwing Objectives • Throws in Kodokan Judo contests are intended to: • Score a full point, thus ending the match. • This is accomplished by throwing the opponent with speed and force so that he/she lands mostly on their back while maintaining control throughout the throw. • Lesser points are awarded when the throw is lacking in one of the three criteria for a full point throw (speed, force, mostly on the back). • No point is awarded when control is lost.
Throwing Objectives • Throws in Mixed Martial Art competition are intended as a means to move the action from standing to the ground. • A clean throw will not end the match unless the opponent becomes unconscious due to impact with the mat (which is not common). • Throws may, however, impact the judges decisions should a match not be decided in the ring.
Throwing Techniques • Group 1 • O-Soto-Gari • Ko-Soto-Gake • O-Uchi-Gari • Ko-Uchi-Gari • Group 3 • O-Goshi • Harai-Goshi • Group 2 • Uchi-Mata • Tai-Otoshi • Ashi-Guruma • O-Guruma • Group 4 • Sumi-Gaeshi • O-Soto-Makikomi
Group 1 O-Soto-Gari
Group 1 • O-Soto-Gari • Modifications necessary for MMA contests • Gripping. • Over hook on throwing side • Over shoulder or around neck on opposite side • Attacking situations • When opponent moves diagonally away from the ropes or fence • When opponent moves away in a clinch • Continuation techniques • O-Soto-Makikomi • Harai-Goshi • Tai-Otoshi
Group 1 O-Uchi-Gari
Group 1 • O-Uchi-Gari • Modifications needed for MMA contests • Gripping • Over and under hook • Attacking situations • Close clinch with opponent moving backwards • Continuation Techniques • Ko-Uchi-Gari • Uchi-Mata • Tai-Otoshi
Group 1 Ko-Soto-Gake
Group 1 • Ko-Soto-Gake • Modifications needed for MMA contests • Gripping • Bear hug under arms • Over hooks • Attacking situations • Clinch with opponent attempting to move back • On the fence, or moving diagonally away from fence • Continuation Techniques • Morote-Gari
Group 1 Ko-Uchi-Gari
Group 1 • Ko-Uchi-Gari • Modifications needed for MMA contests • Gripping • Attacking situations • Opponent moving to rear • Continuation Techniques • O-Uchi-Gari • Uchi-Mata
Group 2 Uchi-Mata
Group 2 • Uchi-Mata • Modifications needed for MMA contests • Gripping • Underhook/Overhook • Attacking situations • Opponent attempting to circle while in clinch • Continuation techniques • O-Uchi-Gari • Ko-Uchi-Gari • Tai-Otoshi
Group 2 Tai-Otoshi
Group 2 • Tai-Otoshi • Modifications needed for MMA contests • Gripping • Underhook/elbow or wrist grip • Attacking situations • Opponent moving diagonally forward • Continuation techniques • O-Uchi-Gari • Tai-Otoshi
Group 2 Ashi-Garuma
Group 2 • Ashi-Garuma • Modifications needed for MMA contests • Gripping • Low arm/underhook • Attacking situations • Opponent moving diagonally forward from mid distance • Continuation Techniques • O-Soto-Gari
Group 2 O-Garuma
Group 2 • O-Garuma • Modifications needed for MMA contests • Gripping • Low arm/Underhook • Attacking situations • Opponent moving forward in wrestler crouch • Continuation techniques • Kami-Basami
Group 3 O-Goshi
Group 3 • O-Goshi • Modifications needed for MMA contests • Gripping • Underhookor around neck/upper arm grip • Attacking situations • Opponent pushing forward aggressively • Continuation techniques • Hari-Goshi • O-Uchi-Gari
Group 3 Harai-Goshi
Group 3 • Harai-Goshi • Modifications needed for MMA contests • Gripping • Underhook or around neck/upper arm grip • Attacking situations • Opponent pushing forward aggressivly • Continuation techniques • O-Soto-Gari
Group 4 Sumi-Gaeshi
Group 4 • Sumi-Gaeshi • Modifications needed for MMA contests • Gripping • Over hook arm opposite attacking leg, under hook other arm • Attacking situations • As counter to single leg takedown • Continuation techniques • O-Uchi-Gari • Juji-Gatame
Group 4 O-Soto-Makikomi
Group 4 • O-Soto-Makakomi • Modifications needed for MMA contests • Gripping • Grip one arm, outside grip near top of glove/inside grip over hook above elbow • Attacking situations • Roundhouse Punch • Continuation Techniques • Juji-Gatame