Download
1 / 18
180 likes | 272 Vues
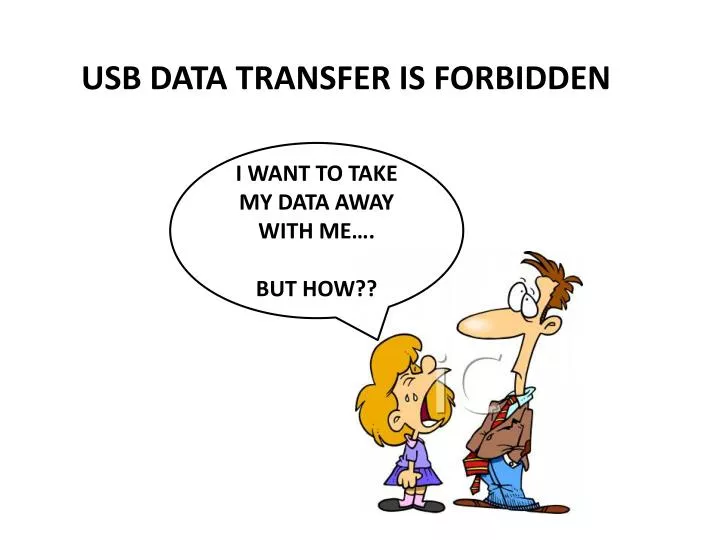
USB DATA TRANSFER IS FORBIDDEN. I WANT TO TAKE MY DATA AWAY WITH ME…. BUT HOW??. HOW IT WORKS. 3. On-site network storage. 2. Upload images onto…. 4. Access your files from anywhere!. 1. Acquire Images. Mounting a Network Drive. On a Microscope PC & your own PC!.

E N D
USB DATA TRANSFER IS FORBIDDEN I WANT TO TAKE MY DATA AWAY WITH ME…. BUT HOW??
HOW IT WORKS 3. On-site network storage 2.Upload images onto….. 4. Access your files from anywhere! 1. Acquire Images
Mounting a Network Drive On a Microscope PC & your own PC!
On the PC attached to the microscope…. Right click on “my computer” and select “Map network drive…”
Type in the address: \\bmsdata-store\ your lab’s details (as given to you by the administrator) Then click finish….
Type in username and password, as given to you by the administrator
You are now connected and can transfer files “drag and drop” Files can be accessed by the same procedure on any PC within university premises. OR at home with a VPN connection. See for VPN help: http://www.shef.ac.uk/cics/vpn
Trouble mounting the drive? Make sure you’ve “dismounted” all drives before you attempt to mount a new one!
Type in the address: smb//bmsdata-store/ your lab’s details (as given to you by the administrator) Then click “connect”…. NOTE THE USE OF FORWARD SLASH “/” INSTEAD OF BACKSLASH (OPPOSITE TO PC “\”)
Type in the login details (username and password) given to you by the administrator….
Mounting a Network Drive Linux
Double click on the gFTP icon, This is your file transfer client.
Chose “port” 21, type in your lab’s “username” and “password” and click the icon (top left)
Data on your network storage drive Data on the DeltaVision computer Use the top arrow to move selected files from the Deltavision computer onto network storage. NOTE: remember to delete the files from the DeltaVision computer afterwards.